


Limestone is a beautiful natural stone, but it can be a bit tricky to keep looking its best. If you're wondering how to clean limestone without damaging it, you've come to the right place. This guide breaks down everything you need to know, from daily upkeep to tackling tough stains, so your limestone surfaces stay looking great. We'll cover the best methods and what to steer clear of, making sure your stone gets the gentle care it deserves.
Key Takeaways
- Always use pH-neutral cleaners on limestone; acidic or abrasive products can cause permanent damage.
- Wipe up spills immediately to prevent them from setting into the stone.
- Regular dusting and gentle wiping are key for daily maintenance.
- For tougher stains, identify the type first and use a specific removal method, like a poultice for oil.
- Deep cleaning might be needed occasionally, but always follow up with thorough rinsing and drying.
- Sealing limestone is important to protect it from stains and moisture.
- Avoid harsh scrubbing pads or brushes that can scratch the surface.
- When in doubt, or for significant damage, consult a professional stone restorer.
Understanding Your Limestone's Unique Character
Limestone is a beautiful natural stone, but it's not all the same. Just like people, each piece has its own personality and needs. Before you grab any old cleaner, it's smart to get to know what you're working with. This stone has been around for ages, used in everything from ancient pyramids to modern homes across the U.S. projects.
The Natural Beauty of Limestone
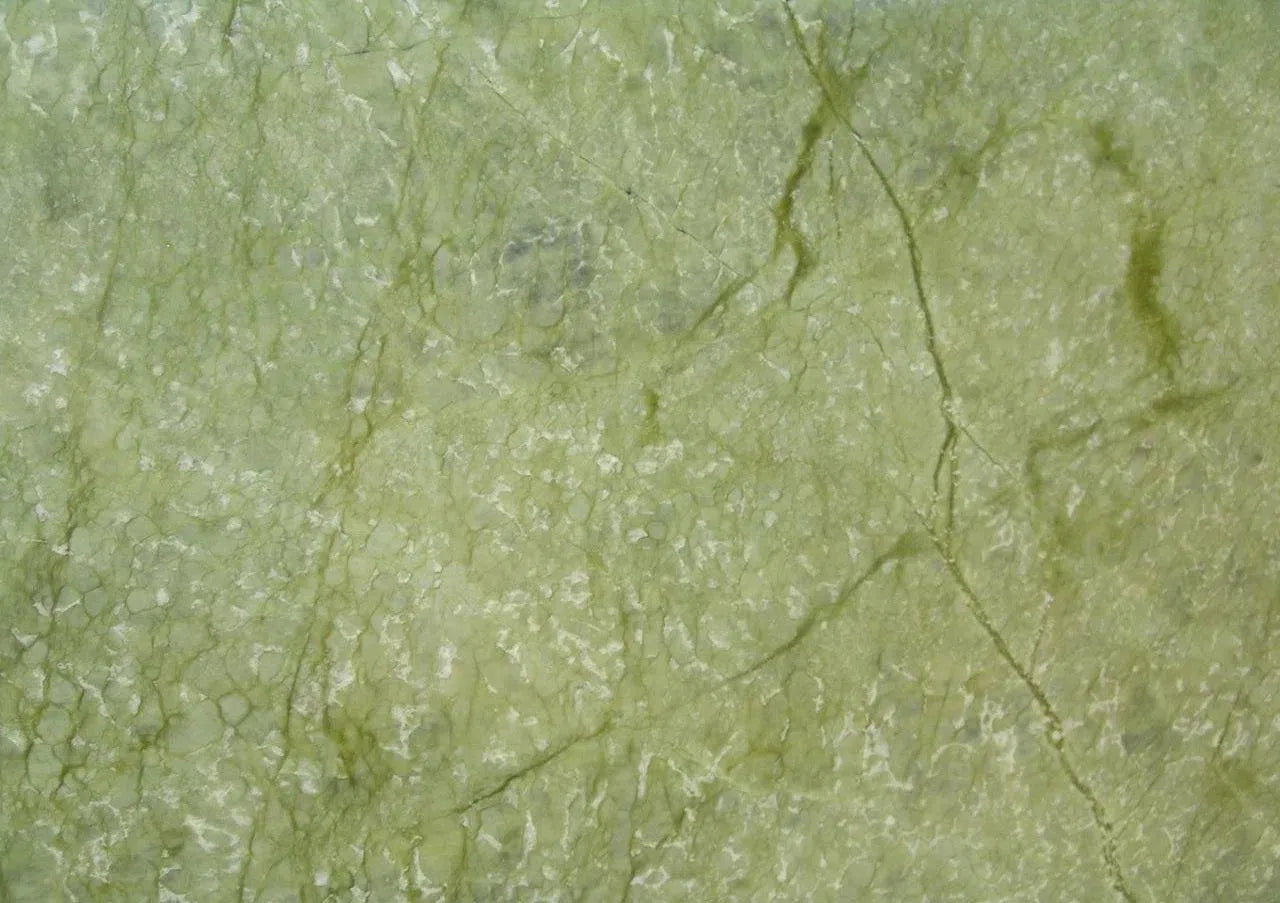
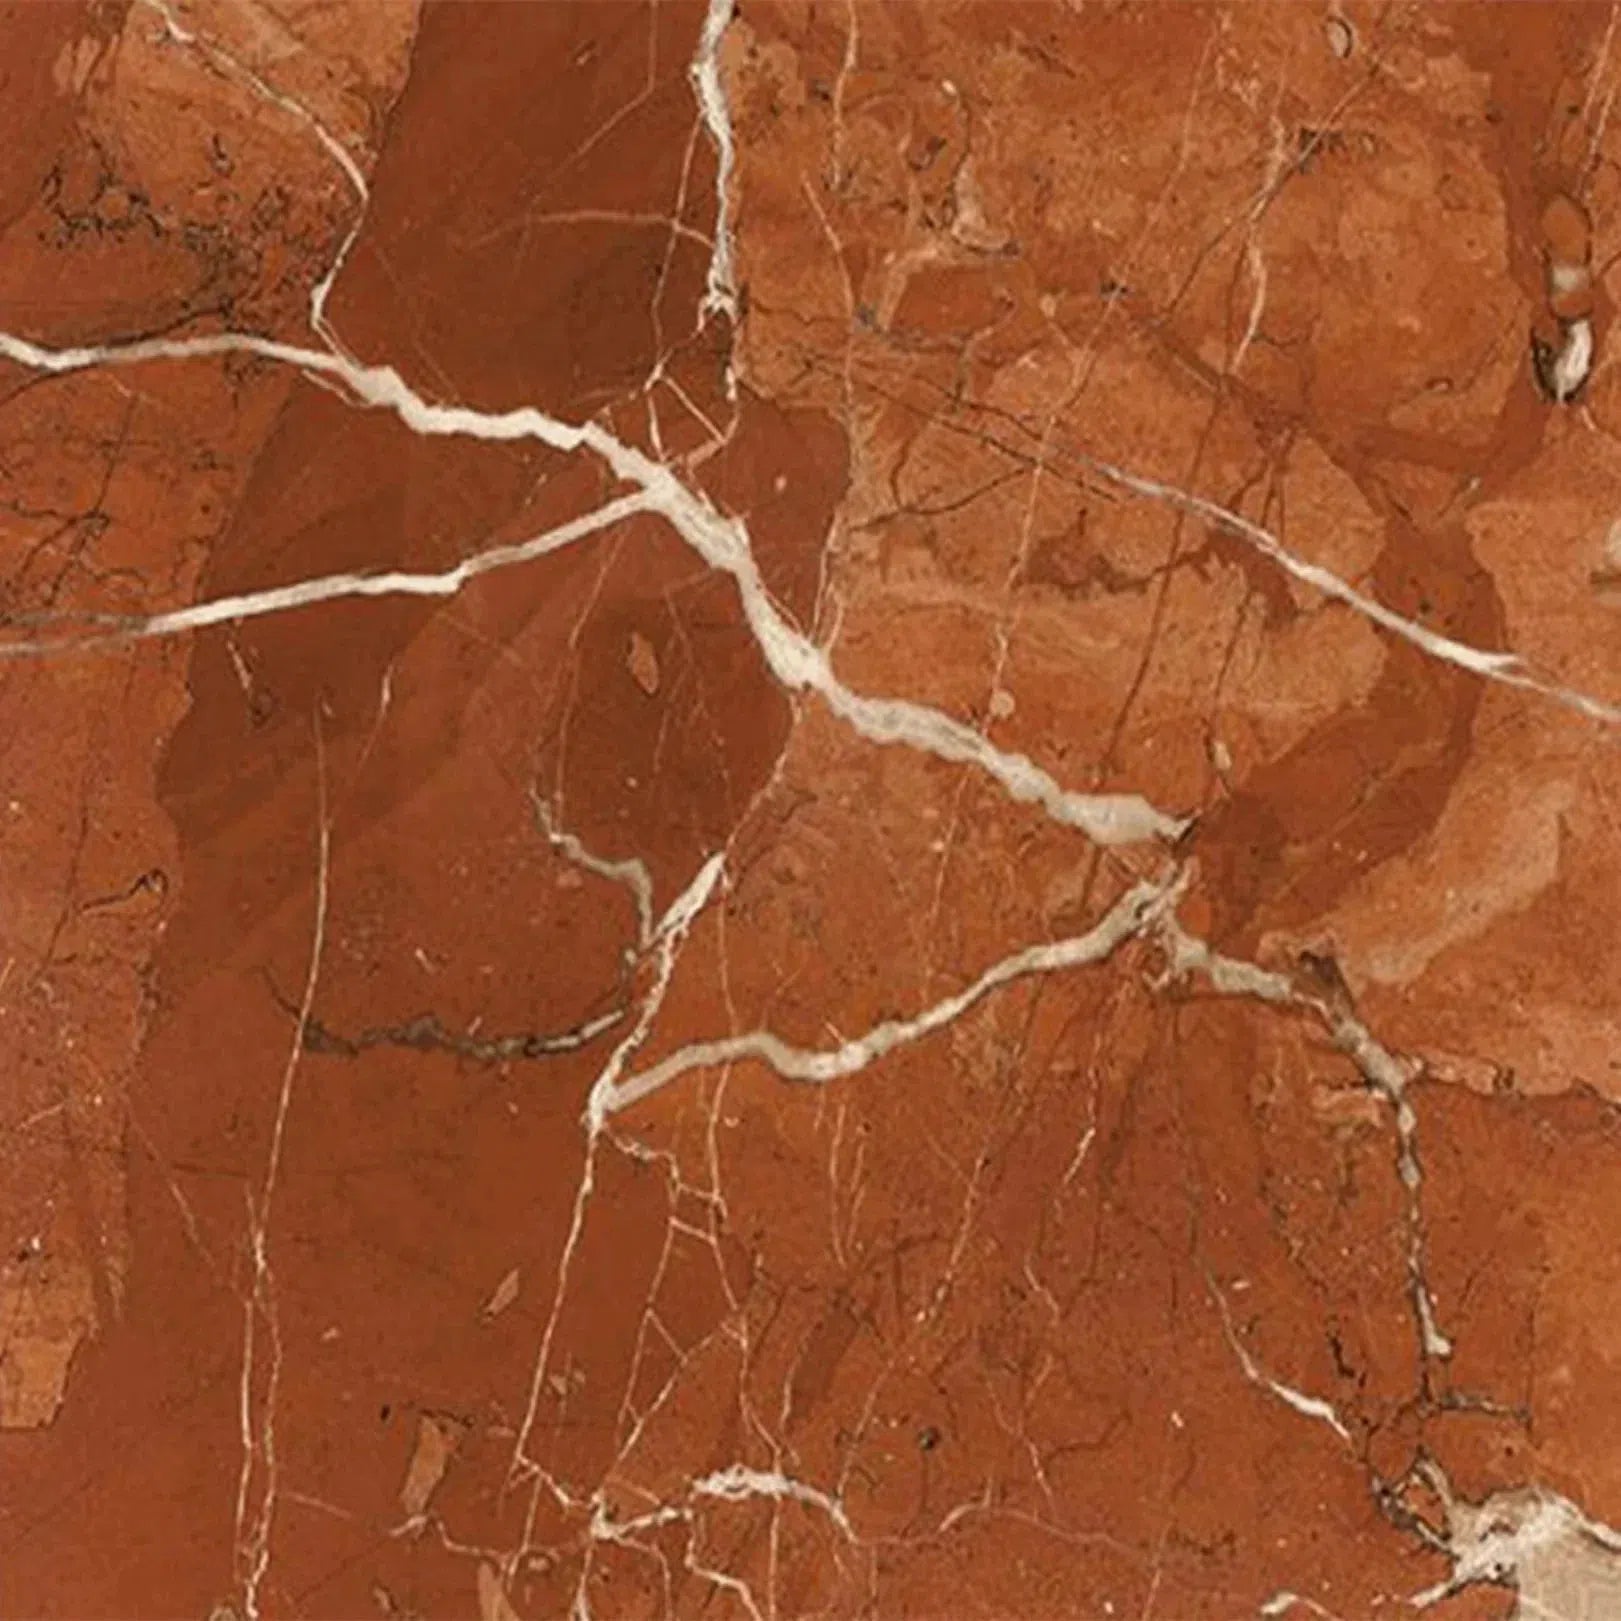
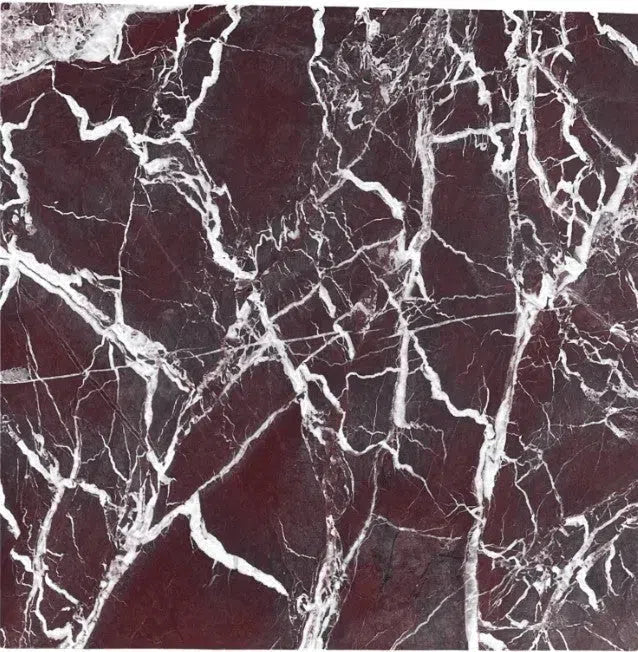
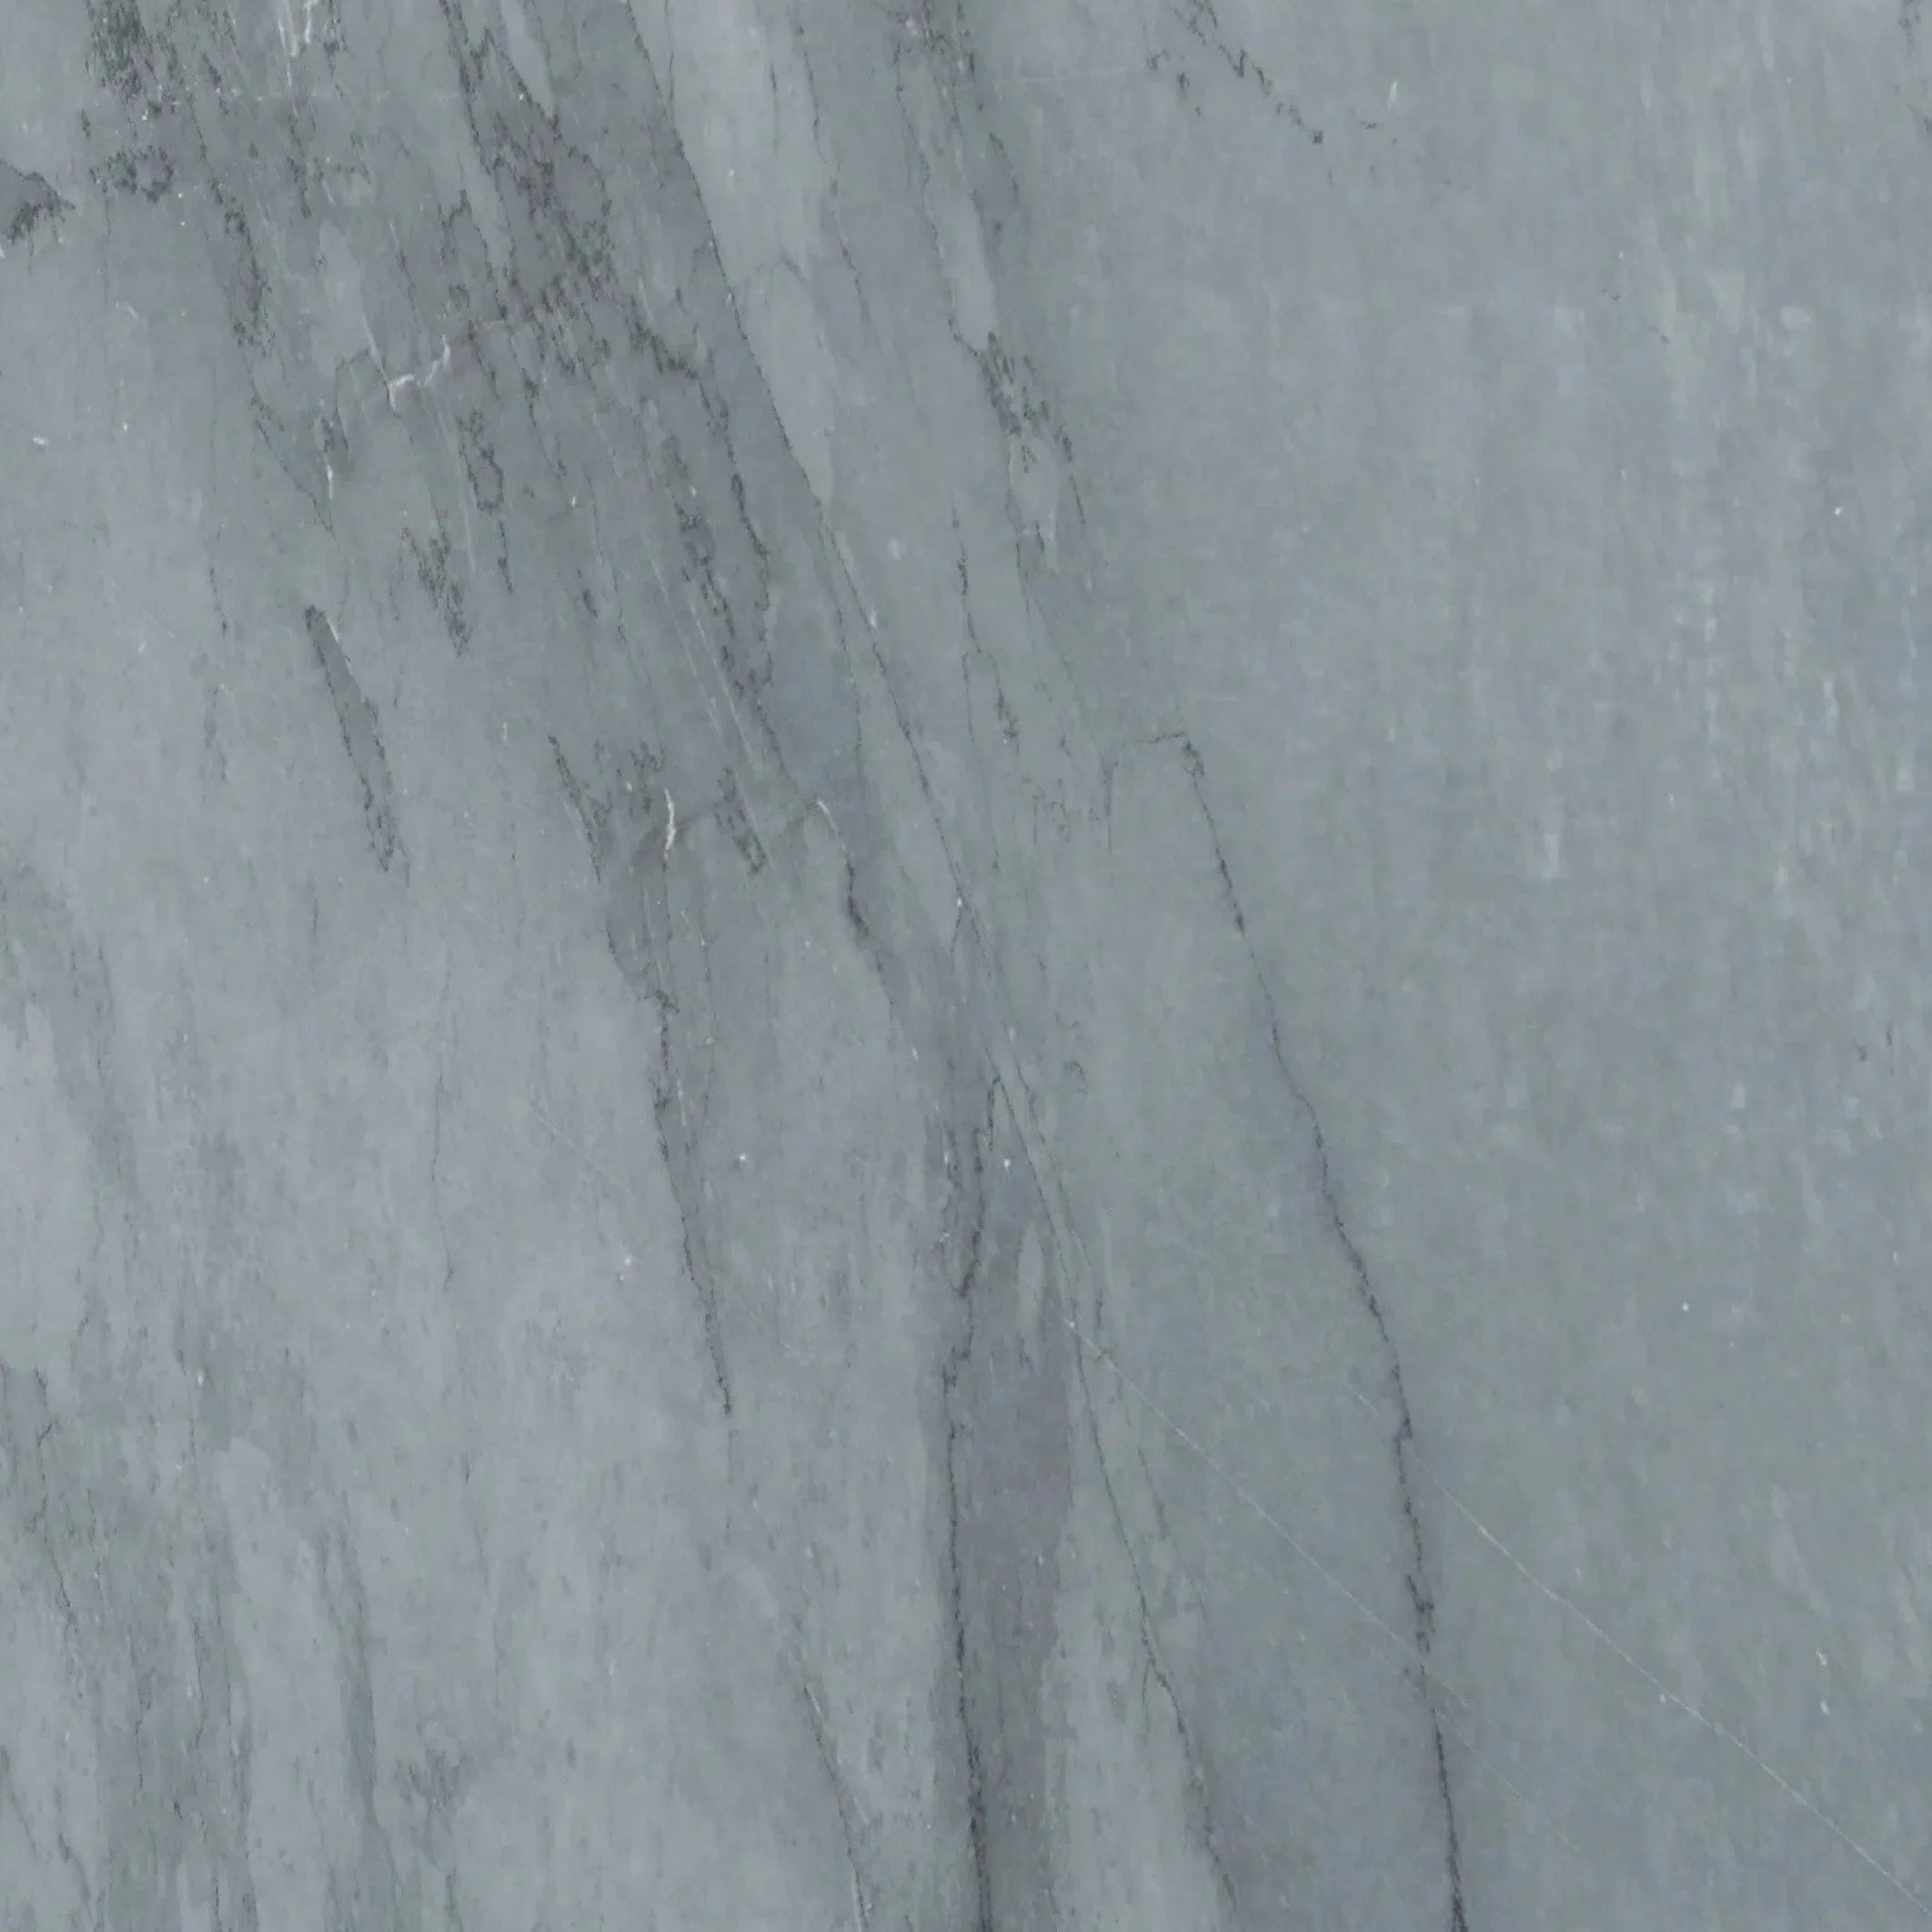
Limestone is formed over millions of years from the remains of marine organisms. This gives it a unique look, often with visible fossils or shell fragments. It's a sedimentary rock, which means it's generally softer than granite or marble. This makes it easier to cut and shape, a big reason why it's been a popular choice for centuries. Its natural variations in color and texture are part of its charm.
Identifying Different Limestone Finishes
Limestone can come with a few different surface treatments. You might see a honed finish, which is smooth and matte, or a polished finish that gives it a high shine. Sometimes, it's left with a more natural, textured look, like tumbled or brushed. Knowing the finish helps you pick the right cleaning method. A polished surface can show water spots more easily, while a honed one might absorb spills faster.
Recognizing Common Limestone Stains
Stains happen, especially in busy areas. Common culprits include organic stains from food and drinks, oil-based marks from cooking or lotions, and even metal stains from rust. Water spots and rings can also be an issue, particularly on polished surfaces. Identifying the type of stain is the first step to figuring out how to remove it without damaging the stone.
Assessing Surface Porosity
Limestone can vary in how porous it is. Some types have tiny little holes that can soak up liquids, while others are denser. A more porous stone will absorb spills more readily, leading to deeper stains if not cleaned up quickly. You can often tell by how the stone looks and feels. If water beads up on the surface, it's likely sealed or less porous. If it soaks in quickly, it might need sealing.
Understanding Limestone's Sensitivity
Because limestone is a calcium-based stone, it's sensitive to acids. Things like vinegar, lemon juice, and many common household cleaners can etch the surface, leaving dull spots. It's also not a fan of abrasive scrubbers or harsh chemicals. Treating your limestone gently is key to preserving its beauty.
The Importance of Gentle Cleaning
Given its sensitivity, a gentle approach is always best for limestone. Harsh cleaners can strip away the sealant, dull the finish, or even cause permanent damage. Sticking to pH-neutral cleaners and soft cloths will help keep your limestone looking its best for years to come. For most routine cleaning, water and a soft cloth are often all you need. You can find pH-neutral cleaners specifically designed for natural stone, which is a good idea for calcium-based stone floors.
Preparing Your Limestone Surface
Before you start any cleaning, a little prep work goes a long way. First, sweep or vacuum up any loose dirt and debris. This prevents scratching the surface when you start wiping or mopping. If you're dealing with a specific stain, you'll want to address that before doing a general clean. For a deeper clean, you might need to clear the area of furniture or decor.
Essential Tools for Limestone Care
Keeping your limestone looking its best doesn't require a whole lot of fancy equipment. In fact, the key is often using the right gentle tools. Think of it like preparing a delicate meal – you wouldn't use a hammer to chop vegetables, right? The same principle applies to your beautiful natural stone. We're talking about handpicked A+ top-quality stone here, so treating it with respect from the start makes all the difference.
Gathering Your Cleaning Supplies
Before you start any cleaning task, it's smart to have everything ready. This prevents you from scrambling mid-job and potentially using the wrong thing in a pinch. For limestone, your basic toolkit should include:
- A pH-neutral cleaner specifically made for natural stone.
- Clean, soft cloths (microfiber is great).
- A soft-bristled brush for grout or tougher spots.
- A bucket for your cleaning solution and another for rinsing water.
- A spray bottle if you prefer to dilute your cleaner.
- Protective gloves for your hands.
Choosing the Right Cleaning Cloths
When it comes to cloths, steer clear of anything rough or abrasive. Microfiber cloths are your best friend here. They're super soft, highly absorbent, and excellent at picking up dust and grime without scratching the surface. Have a few on hand – one for washing, one for rinsing, and one for drying. Old t-shirts or towels can work in a pinch, but make sure they're well-worn and free of any harsh detergents or fabric softeners that could leave residue.
Selecting Gentle Brushes
For areas that need a bit more attention, like grout lines or any slightly stubborn marks, a soft-bristled brush is your go-to. Think along the lines of a toothbrush or a dedicated grout brush with nylon bristles. Avoid anything with wire or stiff plastic, as these can easily scratch the limestone. The goal is to lift dirt, not to scour the stone.
The Role of pH-Neutral Cleaners
This is probably the most important point. Limestone is a calcium-based stone, which means it's quite sensitive to acids. Things like vinegar, lemon juice, or even many common household cleaners can etch the surface, leaving dull spots that are hard to fix. Always opt for a cleaner that is specifically labeled as pH-neutral or safe for natural stone. This ensures you're cleaning effectively without damaging the stone's natural beauty. If you're unsure, it's always best to check with the stone supplier or a professional. We pride ourselves on offering luxury natural stone you can trust, and using the right products is part of that.
Water Source Considerations
For most routine cleaning, tap water is perfectly fine. However, if you live in an area with very hard water, you might notice mineral deposits building up over time. In such cases, using distilled or de-mineralized water for your cleaning solution can help prevent this. This is especially true for projects across the U.S. where water quality can vary significantly.
Protective Gear for Your Hands
Even with pH-neutral cleaners, it's a good idea to protect your skin. Wearing rubber or nitrile gloves will keep your hands from drying out and protect them from any cleaning solution residue. It’s a simple step that makes the cleaning process more comfortable.
Essential Drying Materials
After cleaning and rinsing, thorough drying is key to preventing water spots and streaks. Again, soft microfiber cloths are ideal for this. You want to buff the surface dry, not just wipe it. This step helps restore the natural sheen of your limestone and leaves it looking polished and clean. Proper drying is a big part of maintaining that pristine appearance.
Having the right tools on hand means you're prepared for any cleaning task, big or small. It simplifies the process and helps you achieve that sparkling finish without risking damage to your beautiful limestone surfaces. Remember, we are direct importers, sourcing only the best materials, so treating them with the correct care is paramount.
For any questions about the best cleaning products for your specific limestone, don't hesitate to reach out. We're here to help you maintain the luxury and beauty of your stone for years to come. You can explore our collections and find the perfect stone for your next project nationwide.
Mastering Routine Limestone Cleaning
Keeping your limestone looking its best doesn't have to be a chore. Regular, gentle cleaning is the key to preventing buildup and maintaining that beautiful, natural finish. Think of it like daily skincare for your stone – a little effort goes a long way.
Daily Dusting for Prevention
This might sound too simple, but it's incredibly effective. Dust and fine grit are like tiny sandpaper particles that can scratch your limestone over time, especially on high-traffic areas like floors. A quick sweep or a soft brush across surfaces each day, or at least every other day, can make a big difference. It removes those abrasive particles before they have a chance to do any damage. The goal here is to remove loose debris before it can settle into the stone's pores.
Weekly Gentle Wiping Techniques
Once a week, it’s time for a slightly more thorough clean. For most limestone surfaces, a damp cloth is all you need. Use a soft microfiber cloth, slightly dampened with plain water. Wipe down countertops, tables, and other surfaces. This removes any light grime or fingerprints that have accumulated. If you notice any spots that need a bit more attention, use a cloth with a tiny amount of pH-neutral cleaner, but always test in an inconspicuous area first.
Addressing Minor Spills Promptly
Limestone is porous, meaning it can absorb liquids. This is why dealing with spills immediately is so important. Don't let that coffee, wine, or juice sit there. Blot it up right away with a clean, dry cloth. For sticky spills, a damp cloth with a bit of pH-neutral cleaner can help. The faster you act, the less likely the spill is to leave a mark or soak into the stone.
The Art of Damp Mopping
When it comes to limestone floors, damp mopping is your best friend. Use a mop that’s just slightly damp – you don’t want to flood the floor. A good quality microfiber mop head works wonders. Use a solution of water and a pH-neutral cleaner specifically designed for natural stone. Work in sections, and be sure not to leave puddles of water standing on the surface. This method effectively cleans the floor without over-saturating the limestone.
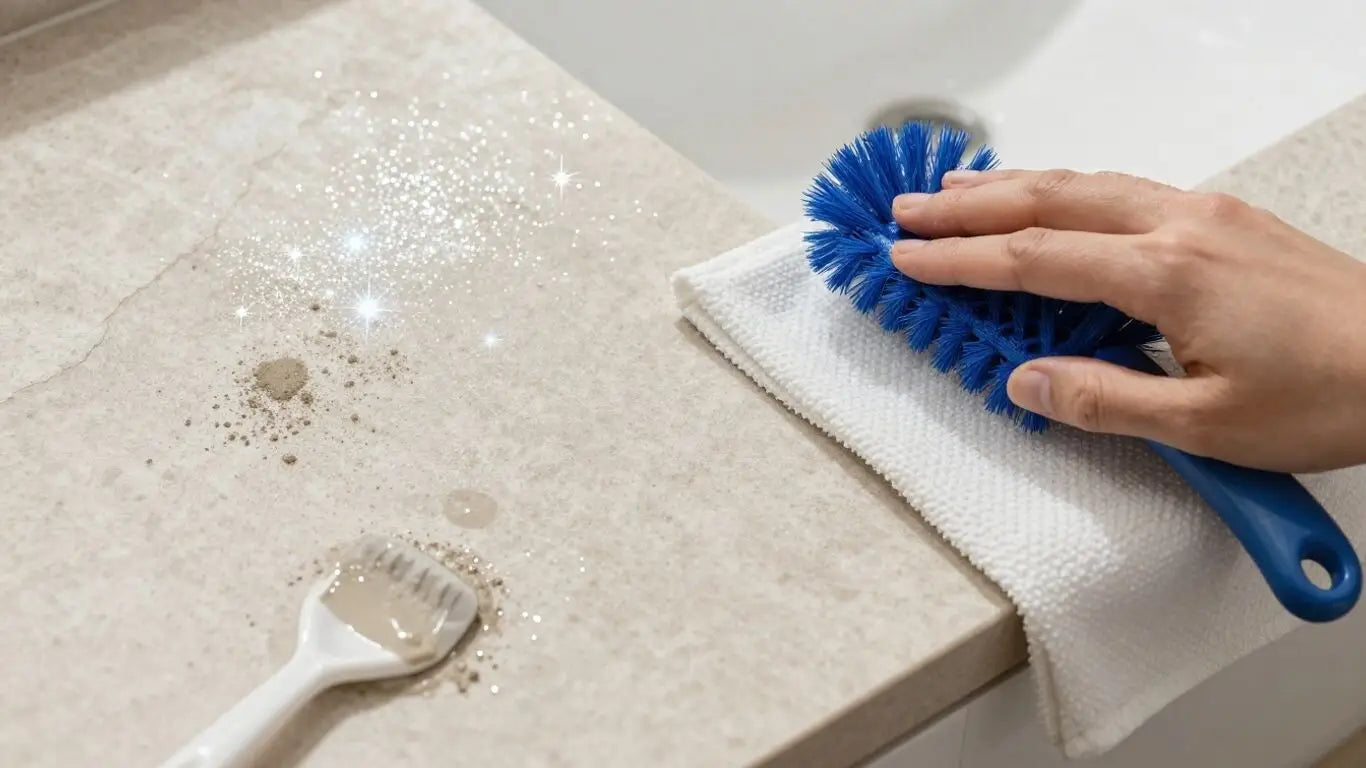
Avoiding Abrasive Scrubbing
This is a big one. Limestone is a relatively soft stone, and abrasive scrubbing can easily scratch its surface or wear away its finish. This means no harsh scouring pads, no steel wool, and definitely no gritty cleaning powders. Even stiff-bristled brushes can cause damage over time. Stick to soft cloths and sponges. If you encounter a spot that needs a bit more persuasion, try a gentle cleaner first before resorting to any kind of scrubbing.
Ensuring Complete Drying
After any cleaning, whether it's a quick wipe-down or a damp mop, it’s vital to dry the limestone thoroughly. Use a clean, dry microfiber cloth to buff the surface dry. This prevents water spots and streaks, especially on polished finishes. For floors, ensure they air dry completely before allowing foot traffic. Proper drying helps maintain the stone's natural luster and prevents potential issues like mold or mildew in damp environments.
Maintaining a Consistent Cleaning Schedule
Consistency is more important than intensity when it comes to limestone care. Setting up a routine – daily dusting, weekly wiping, and prompt spill cleanup – will keep your limestone looking fantastic with minimal effort. This proactive approach prevents dirt and grime from becoming ingrained, making deep cleaning a rare necessity. For those looking to protect their investment, consider sealing your limestone as part of your long-term care strategy.
Tackling Tougher Stains on Limestone
Sometimes, routine cleaning just won't cut it. Life happens, and spills or marks can leave their mark on your beautiful limestone surfaces. Don't panic! With the right approach, most tough stains can be managed. The key is to act fast and know what you're dealing with.
Identifying the Stain Type
Before you grab any cleaner, take a moment to figure out what kind of stain you're up against. Different stains need different treatments. Is it something organic, like food or wine? Or is it oil-based, like grease from cooking? Maybe it's a metal stain from rust, or just a stubborn water spot.
Organic Stain Removal Strategies
Organic stains, such as coffee, tea, fruit juice, or food spills, can often be lifted with a mild solution. Try mixing a few drops of pH-neutral dish soap with warm water. Gently dab the stain with a soft cloth soaked in this solution. For tougher organic stains, a diluted hydrogen peroxide solution (about 3-5%) can sometimes work wonders. Always test in an inconspicuous area first.
Dealing with Oil-Based Marks
Grease, cooking oil, or other oily substances can be tricky. The best approach here is to absorb as much of the oil as possible. Sprinkle baking soda or cornstarch directly onto the stain. Let it sit for several hours, or even overnight, to draw out the oil. Then, gently sweep it away and clean the area with a pH-neutral cleaner and water.
Neutralizing Metal Stains
Rust stains, often from metal objects left on the surface, can be a real eyesore. These usually require a specialized rust remover designed for natural stone. Follow the product instructions carefully, as these can be quite potent. Always ensure good ventilation when using strong chemical removers.
Addressing Water Spots and Rings
Hard water spots or rings from glasses can sometimes leave a dull mark. Often, these can be gently buffed away with a dry microfiber cloth. If the mark is more persistent, a very fine steel wool (grade #0000) might be used with extreme caution on honed finishes, but this carries a risk of scratching. For polished finishes, stick to gentle buffing.
The Power of Poultices for Stubborn Stains
For really deep-set or old stains, a poultice is often the most effective solution. A poultice is a paste made from an absorbent material (like kaolin clay, diatomaceous earth, or even paper towels) mixed with a cleaning agent. The agent depends on the stain type (e.g., hydrogen peroxide for organic, acetone for oil). You apply the paste to the stain, cover it with plastic wrap, and let it dry completely. As it dries, it pulls the stain out of the stone. This method requires patience.
Patience in Stain Removal
Remember, cleaning limestone, especially tough stains, is rarely a quick fix. It often takes time, repeated applications, and the right technique. Don't get discouraged if the stain doesn't disappear immediately. Gentle persistence is key to restoring your limestone's beauty without causing damage. If you're unsure or dealing with a particularly valuable piece, consulting a professional stone restorer is always a wise choice.
Deep Cleaning Techniques for Limestone
Sometimes, routine cleaning just isn't enough. Life happens, and your beautiful limestone surfaces might need a more thorough approach to bring back their original glory. Deep cleaning is about going beyond the daily wipe-down to tackle accumulated grime, stubborn spots, and dullness that regular care can't quite reach. It's a process that requires a bit more attention and the right methods to avoid damaging the stone.
When Deep Cleaning Becomes Necessary
How do you know it's time for a deep clean? Look for signs like a general dullness that polishing doesn't fix, persistent water spots, or areas where dirt seems to have settled into the pores. If your weekly routine feels like it's not making a difference anymore, that's a pretty good indicator. It's also a good idea to deep clean before applying a new sealant, as a clean surface helps the sealant bond better. Think of it as a reset button for your stone.
Preparing for a Thorough Clean
Before you start, clear the area completely. Remove all furniture, rugs, and decorative items from the surface. This gives you unobstructed access and prevents anything from getting damaged or dirty. Next, give the limestone a good dry sweep or vacuum to pick up any loose debris. This step is important because you don't want to grind dirt into the stone when you start wet cleaning. Make sure you have all your supplies ready to go so you can work efficiently.
Using Specialized Limestone Cleaners
For deep cleaning, you'll want to step up from your everyday cleaner. Opt for a pH-neutral cleaner specifically designed for natural stone. These cleaners are formulated to lift dirt and grime without etching or discoloring the limestone. Avoid anything acidic or alkaline, as these can cause permanent damage. Always follow the manufacturer's instructions for dilution and application. Sometimes, a slightly stronger, stone-safe cleaner is needed, but always test it in an inconspicuous spot first.
The Importance of Rinsing Thoroughly
This step is often overlooked, but it's critical. After cleaning, you need to rinse the limestone thoroughly with clean water. Any leftover cleaner residue can attract dirt, leave a hazy film, or even damage the stone over time. Use a clean mop or cloth and plenty of fresh water. You might need to rinse multiple times, changing your water frequently, to ensure all traces of the cleaner are gone. Don't rush this part; a good rinse makes a big difference in the final result.
Allowing Adequate Drying Time
Once rinsed, it's time to dry. Use clean, dry microfiber cloths or mops to absorb as much moisture as possible. Proper drying prevents water spots and helps the stone maintain its natural look. For very porous limestone, allowing it to air dry completely is also important. You might even want to use fans to speed up the process, especially in humid environments. Never let water sit on the surface for extended periods.
Evaluating the Results
After the limestone is completely dry, take a good look. Does it look brighter? Are the stains gone? Is the surface uniform? Compare it to how it looked before you started. If you're happy with the results, great! If some areas still look dull or stained, you might need to repeat the process or consider a more targeted stain removal technique. Sometimes, a second pass is all it takes.
Frequency of Deep Cleaning
Deep cleaning isn't something you need to do very often. For most indoor limestone surfaces, once or twice a year is usually sufficient, depending on traffic and use. High-traffic areas like limestone flooring might benefit from a deep clean more frequently. Outdoor limestone, like patios, may need it more often due to exposure to the elements. Listen to your stone; it will tell you when it's ready for a more intensive clean.
Restoring Shine and Luster to Limestone
Limestone, with its natural elegance, can sometimes lose its sparkle over time. Don't worry, bringing back that beautiful sheen is entirely possible. It's all about using the right methods and a bit of patience. We're talking about getting your limestone surfaces looking as good as they did when they were first installed.
Achieving a Natural Sheen
Getting that natural glow back on your limestone doesn't require harsh chemicals. Often, a good clean with a pH-neutral cleaner is the first step. This removes any dulling residue that might have built up. For many homeowners across the U.S. projects, this simple step makes a big difference. Remember, the goal is to reveal the stone's inherent beauty, not to cover it up.
Polishing Techniques for Honed Limestone
Honed limestone has a smooth, matte finish. To restore its luster, you'll want to use a specialized polishing powder. This powder is mixed with water to create a paste. Then, using a weighted rotary machine, you work the paste into the stone. This process gently buffs the surface, bringing out a soft, elegant shine. It’s a bit like giving your limestone a spa treatment. This method is particularly effective for bringing life back to floors that see a lot of foot traffic. You can find these polishing compounds at most stone care suppliers.
Buffing for Enhanced Brilliance
After polishing, or even as a standalone step for less worn surfaces, buffing is key. Use a clean, dry microfiber cloth to buff the surface in a circular motion. This action helps to bring out a higher degree of shine and can remove any faint haziness left from cleaning or polishing. It’s a simple technique that really makes the stone pop.
Using Microfiber for a Streak-Free Finish
Microfiber cloths are your best friend when it comes to limestone. They are highly absorbent and non-abrasive, meaning they won't scratch the stone. For a truly streak-free finish, always buff in one direction after cleaning or polishing. This ensures an even sheen across the entire surface. Make sure your cloths are clean; a dirty cloth will just spread around dirt and create streaks.
The Role of Natural Stone Polish
Sometimes, a dedicated natural stone polish can give your limestone that extra boost. These products are formulated specifically for natural stones like limestone. They can help fill in microscopic pores and create a smoother, more reflective surface. Always choose a polish designed for limestone and follow the manufacturer's instructions carefully. It’s a good idea to test any new product in an inconspicuous area first.
Avoiding Harsh Polishing Compounds
It's tempting to think that stronger is better, but with limestone, that's rarely the case. Harsh polishing compounds, especially those containing abrasives or acids, can damage the stone. They can scratch the surface, dull the finish, or even cause etching. Stick to products specifically designed for natural stone, and always err on the side of caution. Remember, your limestone is a natural material and deserves gentle care.
Maintaining the Polished Look
Once you've achieved that beautiful shine, keeping it is the next step. Regular dusting and prompt cleanup of spills will go a long way. Periodically re-buffing with a microfiber cloth can help maintain the luster between deeper cleaning sessions. For high-traffic areas, consider a regular maintenance schedule using a pH-neutral cleaner. This consistent care prevents the dullness from returning and keeps your limestone looking its best for years to come. It’s about consistent, gentle care rather than occasional aggressive treatments. For projects across the U.S., maintaining this look is key to the overall aesthetic. We offer handpicked A+ top-quality stone that deserves this level of care.
Restoring shine to limestone is a process that rewards patience and the right approach. By understanding the stone's needs and using gentle, appropriate methods, you can bring back its natural beauty and keep it looking stunning.
Ready to find the perfect natural stone for your project? Browse our collections and experience the difference quality makes. We provide fast, reliable, and often same-day shipping nationwide.
Protecting Your Limestone Investment
Limestone is a beautiful natural material, but it needs a little help to stay that way. Think of it like a good coat of paint on a house; it looks great, but without it, the wood underneath can get damaged. Protecting your limestone isn't just about keeping it looking good, though that's a big part of it. It's also about making sure it lasts for years, resisting all sorts of things that can try to wear it down.
The Significance of Sealing Limestone
Sealing limestone is probably the most important step you can take to protect it. It's not a magic shield, but it does create a barrier. This barrier helps stop liquids from soaking into the stone. If you spill something, especially something colored or oily, a sealed surface gives you more time to wipe it up before it becomes a permanent mark. This is especially true for porous stones. For exterior limestone, sealing is key to preventing water absorption, which can lead to freeze-thaw damage and other issues. It's a proactive step that saves a lot of headaches down the line.
Choosing the Right Sealer
Not all sealers are created equal, and picking the wrong one can actually cause problems. You'll find different types out there, like penetrating sealers and topical sealers. Penetrating sealers soak into the stone and form a barrier within the pores, which is usually what you want for limestone. Topical sealers form a film on the surface, which can sometimes change the look of the stone or wear off more quickly. It's a good idea to look for sealers specifically made for natural stone, and ideally, ones that are pH-neutral. Always check the product details to see if it's suitable for limestone and the specific finish you have.
Application Methods for Sealers
Applying a sealer isn't complicated, but you need to do it right. First, make sure your limestone is clean and completely dry. Any dirt or moisture trapped under the sealer will be there for a long time. You can usually apply the sealer with a clean cloth, a brush, or a sprayer, depending on the product and the size of the area. Work in small sections, applying a thin, even coat. You don't want to let it puddle. Most sealers need a bit of time to work, so check the manufacturer's instructions for drying and curing times. You might need to apply a second coat after the first one has set a bit.
Understanding Sealer Lifespan
Sealers don't last forever. Their lifespan depends on the type of sealer used, the type of stone, and how much wear and tear the surface gets. A sealer on a kitchen countertop that sees daily use will wear out faster than one on a rarely used decorative piece. Generally, you might need to reapply a sealer every 1 to 5 years. A simple test is to sprinkle a little water on the surface. If it beads up, the sealer is still working. If it soaks in and darkens the stone, it's time to reseal.
Reapplying Sealant Periodically
Knowing when to reapply is part of the protection plan. Don't wait until you see stains soaking in. The water test is your best friend here. If the water starts to absorb, it's a clear sign that the sealer is breaking down. When you reapply, you'll follow a similar process to the initial application: clean the stone thoroughly, let it dry completely, and then apply the new coat of sealer. It's better to do this a little early than too late. This consistent care is what keeps your limestone looking its best and prevents costly repairs later on.
Preventative Measures Against Damage
Beyond sealing, there are other simple things you can do. Use coasters under drinks, especially on tables or countertops. Put mats under plant pots to catch any drips. For floors, use doormats at entrances to trap dirt and grit that can scratch the surface. Avoid dragging heavy furniture across limestone floors; use felt pads on the legs. In kitchens, be mindful of acidic foods and liquids like lemon juice or tomato sauce, and wipe them up immediately. These small habits add up to significant protection over time.
Regular Inspections for Wear
Make it a habit to look over your limestone surfaces regularly. Check for any signs of wear, dull spots, or areas where the sealer might be failing. This is especially important in high-traffic areas or surfaces that get a lot of use. Catching small issues early makes them much easier to fix. If you notice a change in the stone's appearance or notice water is no longer beading, it's a good cue to re-evaluate your cleaning routine and consider resealing. Keeping an eye on things helps you stay ahead of potential problems and maintain that beautiful, natural look for your U.S. projects.
Common Pitfalls to Avoid When Cleaning Limestone
Cleaning limestone might seem straightforward, but it's easy to make mistakes that can damage its beautiful, natural surface. Knowing what not to do is just as important as knowing the right cleaning methods. Let's go over some common blunders that can turn a simple cleaning job into a costly repair.
Limestone is a calcium-based stone, which makes it highly susceptible to acids. Think of it like chalk reacting with vinegar – it dissolves and etches. This means anything with a low pH, like vinegar, lemon juice, or many common household bathroom cleaners, should be kept far away from your limestone surfaces.
Why Vinegar and Lemon Juice Are Harmful
These common kitchen staples are acidic. When they come into contact with limestone, they cause etching. Etching isn't a stain; it's physical damage to the stone's surface, leaving dull, lighter-colored marks that are difficult to remove. Even diluted acidic solutions can cause damage over time. For any project across the U.S., it's best to stick to cleaners specifically designed for natural stone.
The Risk of Abrasive Materials
Scrubbing limestone with harsh or abrasive materials is another big no-no. This includes:
- Steel wool
- Stiff-bristled brushes (especially on polished finishes)
- Abrasive powders or creams
These can scratch the surface, dulling the finish and potentially creating micro-scratches that trap dirt over time. For routine cleaning, always opt for soft cloths or very gentle brushes.
Over-Wetting Your Limestone
Limestone, especially if unsealed or if the sealant has worn down, can absorb liquids. Over-wetting during cleaning can lead to water stains or, in some cases, encourage mold or mildew growth in damp environments. It's always best to use a damp cloth or mop, not a soaking wet one, and to ensure the surface dries completely afterward.
Using the Wrong Type of Sponge or Cloth
Just like brushes, the wrong kind of cloth can cause problems. Avoid paper towels for drying, as they can leave lint and streaks. Rough sponges can also be too abrasive. Stick to soft, lint-free microfiber cloths for both cleaning and drying. They are gentle and effective at picking up dirt without scratching.
Skipping the Rinsing Step
If you use any type of cleaner, even a pH-neutral one, it's vital to rinse the surface thoroughly afterward. Cleaner residue left behind can attract dirt, dull the finish, or even cause discoloration over time. A clean water rinse with a fresh, damp cloth is usually sufficient.
Neglecting Proper Drying
This ties back to over-wetting. After cleaning and rinsing, always dry the limestone completely with a soft, dry cloth. This prevents water spots and streaks, especially on polished surfaces, and helps maintain the stone's natural beauty. For larger areas like limestone flooring, a good quality microfiber mop head can help absorb excess moisture quickly.
Avoiding these common mistakes will go a long way in preserving the elegance and longevity of your limestone. Remember, gentle care is key to a sparkling finish that lasts.
Special Considerations for Different Limestone Applications
Limestone is a beautiful, versatile stone, but how you clean it really depends on where it's used. That fancy limestone fireplace surround needs a different touch than your kitchen countertops, for example. Let's break down some common areas and what works best.
Cleaning Limestone Countertops
Countertops see a lot of action – spills, food prep, general daily life. The key here is prompt attention to spills, especially acidic ones like wine or citrus juice, which can etch the surface. For daily cleaning, a soft cloth dampened with water and a pH-neutral cleaner is usually enough. Wipe up messes as they happen. For tougher spots, a poultice might be needed, but always test it in an inconspicuous area first. We offer handpicked A+ top-quality limestone perfect for countertops, and our direct importer advantage means you get premium material without the markup. Plus, with fast, reliable shipping, your project can move forward without delay.
Maintaining Limestone Flooring
Floors take a beating from foot traffic, dirt, and grit. Regular sweeping or vacuuming (with a soft brush attachment) is a must to prevent scratches. For mopping, use a damp mop with a pH-neutral cleaner. Avoid letting water sit on the surface for too long, as it can lead to water spots or discoloration over time. If you notice dullness, a gentle buffing might bring back some shine. Remember, we don't sell commercial-grade flooring; only premium, luxury natural stone you can trust for your U.S. projects.
Caring for Limestone Wall Tiles
Wall tiles are generally easier to maintain than floors or countertops. Dusting regularly with a dry microfiber cloth is often sufficient. For occasional cleaning, a damp cloth with a mild, pH-neutral cleaner will do the trick. Pay attention to grout lines, as they can sometimes accumulate dirt. If you're looking for premium limestone tiles for your next design project, our direct importer status ensures you get authentic, high-quality stone with fast shipping.
Outdoor Limestone Patio Care
Outdoor limestone needs to withstand the elements. Regular sweeping to remove debris is important. For cleaning, a hose and a soft brush with a mild soap or a specialized outdoor stone cleaner can work. Be mindful of organic stains like mildew or algae, which might require a specific treatment. Ensure good drainage to prevent water from pooling. We source only the finest natural stone, perfect for creating elegant outdoor spaces across the U.S.
Limestone Fireplace Surround Maintenance
Fireplace surrounds can accumulate soot and ash. For light cleaning, a dry cloth is usually best. For tougher soot marks, a specialized fireplace stone cleaner or a poultice might be necessary. Always ensure the area is cool before cleaning. Avoid harsh chemicals that could damage the stone or its finish. Our handpicked A+ top-quality limestone is ideal for creating a luxurious focal point in any home.
Bathroom Limestone Surface Cleaning
Bathrooms present unique challenges with soap scum, hard water stains, and potential mold or mildew. Use a pH-neutral cleaner specifically designed for natural stone. Wipe down surfaces regularly to prevent buildup. For mold or mildew, a solution of water and a small amount of hydrogen peroxide can be effective, but always test first. Proper ventilation is key to preventing these issues in the first place.
Kitchen Limestone Area Hygiene
Kitchens are high-traffic areas where hygiene is paramount. Clean spills immediately, especially from food and drinks. Use a pH-neutral cleaner and a soft cloth for daily wipe-downs. For grease or oil stains, a poultice is often the most effective solution. Regular sealing of your limestone kitchen surfaces is also highly recommended to provide an extra layer of protection against stains and etching. We pride ourselves on providing premium, luxury natural stone for kitchens nationwide, backed by fast and reliable shipping.
Troubleshooting Persistent Limestone Issues
Even with the best care, sometimes limestone can present challenges. Don't worry, most persistent issues have solutions. It's about knowing what you're dealing with and how to approach it gently.
Addressing Etching Marks Effectively
Etching looks like dull, lighter spots on your limestone, often caused by acidic substances. It's not a stain, but rather damage to the stone's surface. The key is to avoid acidic cleaners altogether. For minor etching, sometimes a good buffing with a soft cloth can help blend the area. For more noticeable etching, you might need a specialized limestone polishing powder. Always test any product in an inconspicuous spot first. Remember, limestone is sensitive, so patience is a virtue here.
Removing Mold and Mildew Growth
Mold and mildew love damp environments, and limestone, especially in bathrooms or kitchens, can be a target. The first step is always to improve ventilation. For cleaning, use a solution of water and a mild, pH-neutral stone cleaner. You can also try a diluted solution of hydrogen peroxide (3%). Apply it with a soft cloth, let it sit for a few minutes, then wipe clean. Rinse thoroughly with plain water and dry completely. For stubborn cases, a specialized mold and mildew remover for natural stone might be necessary, but always check its suitability for limestone.
Dealing with Efflorescence on Limestone
Efflorescence appears as a white, powdery residue on the surface of limestone. It happens when water trapped within the stone evaporates, leaving salts behind. This is more common with exterior limestone or in areas with moisture issues. Often, it can be brushed away with a dry, soft brush once the stone is completely dry. If brushing doesn't work, try wiping with a slightly damp cloth, but be sure to dry the area thoroughly afterward. Addressing the source of moisture is the long-term solution.
Correcting Dull or Lifeless Surfaces
Over time, limestone can lose its natural sheen due to wear, improper cleaning, or residue buildup. A good starting point is a thorough cleaning with a pH-neutral cleaner to remove any surface grime. If the dullness persists, it might be time to consider a natural stone polish designed for limestone. These products can help restore a subtle luster without harsh chemicals. For honed finishes, gentle buffing with a microfiber cloth can often bring back some of its depth.
Reversing Discoloration
Discoloration can occur from spills, chemical reactions, or even UV exposure. Identifying the cause is the first step. For organic stains (like food or pet accidents), a poultice might be needed. For rust stains, a specific rust remover for natural stone is usually required. If the discoloration is widespread and due to age or wear, a professional might be able to help with honing or polishing to even out the tone. Always test any treatment on a small area first.
When to Call a Professional Stone Restorer
While DIY methods can handle many issues, some problems are best left to the pros. Deep etching, widespread staining that won't budge, significant cracks, or if you're unsure about the cause of the problem, it's wise to seek expert help. Professionals have specialized tools and knowledge to restore limestone without causing further damage. They can assess the stone's condition and recommend the best course of action, whether it's honing, polishing, or sealing. For projects across the U.S., finding a reputable stone restorer is key.
Understanding the Limits of DIY Cleaning
It's important to know when to stop. Aggressive scrubbing, using the wrong cleaners (especially acidic ones), or over-wetting can permanently damage your limestone. If a problem seems to be getting worse with your attempts to fix it, or if you're dealing with a very valuable or delicate piece, it's time to step back. Sometimes, the best DIY approach is to recognize the limits and call in someone with more experience. This prevents costly mistakes down the line and protects your beautiful natural stone investment.
The Science Behind Limestone Cleaning
Limestone is a beautiful natural stone, but it's also a bit sensitive. Understanding what makes it tick helps a lot when you're trying to keep it looking good. It's not like cleaning your kitchen counter; you have to be a bit more careful.
Understanding Limestone's Chemical Composition
Limestone is mostly made up of calcium carbonate. Think of it like chalk or seashells. This composition is what gives limestone its unique look and feel, but it also makes it react to certain things. This calcium carbonate is the key to why some cleaning methods work and others can cause damage. It's a soft, porous stone, which means it can absorb liquids and stains more easily than, say, granite.
How pH Affects Limestone Surfaces
The pH scale tells us if something is acidic, neutral, or alkaline. Limestone is particularly vulnerable to acids. Even common household items like vinegar or lemon juice, which are acidic, can etch the surface of limestone. This means they can actually eat away at the stone, leaving dull spots or a rough texture. It's why we always talk about using pH-neutral cleaners. They won't react with the calcium carbonate and cause harm.
The Mechanism of Stain Absorption
Because limestone is porous, it acts a bit like a sponge. When something spills on it, the liquid can soak into the stone. The longer a spill sits, the deeper it penetrates. This is how stains happen. Different types of stains – like oil, organic matter, or rust – get absorbed in different ways and require different cleaning approaches. For tough stains, a poultice is often used. It's like a paste that draws the stain out of the stone as it dries.
The Role of Water in Cleaning
Water is your best friend when cleaning limestone, but too much can be a problem. A damp cloth is great for routine cleaning. However, letting water sit on the surface for extended periods, especially in bathrooms or kitchens, can lead to water spots or even encourage mold growth over time. Always make sure to dry the limestone thoroughly after cleaning.
How Sealants Work to Protect
Sealing limestone is like giving it a protective coat. Sealants work by filling in the pores of the stone. This makes it harder for liquids and stains to penetrate the surface. A good sealant doesn't make the stone waterproof, but it does buy you time to wipe up spills before they become permanent stains. It's a really important step in protecting your investment.
The Impact of Environmental Factors
Things like humidity, direct sunlight, and even the air quality in your home can affect limestone. High humidity can contribute to mold and mildew growth, especially in bathrooms. Constant sun exposure can sometimes cause discoloration over long periods. Even the type of cleaning products used in your home can have an effect. Being mindful of these factors helps in maintaining the stone's appearance.
Why Gentle Methods Preserve Stone
Given limestone's sensitivity, gentle cleaning methods are always the way to go. Harsh scrubbing with abrasive pads or using strong chemical cleaners can scratch, etch, or otherwise damage the stone's surface. Sticking to soft cloths, pH-neutral cleaners, and a bit of patience will keep your limestone looking beautiful for years to come. It's about working with the stone, not against it. If you're dealing with a particularly tricky issue, sometimes it's best to consult with a professional stone restorer to avoid causing further harm to your natural stone surfaces.
Achieving a Flawless Finish on Your Limestone
The Goal of a Sparkling Surface
Getting your limestone to look its absolute best isn't just about cleaning; it's about bringing out its natural radiance. The aim is a surface that gleams, reflecting light beautifully and showcasing the stone's unique patterns and colors. A truly flawless finish means the limestone looks as good as it did the day it was installed, if not better. It’s about that satisfying, clean look that makes a space feel truly special.
Step-by-Step Cleaning Process
To get that perfect shine, a methodical approach works best. Start by removing any loose debris with a soft brush or a dry microfiber cloth. Then, use a pH-neutral cleaner specifically designed for natural stone. Apply it sparingly with a damp (not wet) mop or cloth. Work in small sections, gently wiping the surface. Always follow up with a clean, damp cloth to rinse away any cleaner residue. The key is to avoid letting water sit on the surface for too long.
Techniques for a Streak-Free Shine
Nobody likes seeing streaks on their beautiful limestone. The trick to avoiding them is in the drying. After cleaning and rinsing, use a clean, dry microfiber cloth to buff the surface. Microfiber is fantastic because it absorbs moisture effectively and doesn't leave lint behind. For larger areas like floors, a clean, dry mop can also work wonders. Work in a consistent direction to ensure an even finish.
Ensuring Uniformity Across the Surface
When cleaning, especially larger areas, it's easy to miss spots or over-clean others, leading to an uneven look. Try to clean in a systematic pattern, like working from one corner of the room to the opposite. This helps ensure every part of the limestone gets the same treatment. Pay attention to edges and corners where dirt can accumulate. Consistency is your best friend here.
The Final Inspection for Perfection
Once you're done cleaning and drying, take a moment to really look at your limestone. Get down low, check from different angles, and look for any missed spots, streaks, or dull areas. Sometimes, a quick touch-up with a dry microfiber cloth is all that's needed to perfect the finish. This final check makes all the difference.
Maintaining the Pristine Appearance
Keeping that flawless look going is all about regular, gentle care. Quick clean-ups of spills, daily dusting, and a routine wipe-down with a damp cloth will prevent dirt from building up and becoming hard to remove. The less you have to deep clean, the better for your limestone's long-term beauty.
Long-Term Care Strategies
Beyond daily and weekly cleaning, think about protecting your investment. Sealing your limestone periodically is a smart move, as it helps prevent stains from penetrating the stone. For high-traffic areas, consider using rugs or mats to reduce wear. Regular inspections will also help you catch any potential issues, like minor etching or wear, before they become big problems. We source handpicked A+ top-quality limestone, and with the right care, it will maintain its luxury appeal for years to come. Our direct importer advantage means you get premium materials without the commercial grade markup, and we often ship same-day across the U.S. for your projects.
Want your limestone to look amazing? Getting that perfect, smooth finish is easier than you think. We'll show you how to make your limestone shine like new. For more tips and to see our beautiful stone options, visit our website today!
Keep That Limestone Looking Its Best
So, there you have it. Cleaning limestone doesn't have to be a huge chore. With the right approach and a little patience, you can keep your stone looking great for years. Remember, gentle is usually best, and always test any cleaner in a hidden spot first. If you're ever unsure, or if you're dealing with a particularly stubborn stain, don't hesitate to reach out to the pros. Taking care of your limestone now means enjoying its natural beauty for a long, long time. Happy cleaning!
Frequently Asked Questions
What's the best way to clean limestone every day?
For daily upkeep, just a quick dusting with a soft cloth works wonders. This stops dirt from building up and scratching the surface. Think of it like brushing your teeth – a little bit often keeps things healthy!
What kind of cleaner should I use on my limestone?
Always go for cleaners that are gentle and don't have strong acids or harsh chemicals. Look for ones labeled 'pH-neutral' or specifically made for natural stone. Regular household cleaners can sometimes damage the stone's finish.
Can I use vinegar or lemon juice to clean limestone?
Definitely not! Vinegar and lemon juice are acidic, which means they can eat away at the limestone, leaving dull spots or etching the surface. It's like giving your stone a bad sunburn.
What if I spill something on my limestone right away?
Act fast! Blot up spills immediately with a soft cloth. The longer a spill sits, the more likely it is to soak in and leave a stain. Quick action is your best friend here.
How often should I deep clean my limestone?
Deep cleaning isn't usually needed often. Maybe once or twice a year, or if you notice it's looking dull or has stubborn marks. Most of the time, gentle daily or weekly cleaning is enough.
Will sealing my limestone help keep it clean?
Yes, sealing limestone is a great idea! It creates a protective barrier that helps prevent stains from soaking in. It's like putting a raincoat on your stone so spills don't get through easily.
How do I get rid of tough stains like oil or rust?
For tough stains, you might need a special 'poultice.' This is like a paste that draws the stain out of the stone. You can find them at stone care stores or sometimes make your own. Always test it in a hidden spot first!
Can I use a rough scrub brush on limestone?
No way! Rough brushes or abrasive cleaners will scratch and dull your beautiful limestone. Stick to soft cloths, sponges, or brushes with very soft bristles.
What does 'pH-neutral' mean for cleaners?
Think of pH like a scale for how acidic or basic something is. 'Neutral' is right in the middle, like water. pH-neutral cleaners are balanced and won't harm your limestone, unlike very acidic or very alkaline (soapy) cleaners.
What should I do after cleaning my limestone floor?
After cleaning and rinsing, make sure to dry the floor completely with a clean, soft towel or mop. Leaving water on the surface can lead to water spots or dullness.
My limestone looks dull. How can I make it shiny again?
If your limestone has lost its shine, you might need to polish it. Use a special stone polish or a clean microfiber cloth to buff the surface. Sometimes, a good cleaning and proper drying can bring back the natural luster too.
Is limestone hard to take care of?
Limestone is a natural stone, so it needs a little care, but it's not overly difficult. The key is to be gentle, avoid harsh chemicals, and clean up spills quickly. With the right approach, it stays beautiful for years.