


Thinking about adding a travertine tile backsplash to your kitchen? It's a great way to add some natural beauty and a touch of class. Travertine has this timeless look that just works. But, like any DIY project, getting it right takes a bit of know-how. This guide will walk you through installing travertine tile backsplash, from picking out the stone to making sure it looks amazing when you're done. We'll cover all the steps so you can get that high-end look without a professional.
Key Takeaways
- Picking the right travertine and getting your tools ready are the first steps for installing travertine tile backsplash.
- Make sure your wall surface is clean and smooth before you start applying tiles.
- Plan your tile layout and pattern carefully to get the look you want.
- When applying adhesive, work in small sections to keep it from drying out.
- Use spacers to keep your grout lines even and consistent.
- Mix your grout to the right thickness and clean off any extra right away.
- Sealing your travertine backsplash is important for protection and easy cleaning.
- Know how to fix common problems like cracked tiles or grout issues.
Preparing For Your Travertine Tile Backsplash Installation

Getting ready for your travertine tile backsplash project is a big part of making sure it turns out great. It’s not just about slapping tiles on the wall; there’s some thought and work that needs to happen beforehand. Think of it like prepping a canvas before you paint – you want a smooth, clean surface for the best results.
Selecting The Perfect Travertine For Your Kitchen
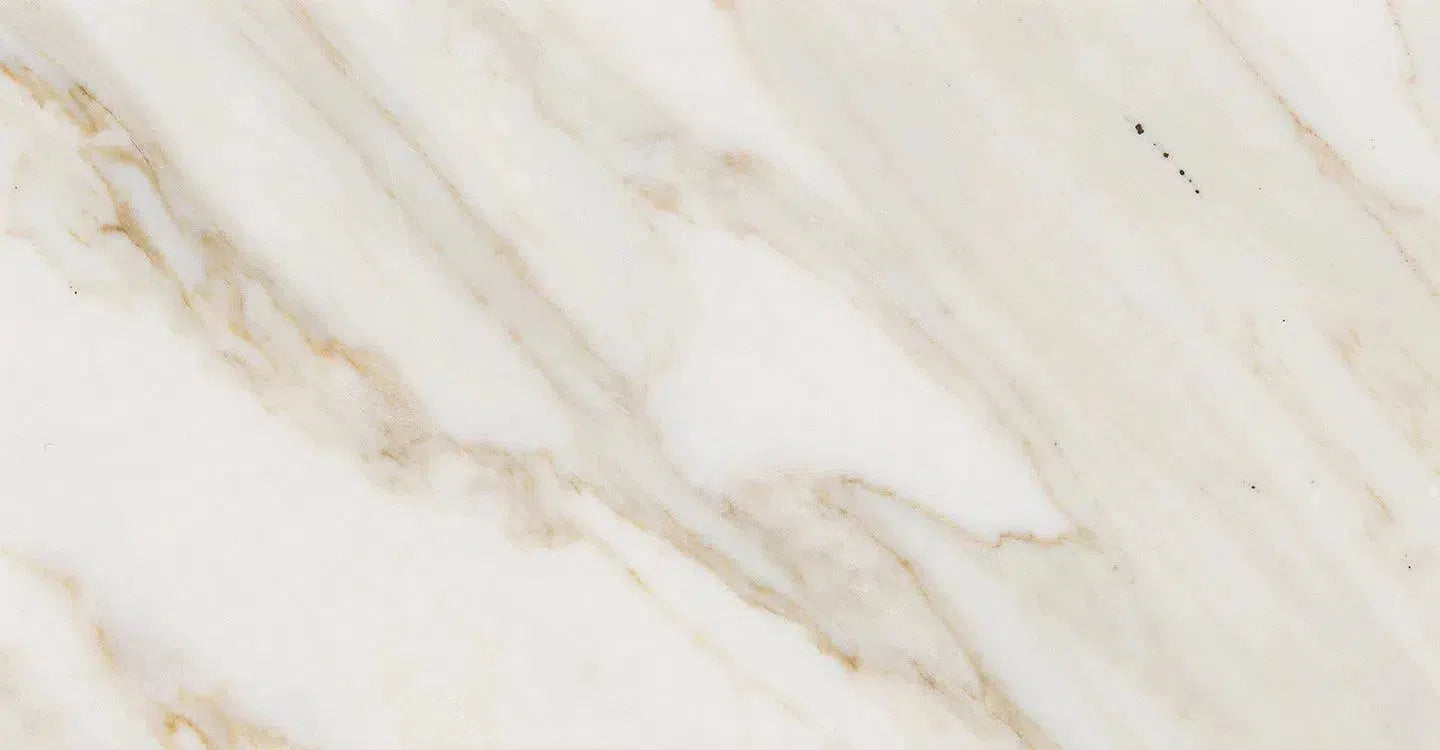
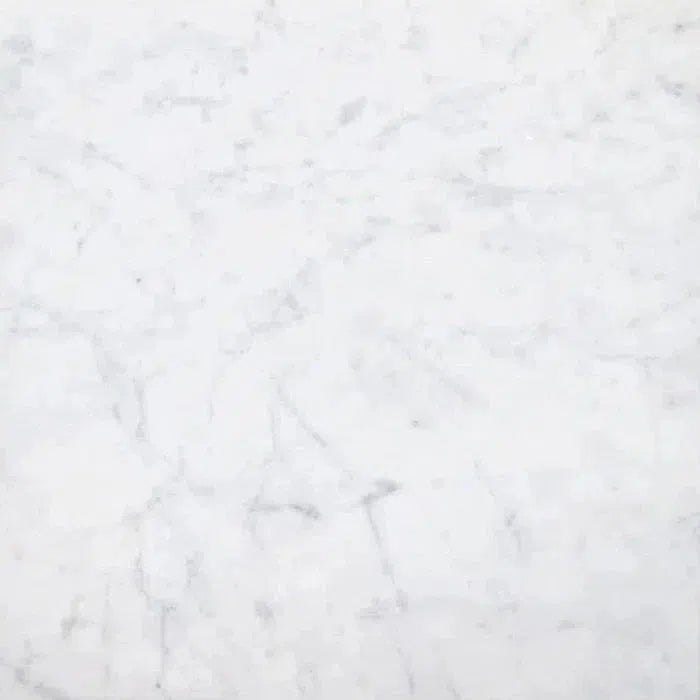
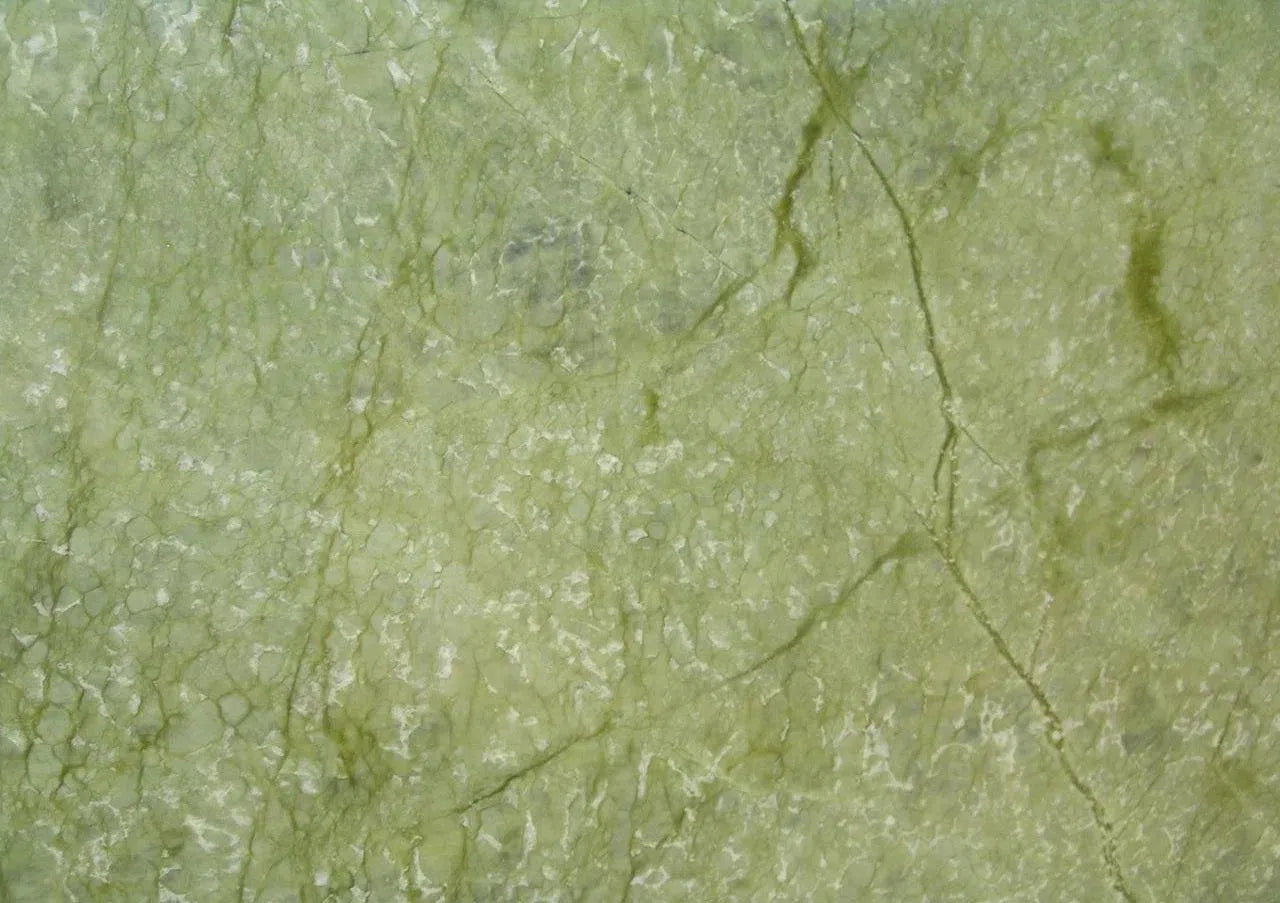
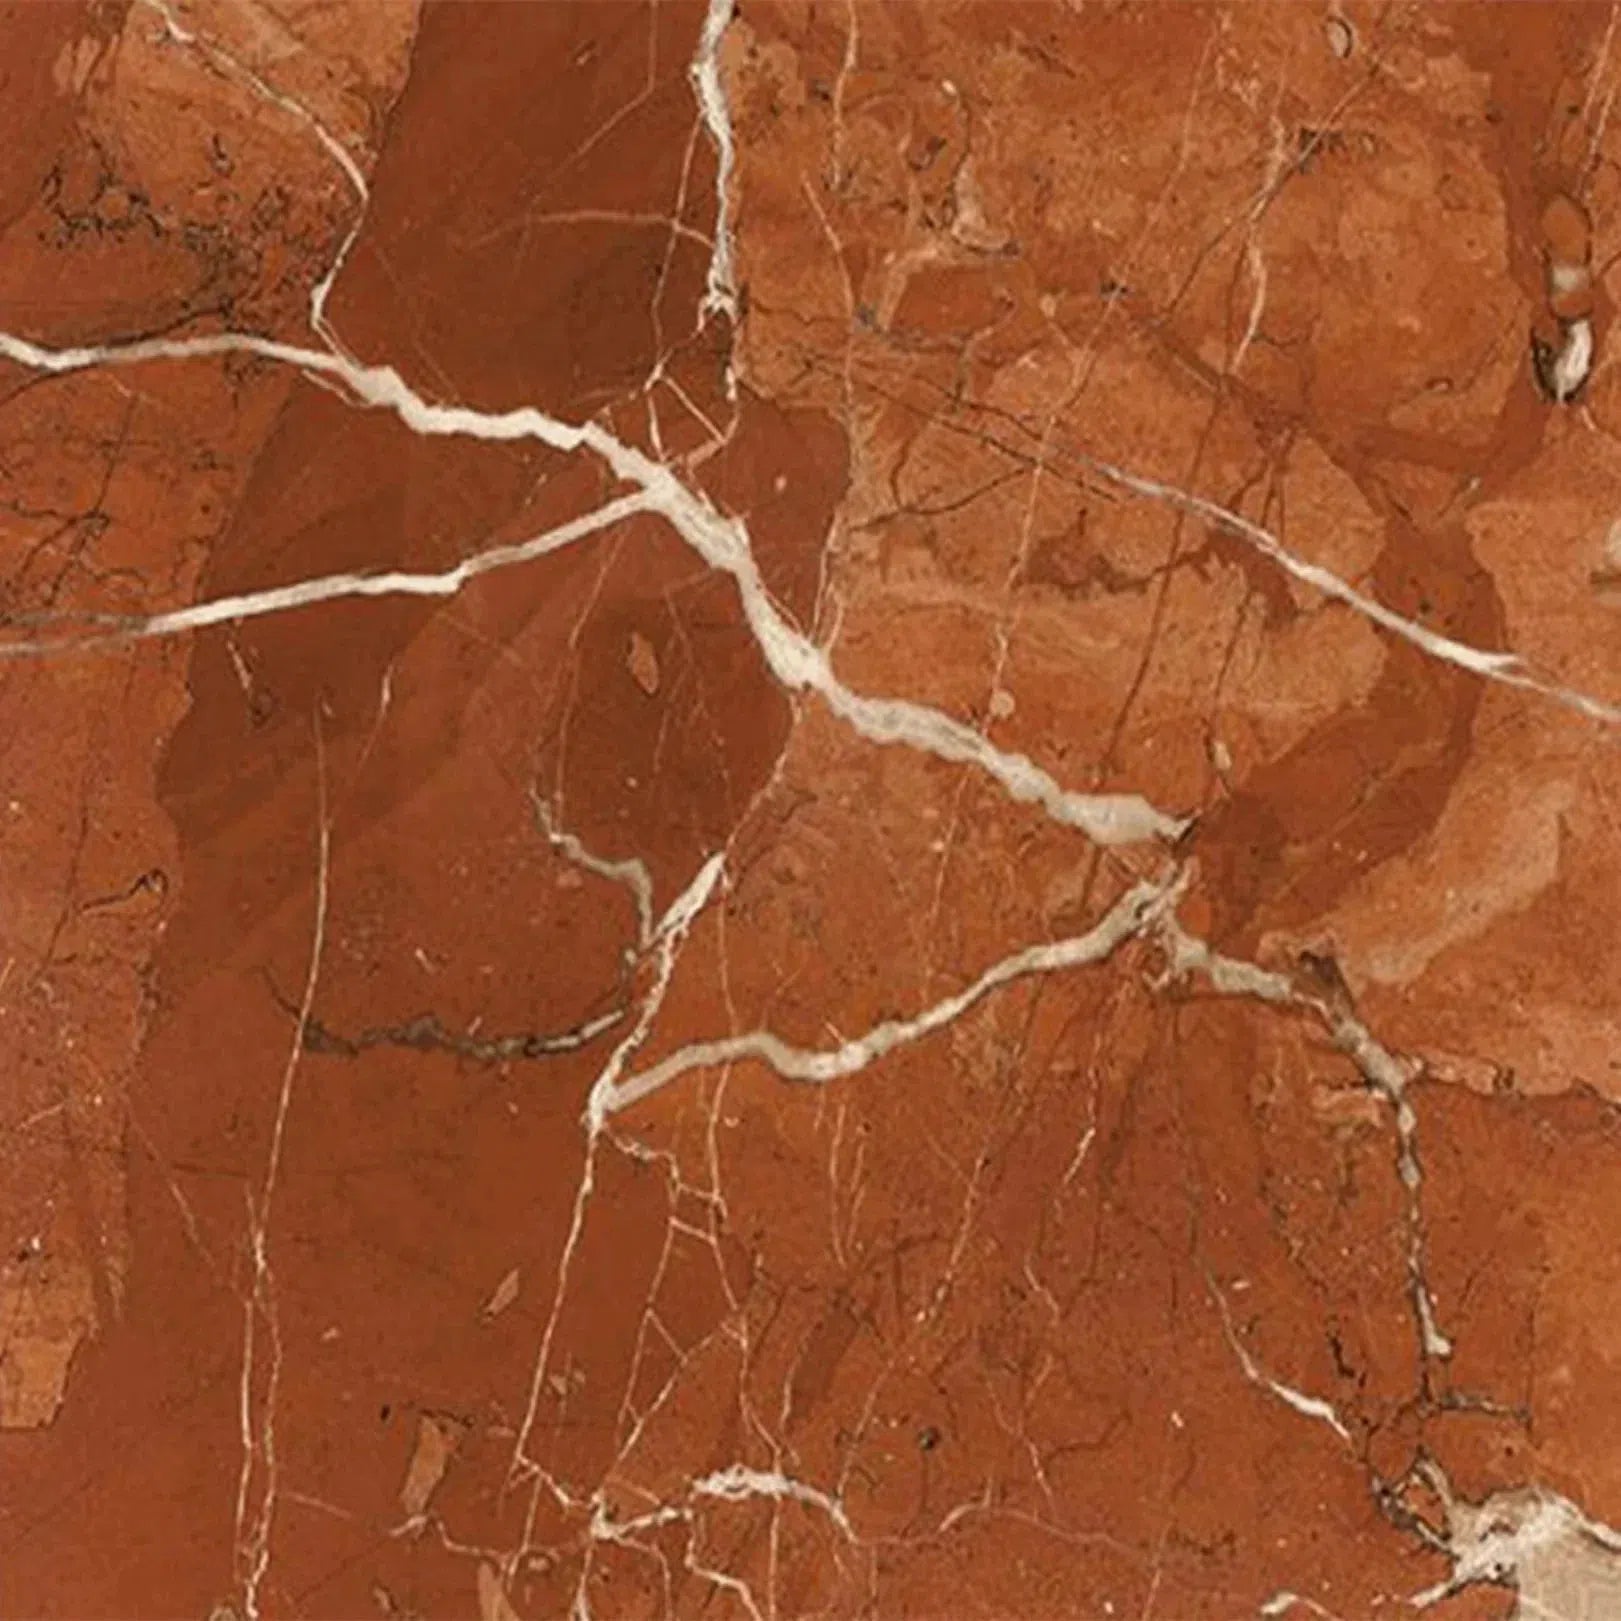
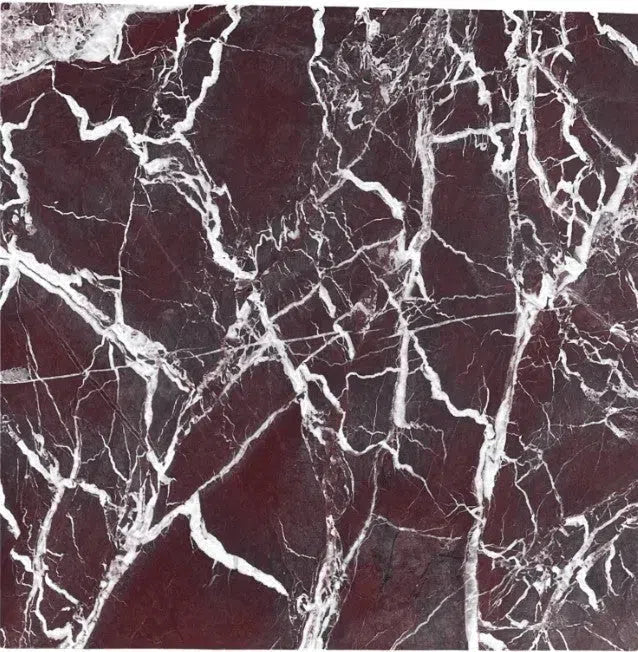
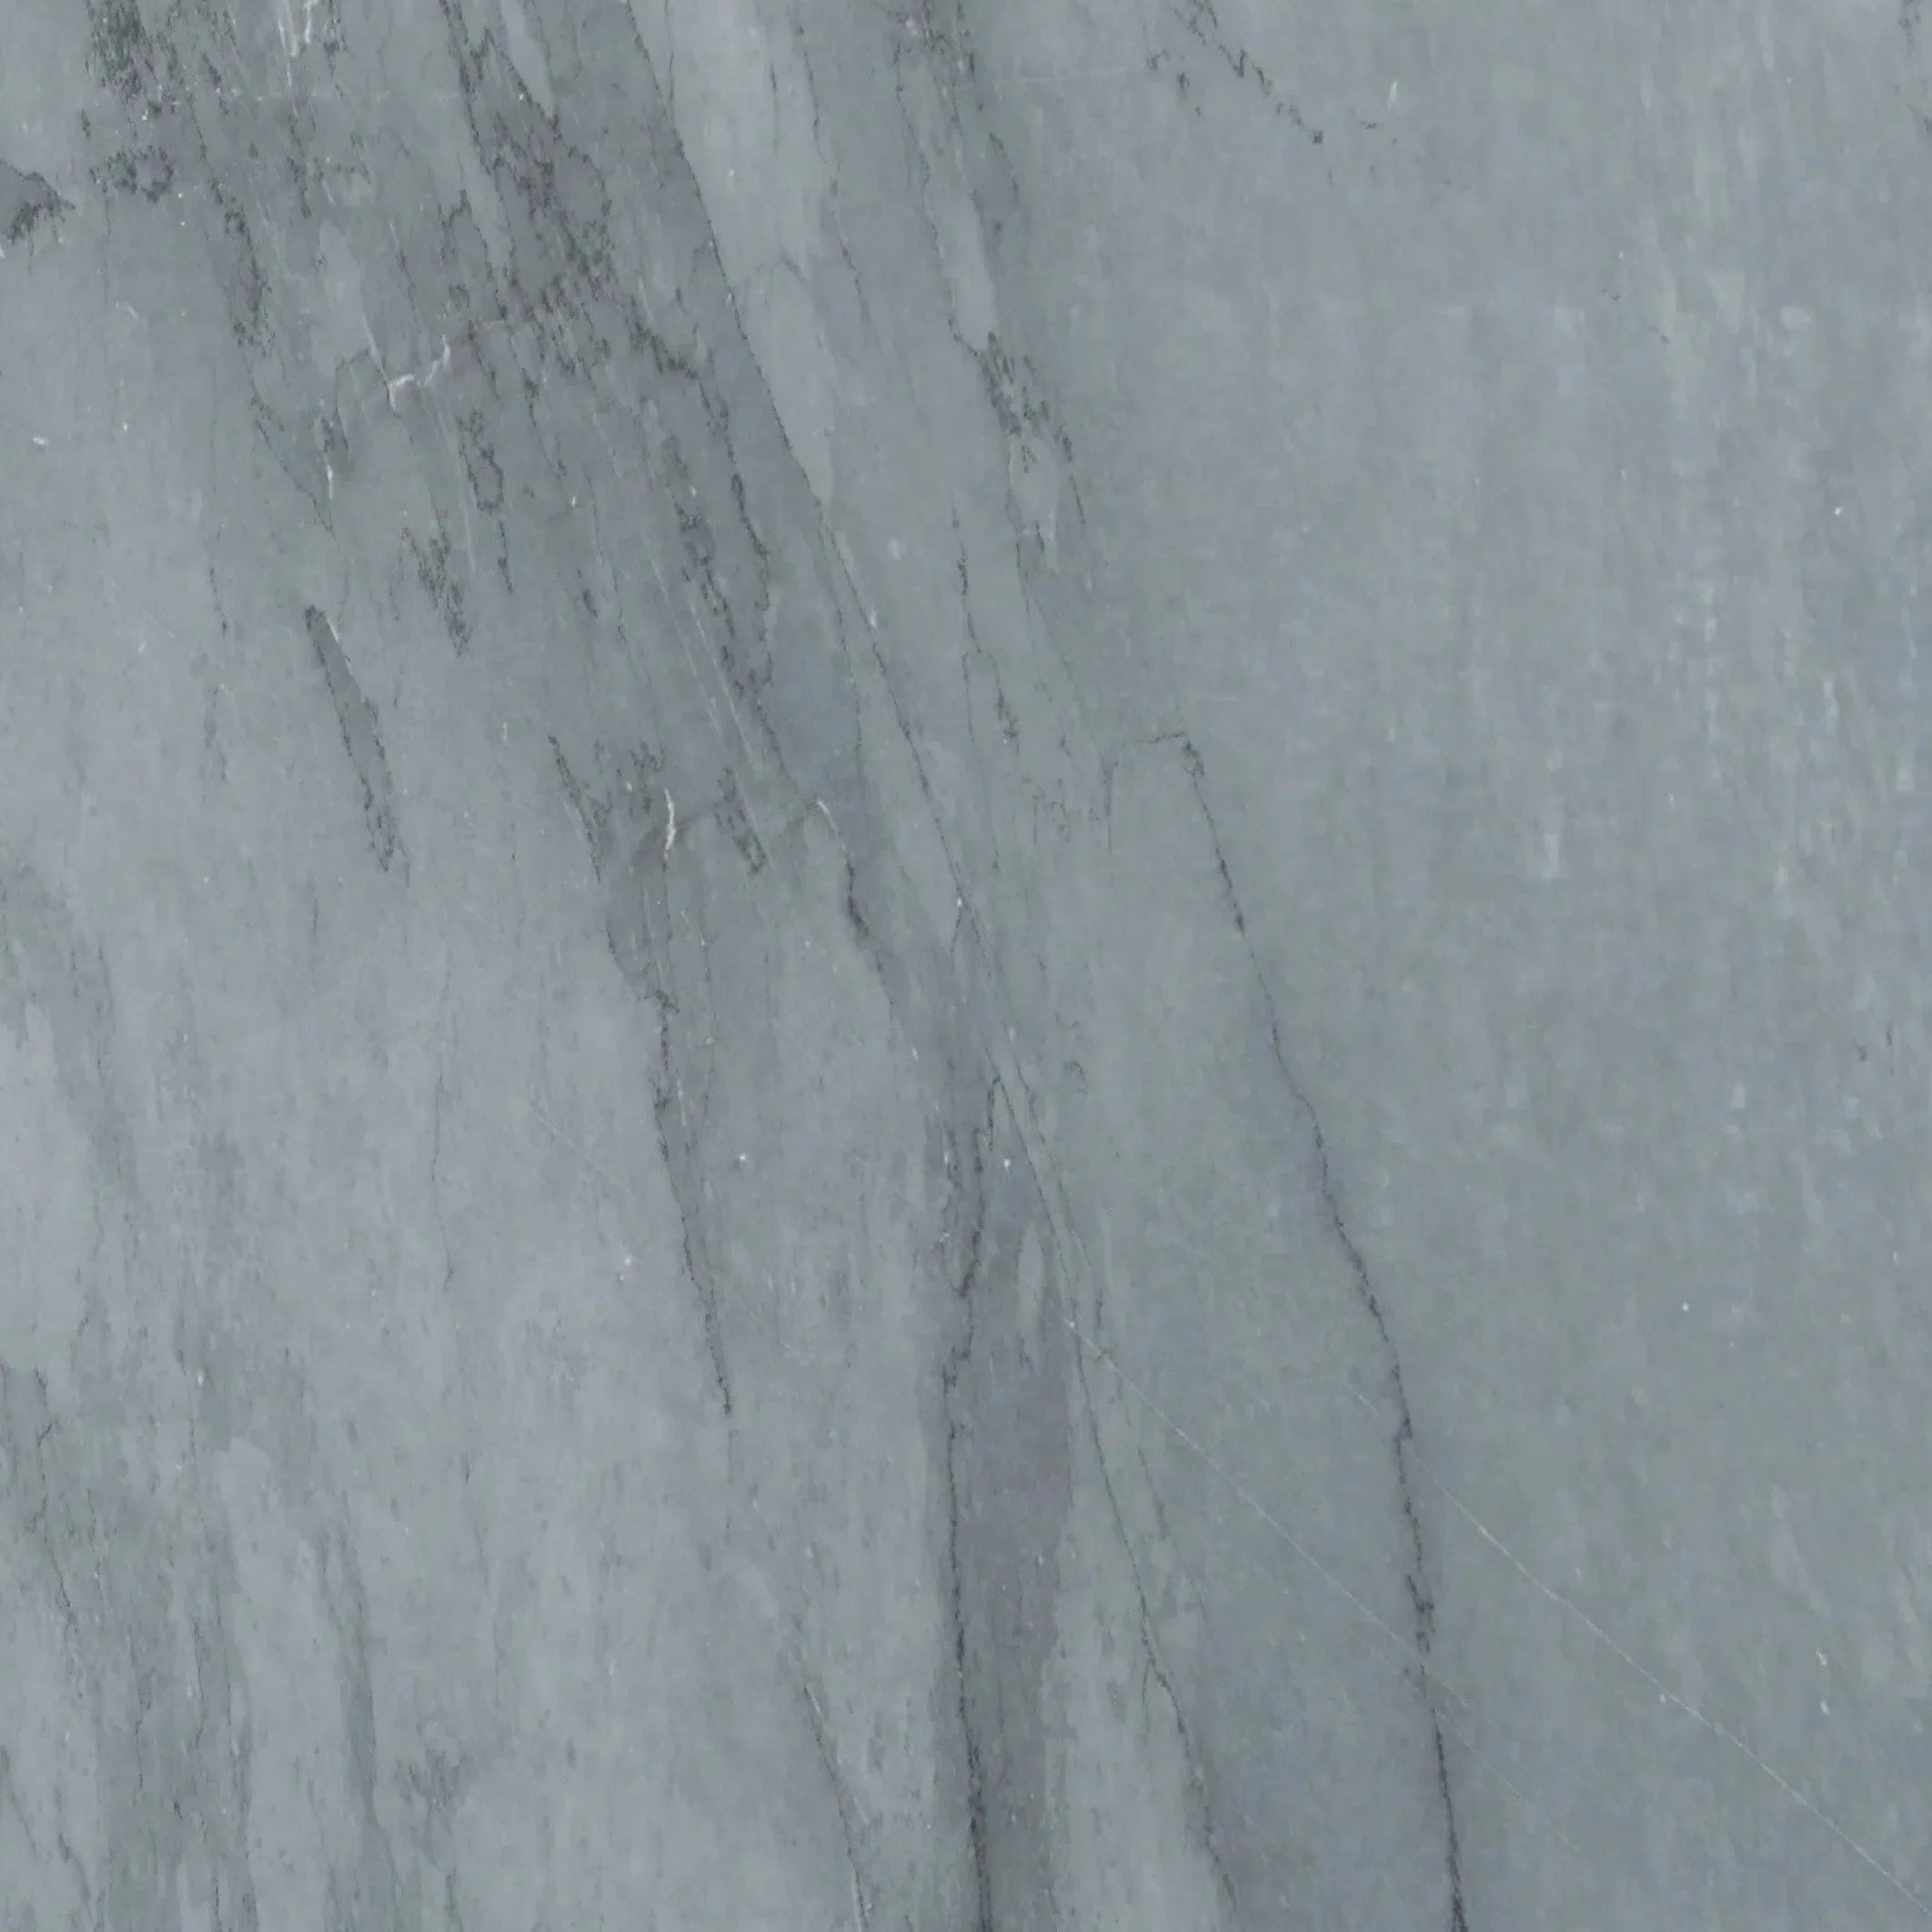
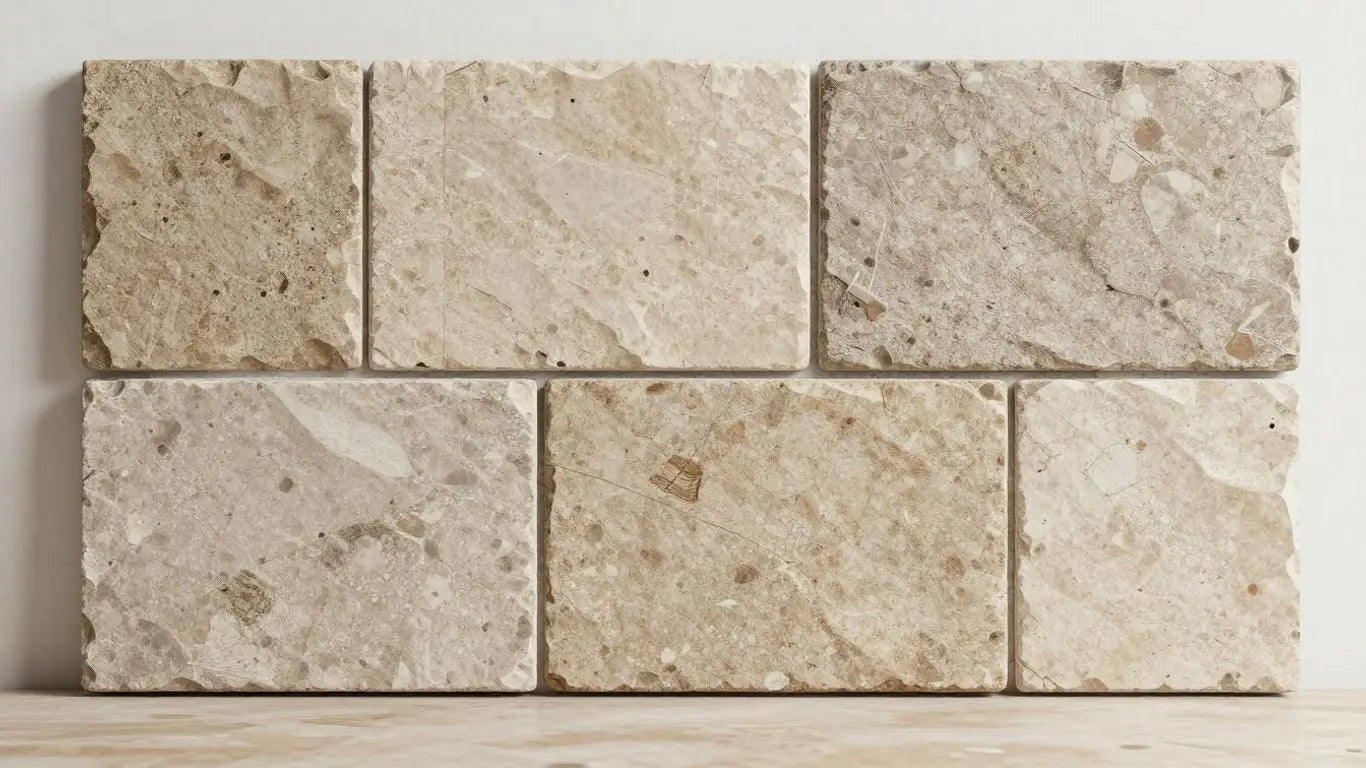
Choosing the right travertine is exciting! You'll find different finishes, like tumbled for a rustic feel or honed for a smoother, more modern look. Consider the color too; travertine comes in shades from creamy beige to deep walnut. Think about how the tile will look with your existing cabinets and countertops. It's a good idea to order samples to see how they look in your kitchen's lighting throughout the day. We offer handpicked A+ top-quality stone, so you know you're getting the best for your U.S. projects.
Gathering Essential Tools For Installation
Before you start, make sure you have everything you need. You'll want tile nippers or a wet saw for cuts, a notched trowel for spreading adhesive, a level, spacers, a grout float, and sponges. Don't forget safety gear like gloves and eye protection. Having all your tools ready means less stopping and starting.
Understanding Your Travertine Tile Choices
Travertine isn't just one thing. It's a natural stone, and that means variations in color and pattern are normal and part of its charm. You'll see different grades and finishes. Some might have more holes (called voids) than others, which can be filled or left as is, depending on the look you want. Knowing these differences helps you pick the travertine that fits your style and budget.
Ensuring A Clean And Smooth Substrate
This is super important. Your wall needs to be clean, dry, and flat. Any bumps, grease, or old adhesive can cause problems later. Sweep and vacuum the area thoroughly. If there are any major imperfections, you might need to skim coat the wall. A good substrate is key for a tile job that lasts. Remember, ensure your substrate is completely dry before you begin.
Planning Your Travertine Layout And Pattern
Before you mix any adhesive, lay out your tiles on the floor or a large surface to visualize the pattern. This helps you see how the colors and natural variations will play together. You can plan where to start and how to handle cuts around windows or outlets. This step prevents surprises and ensures a balanced look across your backsplash.
Protecting Your Workspace From Mess
Tile installation can get messy. Cover your countertops, sink, and floor with drop cloths or plastic sheeting. Tape it down so it doesn't move. This simple step will save you a lot of cleaning time later. You'll thank yourself when it's time to clean up.
Acquiring The Right Adhesive For Natural Stone
Not all adhesives are created equal, especially when working with natural stone like travertine. You need a thin-set mortar specifically designed for natural stone. Check the manufacturer's recommendations to make sure it's suitable for your tile type and the wall substrate. Using the wrong adhesive can lead to tiles falling off or staining.
Calculating The Amount Of Travertine Needed
It's always better to buy a little extra tile than not enough. Measure your backsplash area and add about 10-15% for cuts, mistakes, and future repairs. This accounts for the waste that naturally happens when cutting tiles to fit edges and around obstacles. Buying extra upfront also helps if you need to match a specific dye lot later on.
Mastering The Art Of Installing Travertine Tile Backsplash
Alright, so you've picked out that gorgeous travertine, and now it's time to actually get it on the wall. This part can feel a little intimidating, but honestly, it's pretty straightforward if you take it step-by-step. Think of it like putting together a puzzle, but way more rewarding because you end up with a beautiful backsplash.
Applying Adhesive To The Wall Surface
First things first, you need to get the adhesive on the wall. You don't want to put it on the tile itself, at least not for a backsplash. Grab your notched trowel – the size of the notches depends on the tile size, so check the adhesive manufacturer's recommendation. Start in a small section, maybe a couple of square feet, and spread the adhesive evenly. You want a consistent layer, not too thick and not too thin. The goal is to create ridges that will help the tile bond properly. If you spread too much, it'll just ooze out everywhere when you set the tile, making a mess. If you don't use enough, you might end up with weak spots.
Setting The First Row Of Travertine Tiles
This is where things start to take shape. You'll want to start at the bottom, usually along your countertop. Use a level to make sure that first row is perfectly straight. If it's not, the rest of your backsplash will be crooked, and nobody wants that. Gently press each tile into the adhesive with a slight twisting motion. This helps to ensure good contact. Don't push too hard, or you'll squeeze out all the adhesive. You're aiming for a solid connection.
Cutting Travertine Tiles For Edges And Outlets
Unless your kitchen is a perfect rectangle with no interruptions, you're going to need to cut some tiles. This is where a wet saw or a tile nipper comes in handy. Measure carefully where you need to make a cut – around outlets, windows, or at the end of a run. Mark your tile with a pencil. For outlets, you might need to cut a square or a U-shape. Take your time with these cuts; precision here makes a big difference in the final look. Remember to wear safety glasses when cutting tile!
Maintaining Consistent Grout Lines
Those little gaps between the tiles? That's where the grout goes, and keeping those lines consistent is key to a professional look. This is where tile spacers come in. You'll place them between each tile as you set it. The size of the spacer determines the width of your grout line. For travertine, a slightly wider grout line can sometimes complement the natural stone's texture, but it's really up to your preference. Just make sure they're all the same size throughout your project.
Working Around Electrical Boxes And Fixtures
This is similar to cutting, but it requires a bit more finesse. You'll need to cut tiles to fit around electrical boxes, light switches, and any other fixtures. Sometimes, you can cut a larger piece to fit the whole area, or you might need to cut smaller, more intricate shapes. Always turn off the power to the area before you start working around electrical boxes. It's a safety must. You can use a tile nipper for smaller cuts or a wet saw for more complex shapes. Patience is your best friend here.
Ensuring Proper Tile Adhesion And Alignment
As you go, keep checking that your tiles are sticking well and are aligned. Run your hand over them to feel for any loose spots. Gently tap any tiles that seem to be sticking out too far. You want a flat, even surface. If a tile isn't sticking, you might need to pull it off, clean off the old adhesive, and reapply some fresh adhesive before setting it again. Good adhesion means your backsplash will last for years.
Utilizing Spacers For Uniform Gaps
We touched on this with grout lines, but it's worth repeating. Spacers are your secret weapon for a uniform look. They hold the tiles in place while the adhesive dries and guarantee that your grout lines will be consistent. You'll find them in various sizes, from tiny ones for a nearly seamless look to larger ones for a more rustic feel. Pick a size that complements your travertine and stick with it for the entire project. Remove them once the adhesive has set, but before the grout is applied.
Addressing Irregularities In The Wall
Walls aren't always perfectly flat, especially older ones. If you notice a slight dip or bulge, you might need to adjust how you're setting the tile. Sometimes, a little extra adhesive in a low spot can help. Other times, you might need to shave a bit off the back of a tile if it's sticking out too much. It's rare, but it happens. Don't be afraid to use a level frequently to catch these issues early. It's much easier to fix a small problem as you go than to deal with a big one later. For a successful installation, consider following this guide for detailed steps.
Achieving A Flawless Finish With Travertine Grouting
After all your beautiful travertine tiles are set, the next big step is grouting. This isn't just about filling the gaps; it's about making your backsplash look truly finished and professional. Getting the grout right can make a huge difference in how your whole kitchen looks.
Choosing The Ideal Grout Color For Travertine
The color of your grout plays a surprisingly big role. You want it to complement your travertine, not fight with it. For a subtle look, a color that closely matches your tile is a good bet. This makes the tiles blend together, creating a more uniform surface. If you want the grout lines to be a design element, consider a contrasting color. A darker grout can make lighter travertine pop, while a lighter grout can soften darker stones. Think about the overall style of your kitchen – modern, rustic, traditional – and pick a grout color that fits.
Mixing Grout To The Correct Consistency
This is where things can get a little tricky, but it's totally doable. You're aiming for a consistency like peanut butter or thick toothpaste. Too watery, and it'll run everywhere and won't hold well. Too dry, and it'll be crumbly and hard to work with. Most grout mixes come with instructions, so follow those closely. Add the water slowly, mixing as you go, until you reach that perfect texture. It’s better to add a little too much water than too little, but still, be careful.
Applying Grout With A Rubber Float
Once your grout is mixed, grab a grout float – that's the rubbery tool. Hold it at an angle, about 45 degrees, and spread the grout over the tiles. You want to push the grout into all those spaces between the tiles. Work in small sections so the grout doesn't start to dry out before you can get it in place. Go in different directions – up, down, sideways – to make sure every gap is filled completely. Don't worry too much about getting grout on the tile faces at this stage; we'll clean that up.
Wiping Away Excess Grout Promptly
As soon as you've covered a section with grout, it's time to clean up. Use the edge of your grout float to scrape off the bulk of the excess grout from the tile surfaces. Then, grab a damp (not soaking wet!) sponge. Wipe diagonally across the tiles. Rinse your sponge frequently in a bucket of clean water. You'll probably need a couple of buckets – one for the initial rinse and one for a cleaner rinse. This step is important for preventing a tough grout haze later on.
Cleaning Grout Haze From The Travertine Surface
After the grout has set a bit (usually after an hour or two, depending on humidity), you might see a dusty film on your tiles. This is grout haze. You can usually buff this off with a clean, dry microfiber cloth. If it's stubborn, a slightly damp cloth might work, but be careful not to disturb the grout lines. Sometimes, a specialized grout haze remover is needed for really tough spots, but try the simple methods first.
Allowing Adequate Curing Time For Grout
This is a waiting game, but it's super important. Grout needs time to harden properly. Check the manufacturer's instructions, but typically, you'll want to wait at least 24 to 72 hours before putting any real stress on the backsplash, like leaning things against it. Some sources suggest waiting even longer, up to a week, before doing a deep clean or sealing. Patience here prevents future problems.
Detailing Edges And Corners
Pay special attention to where the backsplash meets your countertops, cabinets, or walls. You might need to use a smaller tool, like a putty knife or even a gloved finger, to smooth out the grout in these tight spots. For a really clean edge, you can use painter's tape along the edges before you start grouting, then carefully remove it once the grout is applied and smoothed.
Understanding Grout Types For Natural Stone
Not all grouts are created equal, especially when it comes to natural stone like travertine. For most backsplashes, an epoxy grout or a high-performance sanded grout is a good choice. Sanded grout has fine sand particles that help prevent shrinkage and cracking, making it strong. Epoxy grout is super durable, stain-resistant, and waterproof, but it can be a bit trickier to work with. Always check if the grout is suitable for natural stone and your specific project needs. You can find great options for natural stone projects nationwide.
Sealing And Maintaining Your New Travertine Backsplash
So, you've got that beautiful travertine backsplash installed. Looks great, right? But don't stop there. Travertine is a natural stone, and like any natural material, it needs a little TLC to keep it looking its best and to protect your investment. This is where sealing and proper maintenance come in.
The Importance Of Sealing Travertine
Think of sealing as giving your travertine a protective shield. Unsealed, natural stone is porous, meaning it can soak up spills like a sponge. This can lead to stains that are tough to remove and can even damage the stone over time. Sealing fills these tiny pores, making it harder for liquids and oils to penetrate. This buys you time to wipe up messes before they become permanent problems. It also helps prevent etching from acidic substances, which can dull the stone's finish.
Selecting The Right Travertine Sealer
Not all sealers are created equal. For travertine, you'll want a penetrating sealer specifically designed for natural stone. These sealers soak into the stone rather than just forming a film on top. There are different types, some that enhance the color (often called 'color-enhancing' or 'wet-look' sealers) and others that offer a more natural, matte finish. Read the product labels carefully to understand what you're getting. For a kitchen backsplash, a good quality impregnating sealer is usually the way to go. You can find these at most home improvement stores or specialty tile shops.
Applying The First Coat Of Sealer
Before you start sealing, make sure your backsplash is completely clean and dry. Any dirt or dust trapped under the sealer will be there for good. You can use a clean cloth, a sponge brush, or even a sprayer for application. Work in small sections, about 3-4 square feet at a time. Apply the sealer liberally, making sure to cover the entire surface of each tile and the grout lines. You want the stone to absorb the sealer, so don't just wipe it on the surface.
Allowing The Sealer To Penetrate
After applying the sealer to a section, let it sit for the time recommended by the manufacturer – usually about 10-15 minutes. During this time, the sealer is soaking into the pores of the travertine. You might see some areas absorbing more sealer than others; this is normal for natural stone. Don't let the sealer dry completely on the surface.
Applying Additional Sealer Coats As Needed
Once the initial penetration time is up, you'll need to wipe off any excess sealer that hasn't been absorbed. Use a clean, dry cloth to buff the surface. If the stone still looks like it's absorbing water quickly (you can test this with a few drops), it might need another coat. Apply a second coat following the same steps. Some manufacturers recommend up to three coats for maximum protection, especially in high-traffic or high-moisture areas like a kitchen backsplash. It's always best to follow the specific product's instructions.
Understanding Sealer Drying And Curing Times
There's a difference between drying and curing. The sealer will likely feel dry to the touch within a few hours. However, it takes longer for the sealer to fully cure and reach its maximum protective potential. This can take anywhere from 24 to 72 hours, sometimes even longer depending on humidity and temperature. During this curing period, try to avoid getting the backsplash wet or exposing it to heavy use. This allows the sealer to harden properly within the stone.
Routine Cleaning For Travertine Backsplashes
Keeping your travertine backsplash clean is pretty straightforward. The most important thing is to wipe up spills immediately. For daily cleaning, use a pH-neutral cleaner specifically made for natural stone. Avoid harsh chemicals, abrasive cleaners, or acidic products like vinegar or lemon juice, as these can damage the sealer and the stone itself. A soft cloth or sponge is usually all you need. For tougher spots, a gentle stone cleaner should do the trick.
Tips For Long-Term Travertine Care
- Re-seal periodically: Depending on usage and the type of sealer used, you'll need to re-seal your backsplash every 1-3 years. A simple water test (if water beads up, it's still sealed; if it soaks in, it's time to re-seal) can tell you when. Check out our guide on sealing for more details.
- Use coasters or mats: While your backsplash is sealed, it's still a good idea to use mats under items that might sit on the counter near the backsplash, like soap dispensers or oil bottles, to catch any drips.
- Address stains quickly: If a stain does occur, identify the type of stain and use the appropriate stone cleaner. Acting fast is key.
- Be mindful of heat: While travertine is durable, extreme, direct heat from cooking appliances placed directly against it for extended periods isn't ideal. Ensure good ventilation.
Taking these steps will help keep your travertine backsplash looking gorgeous for years to come. It’s a small effort for a big payoff in beauty and longevity for your kitchen.
Troubleshooting Common Travertine Backsplash Issues
Even with the best preparation, sometimes things don't go exactly as planned when installing a travertine backsplash. Don't worry, most common problems have straightforward solutions. Let's look at a few issues you might run into and how to fix them.
Dealing With Cracked Or Chipped Tiles
Accidents happen. You might drop a tile, or a piece might chip during cutting. If a tile is cracked or chipped before installation, it's best to replace it. For minor chips on an edge that will be hidden by trim, you might be able to fill it with a color-matched epoxy or grout. For larger cracks or chips that are visible, you'll need to remove the damaged tile and set a new one. Gently chip away the old tile with a chisel and hammer, being careful not to damage surrounding tiles. Clean the area thoroughly before applying new adhesive and setting the replacement tile.
Addressing Uneven Tile Surfaces
Sometimes, tiles might not sit perfectly flush, leading to an uneven surface, also known as lippage. This can happen if the substrate isn't perfectly flat or if the adhesive isn't applied evenly. The best way to avoid this is to ensure your wall is smooth and the adhesive is spread consistently. If you notice lippage after the adhesive has set, it's difficult to fix without removing the tiles. However, during installation, you can often correct minor unevenness by gently tapping tiles into place with a rubber mallet or by adding or removing a bit of adhesive under low spots. Checking for lippage during installation is key; you can often spot it by running your hand over the tiles or using a straight edge.
Correcting Grout Line Imperfections
Uneven grout lines are a common headache. This usually stems from inconsistent spacing during tile setting. If the grout lines are slightly off, you might be able to carefully widen or fill them with grout before it fully cures. If the grout has already hardened, you might need to carefully scrape out the offending grout with a utility knife and reapply. For significant issues, removing and re-grouting a section might be necessary. Always use tile spacers to maintain uniform gaps; this is your best defense against uneven grout lines.
Removing Stubborn Stains From Travertine
Travertine is porous, so it can stain. For fresh spills, blot them up immediately. For set-in stains, you might need a poultice. Mix an absorbent material like diatomaceous earth or baking soda with a cleaning agent (like hydrogen peroxide for organic stains or a specialized stone cleaner for others) to form a paste. Apply the paste to the stain, cover it with plastic wrap, and let it sit for 24-48 hours. The poultice should draw the stain out of the stone. Repeat if necessary. Always test any cleaning method in an inconspicuous area first.
Repairing Loose Tiles
If a tile becomes loose, it usually means the adhesive bond has failed. You'll need to carefully remove the tile. Gently pry it up with a putty knife or chisel. Clean off all old adhesive from the tile and the wall. Apply a fresh layer of tile adhesive to the wall and press the tile firmly back into place. You might need to re-grout the edges if the old grout was damaged during removal. This is a good time to check for hollow sounds behind other tiles, which could indicate poor adhesion in those spots too [f5f2].
Managing Efflorescence On Natural Stone
Efflorescence appears as a white, powdery residue on the surface of natural stone. It's caused by salts migrating from within the stone or substrate to the surface and then evaporating. It's usually harmless but can be unsightly. You can typically remove it with a dry brush or a slightly damp cloth. If it persists, a specialized efflorescence remover for natural stone can be used. Proper sealing of your travertine can help prevent this issue in the future.
Revisiting Sealing For Protection
If you're experiencing staining or efflorescence issues, it might be a sign that your travertine needs resealing. Sealers create a barrier that helps prevent liquids and stains from penetrating the stone. If your sealer has worn off, it's time for another application. Follow the instructions for applying a quality stone sealer to protect your backsplash.
When To Call A Professional Installer
While many issues can be fixed with a DIY approach, some problems are best left to the pros. If you're dealing with widespread cracking, significant lippage across a large area, or if you've tried fixing something and made it worse, it might be time to call in an expert. A professional installer has the tools and experience to handle complex repairs and can often save you time and frustration. Remember, a well-installed travertine backsplash is a beautiful addition to any kitchen, and sometimes getting professional help is the best way to achieve that look [2143].
Don't let minor setbacks discourage you. With a little patience and the right approach, you can keep your travertine backsplash looking its best for years to come.
Elevating Your Kitchen With Travertine Tile Backsplash Design
Travertine isn't just a material; it's a statement. Choosing travertine for your backsplash means bringing a piece of natural artistry into your kitchen. It offers a warmth and character that manufactured materials just can't replicate. Think about how different finishes can change the whole vibe of your space. A tumbled finish gives a rustic, old-world feel, perfect for a farmhouse kitchen. On the other hand, a honed or polished finish can bring a sleek, modern elegance that works wonders in contemporary designs.
Exploring Different Travertine Finishes
When you're looking at travertine, you'll notice a few common finishes. Each one affects the look and feel:
- Tumbled: This finish gives the tiles a worn, aged appearance with softened edges. It's great for a cozy, traditional kitchen.
- Honed: A smooth, matte surface that's less reflective than polished. It's a popular choice for its understated elegance.
- Polished: This high-gloss finish brings out the rich colors and veining in the stone, adding a touch of luxury.
- Brushed: This finish offers a slightly textured surface, revealing the stone's natural grain while maintaining a subtle sheen.
Incorporating Travertine In Various Kitchen Styles
Travertine is surprisingly versatile. It can anchor a rustic kitchen, add warmth to a modern space, or provide a classic foundation for a transitional design. For a truly unique look, consider mixing travertine with other materials. Imagine a border of mosaic tiles set against a field of travertine, or using different travertine shapes and sizes together. This approach can add depth and visual interest, making your backsplash a real focal point. You can find some amazing travertine kitchen backsplash ideas to get inspired.
Mixing Travertine With Other Materials
Don't be afraid to get creative! Combining travertine with other natural stones or even complementary materials can create a dynamic design. For instance, using a darker stone for an accent strip or a mosaic tile inlay can really make the travertine pop. This layering of textures and colors adds a bespoke feel to your kitchen.
The Timeless Appeal Of Travertine
One of the best things about travertine is its enduring style. It's a material that has been used for centuries, and its natural beauty never goes out of fashion. This means your travertine backsplash will likely remain stylish for years to come, making it a smart investment for your home. It's a choice that speaks to quality and lasting design.
Creating A Focal Point With Your Backsplash
Your backsplash is a prime spot to showcase personality. With travertine, you can create a stunning focal point. Consider a dramatic pattern, a unique color variation, or a contrasting grout color to make it stand out. The natural variations within travertine itself mean that no two backsplashes will ever be exactly alike, offering a truly custom look.
Considering Lighting Effects On Travertine
Lighting plays a big role in how your backsplash looks. Under-cabinet lighting can highlight the texture and color of the travertine, creating a warm and inviting atmosphere. A polished finish will reflect light, making the space feel brighter, while a honed finish will absorb it, offering a softer glow. Think about how the light in your kitchen hits the wall throughout the day.
The Durability Of Travertine In High-Traffic Areas
Travertine is a durable natural stone, making it a practical choice for a kitchen backsplash, even in busy households. While it's natural stone and requires proper sealing and care, it holds up well against daily use. Its natural strength means it can withstand the demands of a working kitchen. We source only handpicked A+ top-quality stone, ensuring your backsplash looks great for years.
Achieving A Luxurious Look With Travertine
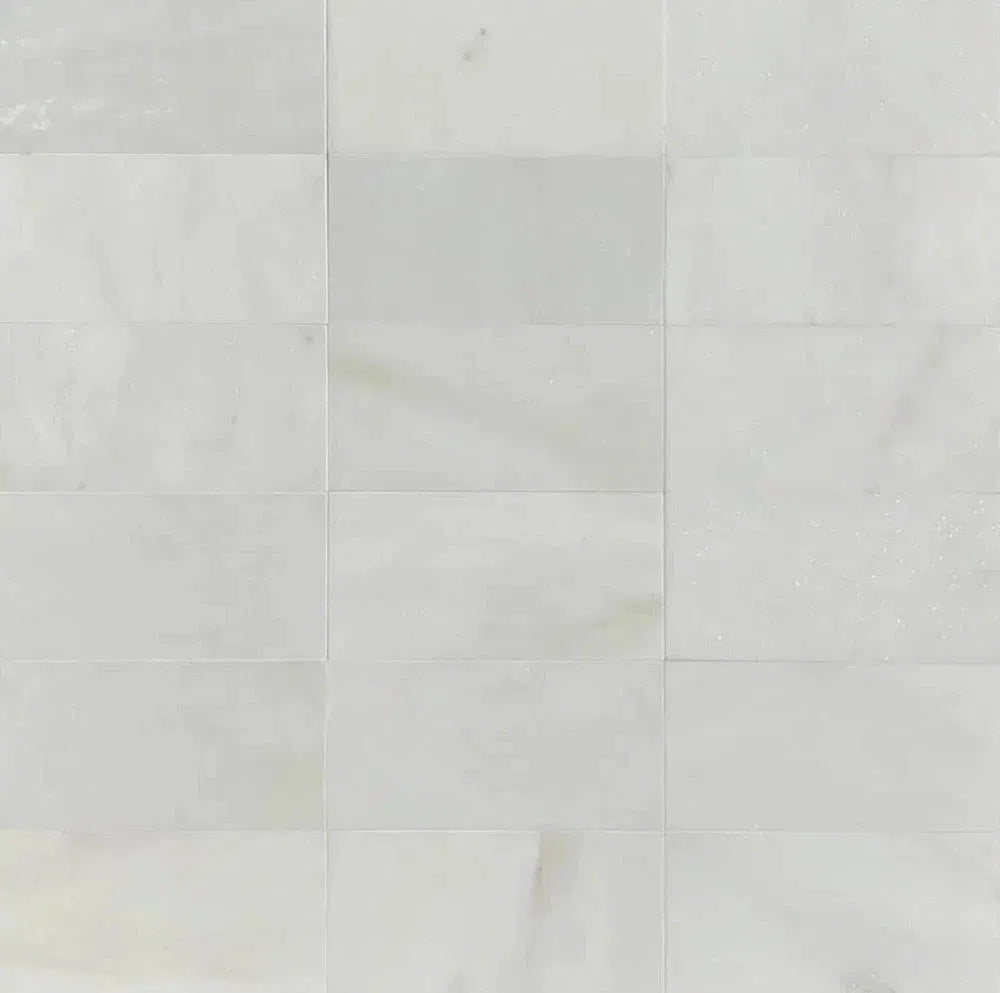
Ultimately, a travertine tile backsplash adds a touch of natural luxury to any kitchen. It's a material that feels substantial and looks sophisticated. Whether you opt for a simple subway tile pattern or a more intricate design, the inherent beauty of travertine will make your kitchen feel more special. It's a way to bring timeless elegance right into the heart of your home.
Want to make your kitchen look amazing? Travertine tile backsplashes are a fantastic choice! They add a touch of natural beauty and style that can really change the feel of your cooking space. Imagine a warm, earthy look or a sleek, modern design – travertine can do it all. Ready to see how these tiles can transform your kitchen? Visit our website today to explore our stunning collection and find the perfect travertine backsplash for your home!
Your Beautiful Travertine Backsplash Awaits
So there you have it! Installing a travertine tile backsplash might seem like a big job, but with a little patience and this guide, you can totally do it. You've learned how to prep your space, lay those beautiful stones, and finish it all off. It’s a project that really makes a kitchen feel more like home, adding that touch of natural elegance. Remember, if you ever need more help or want to see more options for your next project, American Stone Center is there for you. They have handpicked A+ top-quality stone, and they don't sell commercial grade – only premium. Plus, their direct importer advantage means you get great value. Happy tiling!
Frequently Asked Questions
What kind of travertine is best for a kitchen backsplash?
Travertine comes in different finishes like polished, honed, and tumbled. For a kitchen backsplash, honed or tumbled finishes are often best because they're less slippery if they get wet and show less water spotting than polished.
What tools do I really need for this job?
You'll need basic tiling tools: a trowel for spreading adhesive, a level to make sure tiles are straight, tile nippers or a wet saw for cutting, spacers for even gaps, and tools for grouting like a float and sponges. Safety glasses are a must!
How do I make sure my wall is ready for tiles?
The wall needs to be clean, dry, and smooth. Any old paint, grease, or bumpy spots should be scraped off or sanded down. A flat surface helps the tiles stick well and look straight.
Should I plan where each tile goes before I start sticking them?
Yes, definitely! Laying out your pattern on a table or the floor first helps you see how it will look and figure out where you'll need to cut tiles. This avoids surprises when you're up on the wall.
What's the best glue (adhesive) for travertine tiles?
Since travertine is a natural stone, you need a special adhesive made for it, usually a thin-set mortar. Look for one that's good for natural stone and suitable for backsplashes. Your local tile store can help you pick the right one.
How much extra travertine tile should I buy?
It's smart to buy about 10-15% more tile than you think you'll need. This extra amount covers any tiles you might break while cutting or mistakes you might make during installation.
How do I get the grout lines to look even?
Use tile spacers! These little plastic pieces go between each tile, creating a consistent gap. Once the adhesive is dry, you pull them out before grouting. This makes your backsplash look professionally done.
What's the best color grout for travertine?
It depends on the look you want! Lighter grout makes the tile color pop, while darker grout can create a more subtle, earthy look. Many people like a neutral beige or gray that complements the natural tones of travertine.
How do I clean up the extra grout after I put it on?
Use a grout float to press the grout into the gaps, then wipe away the excess with a damp sponge. Be careful not to pull too much grout out of the lines. You'll likely need to wipe the tiles down a few times as the grout starts to set.
Do I need to seal my travertine backsplash?
Yes, sealing is very important! Travertine is porous, meaning it can soak up liquids. Sealing protects it from stains and moisture, making it easier to clean and last longer. You'll need to reseal it every year or two.
What if I chip or crack a tile during installation?
Don't worry! That's why you buy extra. Carefully remove the damaged tile, making sure not to disturb the surrounding tiles. Then, clean the area and set a new tile in its place using fresh adhesive.
Can I mix travertine tiles with other materials like wood or metal?
Absolutely! Mixing materials can add a lot of character. You could have a travertine backsplash with wooden cabinets or metal accents like a range hood. It creates a unique and stylish look for your kitchen.