


Thinking about updating your patio? Laying outdoor tiles over concrete can really change the look of your outdoor space. It's not as hard as it might seem. This guide breaks down how to get it done, from picking the right tiles to making sure they stick and last. We'll cover everything you need to know about transforming your concrete patio into something special.
Key Takeaways
- Get your concrete patio ready by cleaning it well and fixing any damage.
- Pick outdoor tiles that can handle the weather and won't be too slippery.
- Make sure you have the right tools, like tile cutters and trowels.
- Use special outdoor tile glue or mortar that's made for this kind of job.
- Plan your tile layout before you start sticking them down.
- Grout the tiles carefully and let everything dry properly.
- Seal the tiles and grout to protect them from the elements.
- Keep your new tiled patio clean and check it now and then for any issues.
Preparing Your Concrete Patio For Outdoor Tiles
Getting your concrete patio ready for new tiles is a big part of making sure the whole project turns out right. It’s not just about slapping tiles down; you’ve got to do some prep work first. Think of it like getting a canvas ready before you paint a masterpiece. If the foundation isn't solid, the whole thing can fall apart later.
Assessing The Existing Concrete Surface
First things first, take a good, hard look at your concrete. Is it cracked? Does it have any low spots or high spots? Is it crumbling anywhere? You need to know what you're working with. A thorough inspection will tell you what kind of repairs you'll need to make. Check for any signs of moisture issues too, like damp patches or efflorescence (that white powdery stuff). If the concrete is really damaged, you might need to consider resurfacing or even replacing it before you even think about tiles. For most patios, though, a good cleaning and some patching will do the trick.
Cleaning And Degreasing For Optimal Adhesion
Once you know the condition of your concrete, it's time to clean it up. You want a surface that's free of dirt, grease, mold, and anything else that could stop the tile adhesive from sticking properly. A good scrub with a stiff brush and a concrete cleaner or degreaser is usually the way to go. For really stubborn stains, you might need a pressure washer, but be careful not to damage the concrete itself. Rinse everything off really well and let it dry completely. You can't put tiles over a dirty or greasy surface and expect them to stay put.
Repairing Cracks And Imperfections
Now, let's fix those flaws. Small cracks can often be filled with a concrete repair caulk or epoxy. For larger cracks or spalls (where chunks of concrete have broken off), you'll want a good quality concrete patching compound. Follow the product instructions carefully, making sure to fill the cracks completely and smooth them out so they're level with the surrounding concrete. If you have significant pitting or unevenness, you might need to apply a thin layer of self-leveling compound. The goal here is to create a smooth, uniform surface.
Ensuring Proper Drainage Away From The Area
This is super important, especially for outdoor projects. Water pooling around your tiles and grout can cause all sorts of problems, like cracking, mold, and freeze-thaw damage. Your patio should have a slight slope away from your house and any structures. If it doesn't, you might need to build up the concrete slightly with a leveling compound to create that slope. Make sure water has a clear path to run off and doesn't just sit there.
Achieving A Smooth And Level Foundation
Tiles look best and perform better when they're laid on a flat, level surface. After cleaning and repairing, use a long level or a straight edge to check for any high or low spots. You can use a concrete grinder to knock down any high points, and as mentioned, self-leveling compounds or patching materials can fill in low areas. The smoother and more level your concrete is, the easier your tile installation will be and the better the final result will look.
Considering Concrete Sealing For Longevity
Before you lay any tiles, think about sealing the concrete. A good concrete sealer can help protect the concrete from moisture, stains, and freeze-thaw cycles. This is especially helpful if your concrete is older or has had issues with moisture in the past. It adds an extra layer of protection and can help your tiled patio last much longer. Make sure to use a sealer that's compatible with tile adhesives.
Gathering Essential Tools And Materials
Before you start, make sure you have everything you need. This includes:
- Tile adhesive (exterior grade)
- Grout (exterior grade)
- Spacers for consistent grout lines
- Trowels for spreading adhesive
- Grout floats and sponges
- Tile cutters or a wet saw
- Safety glasses and gloves
- Buckets for mixing
- Measuring tape and a level
Having all your supplies ready to go will make the process much smoother. You don't want to be halfway through laying tiles and realize you're missing something important.
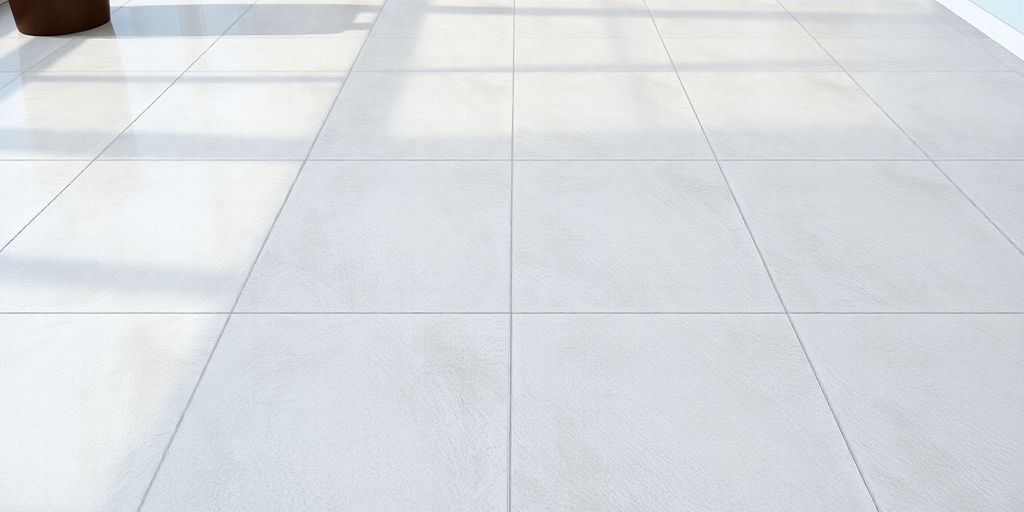
Choosing The Right Outdoor Tiles Over Concrete
Selecting the correct tiles for your patio is a big step in transforming your outdoor space. It’s not just about looks; durability and safety are super important, especially when they’re going over concrete. You want something that can handle the weather, foot traffic, and still look good for years to come. Let's break down what to think about.
Understanding Material Durability For Exterior Use
When you're picking tiles for outside, think about what they'll go through. Rain, sun, maybe even frost – they need to stand up to it all. Materials like porcelain are known for being tough and not soaking up water, which is great for preventing cracks in freezing temperatures. Natural stone, while beautiful, can vary a lot in how well it holds up. Always check the tile's PEI rating (Porcelain Enamel Institute) if available; a higher rating means it's more resistant to wear and tear.
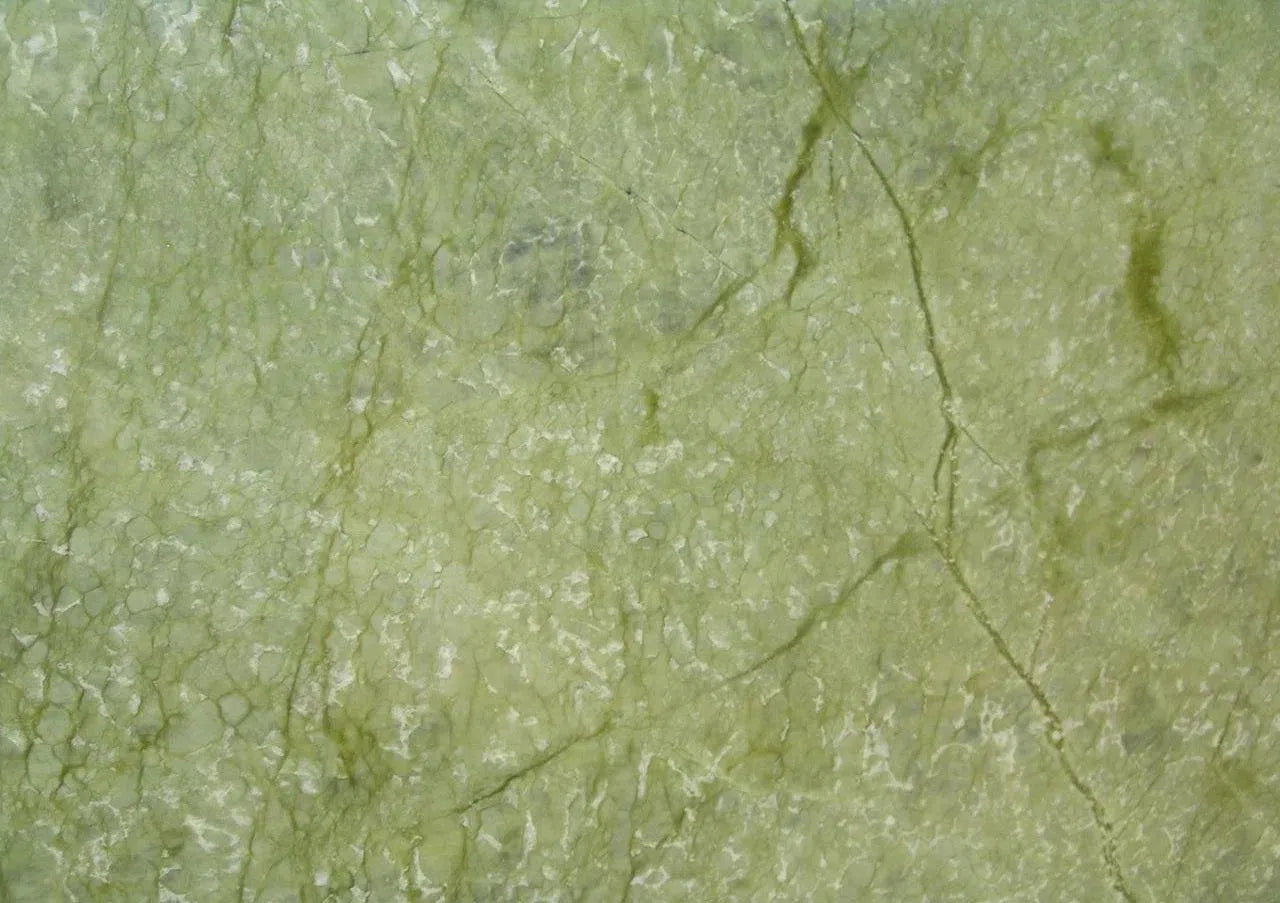
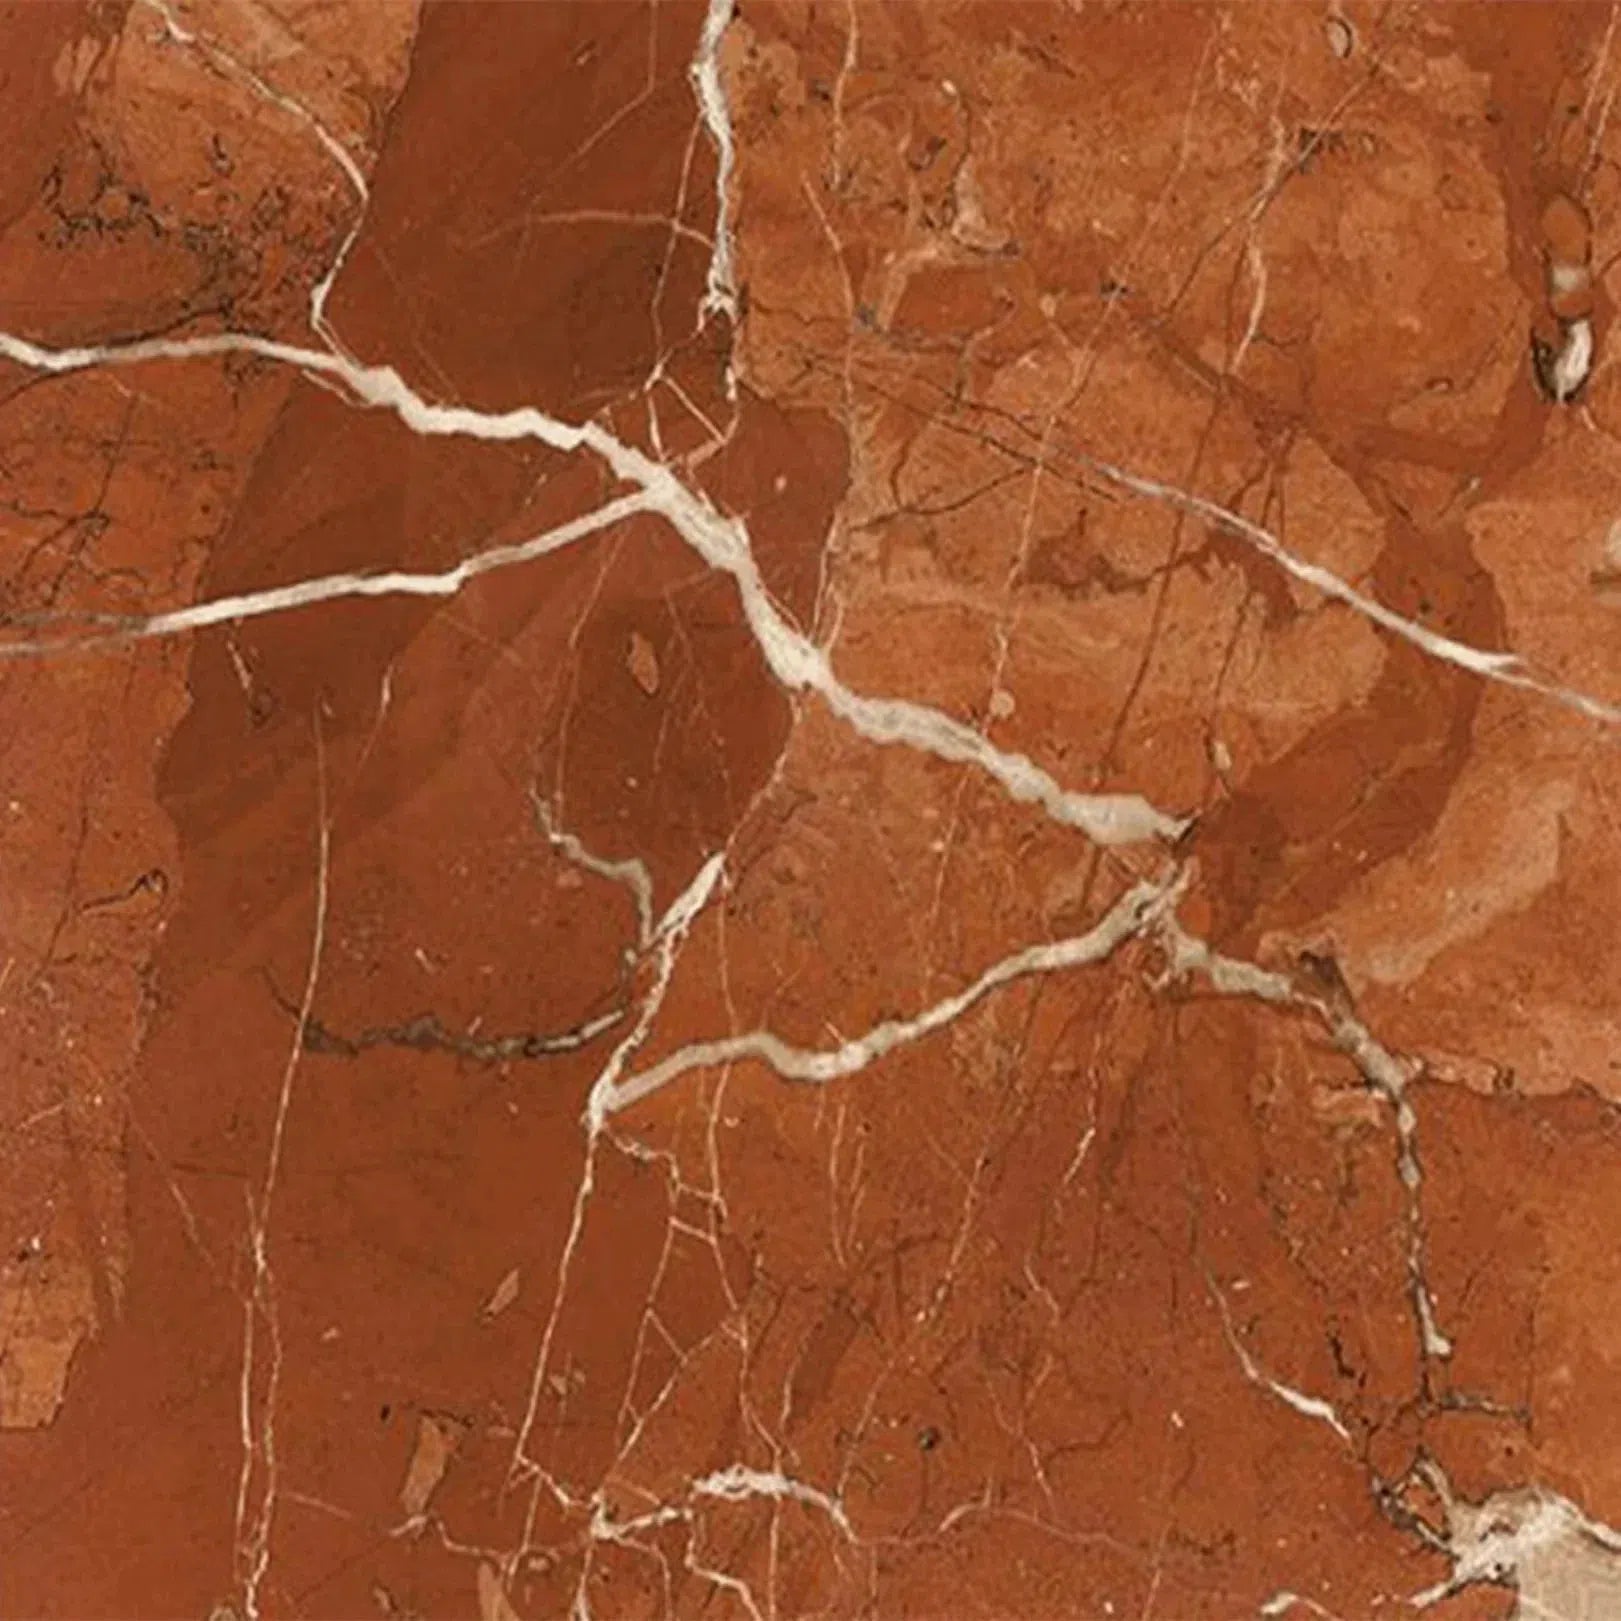
Exploring Natural Stone Options For Patios
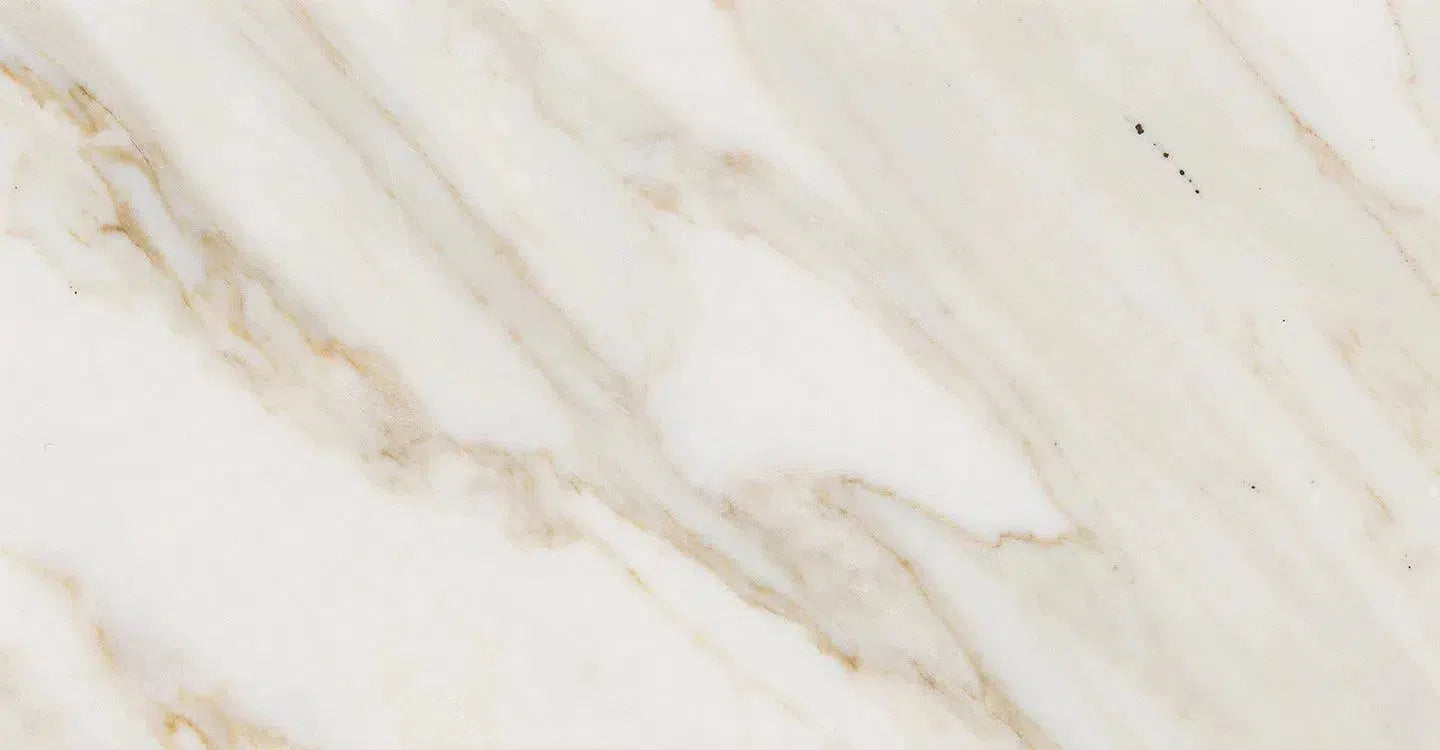
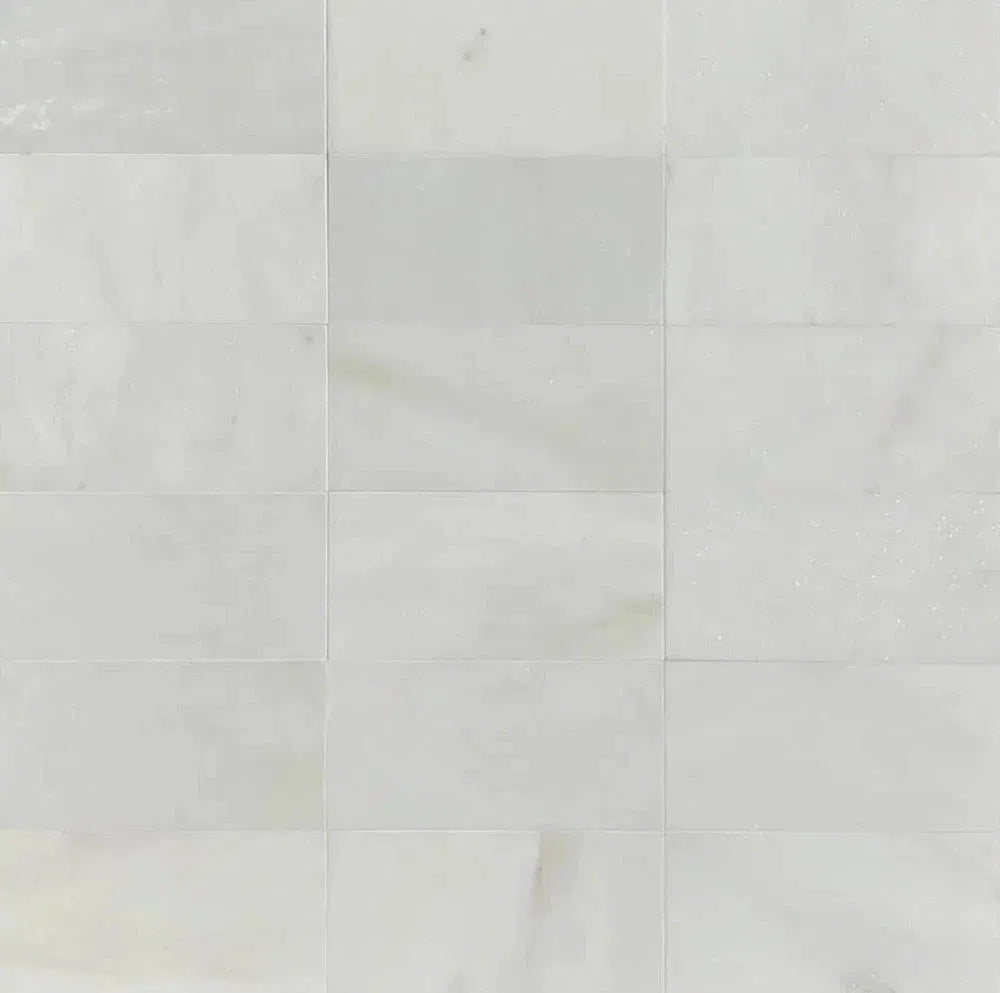
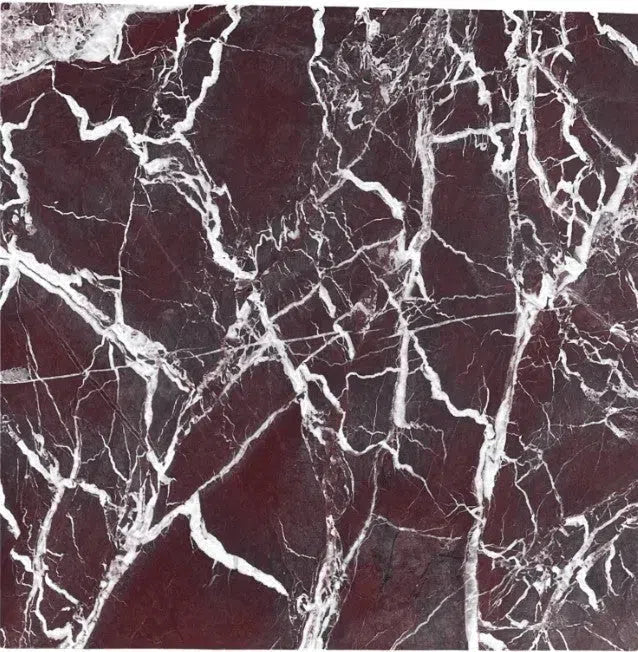
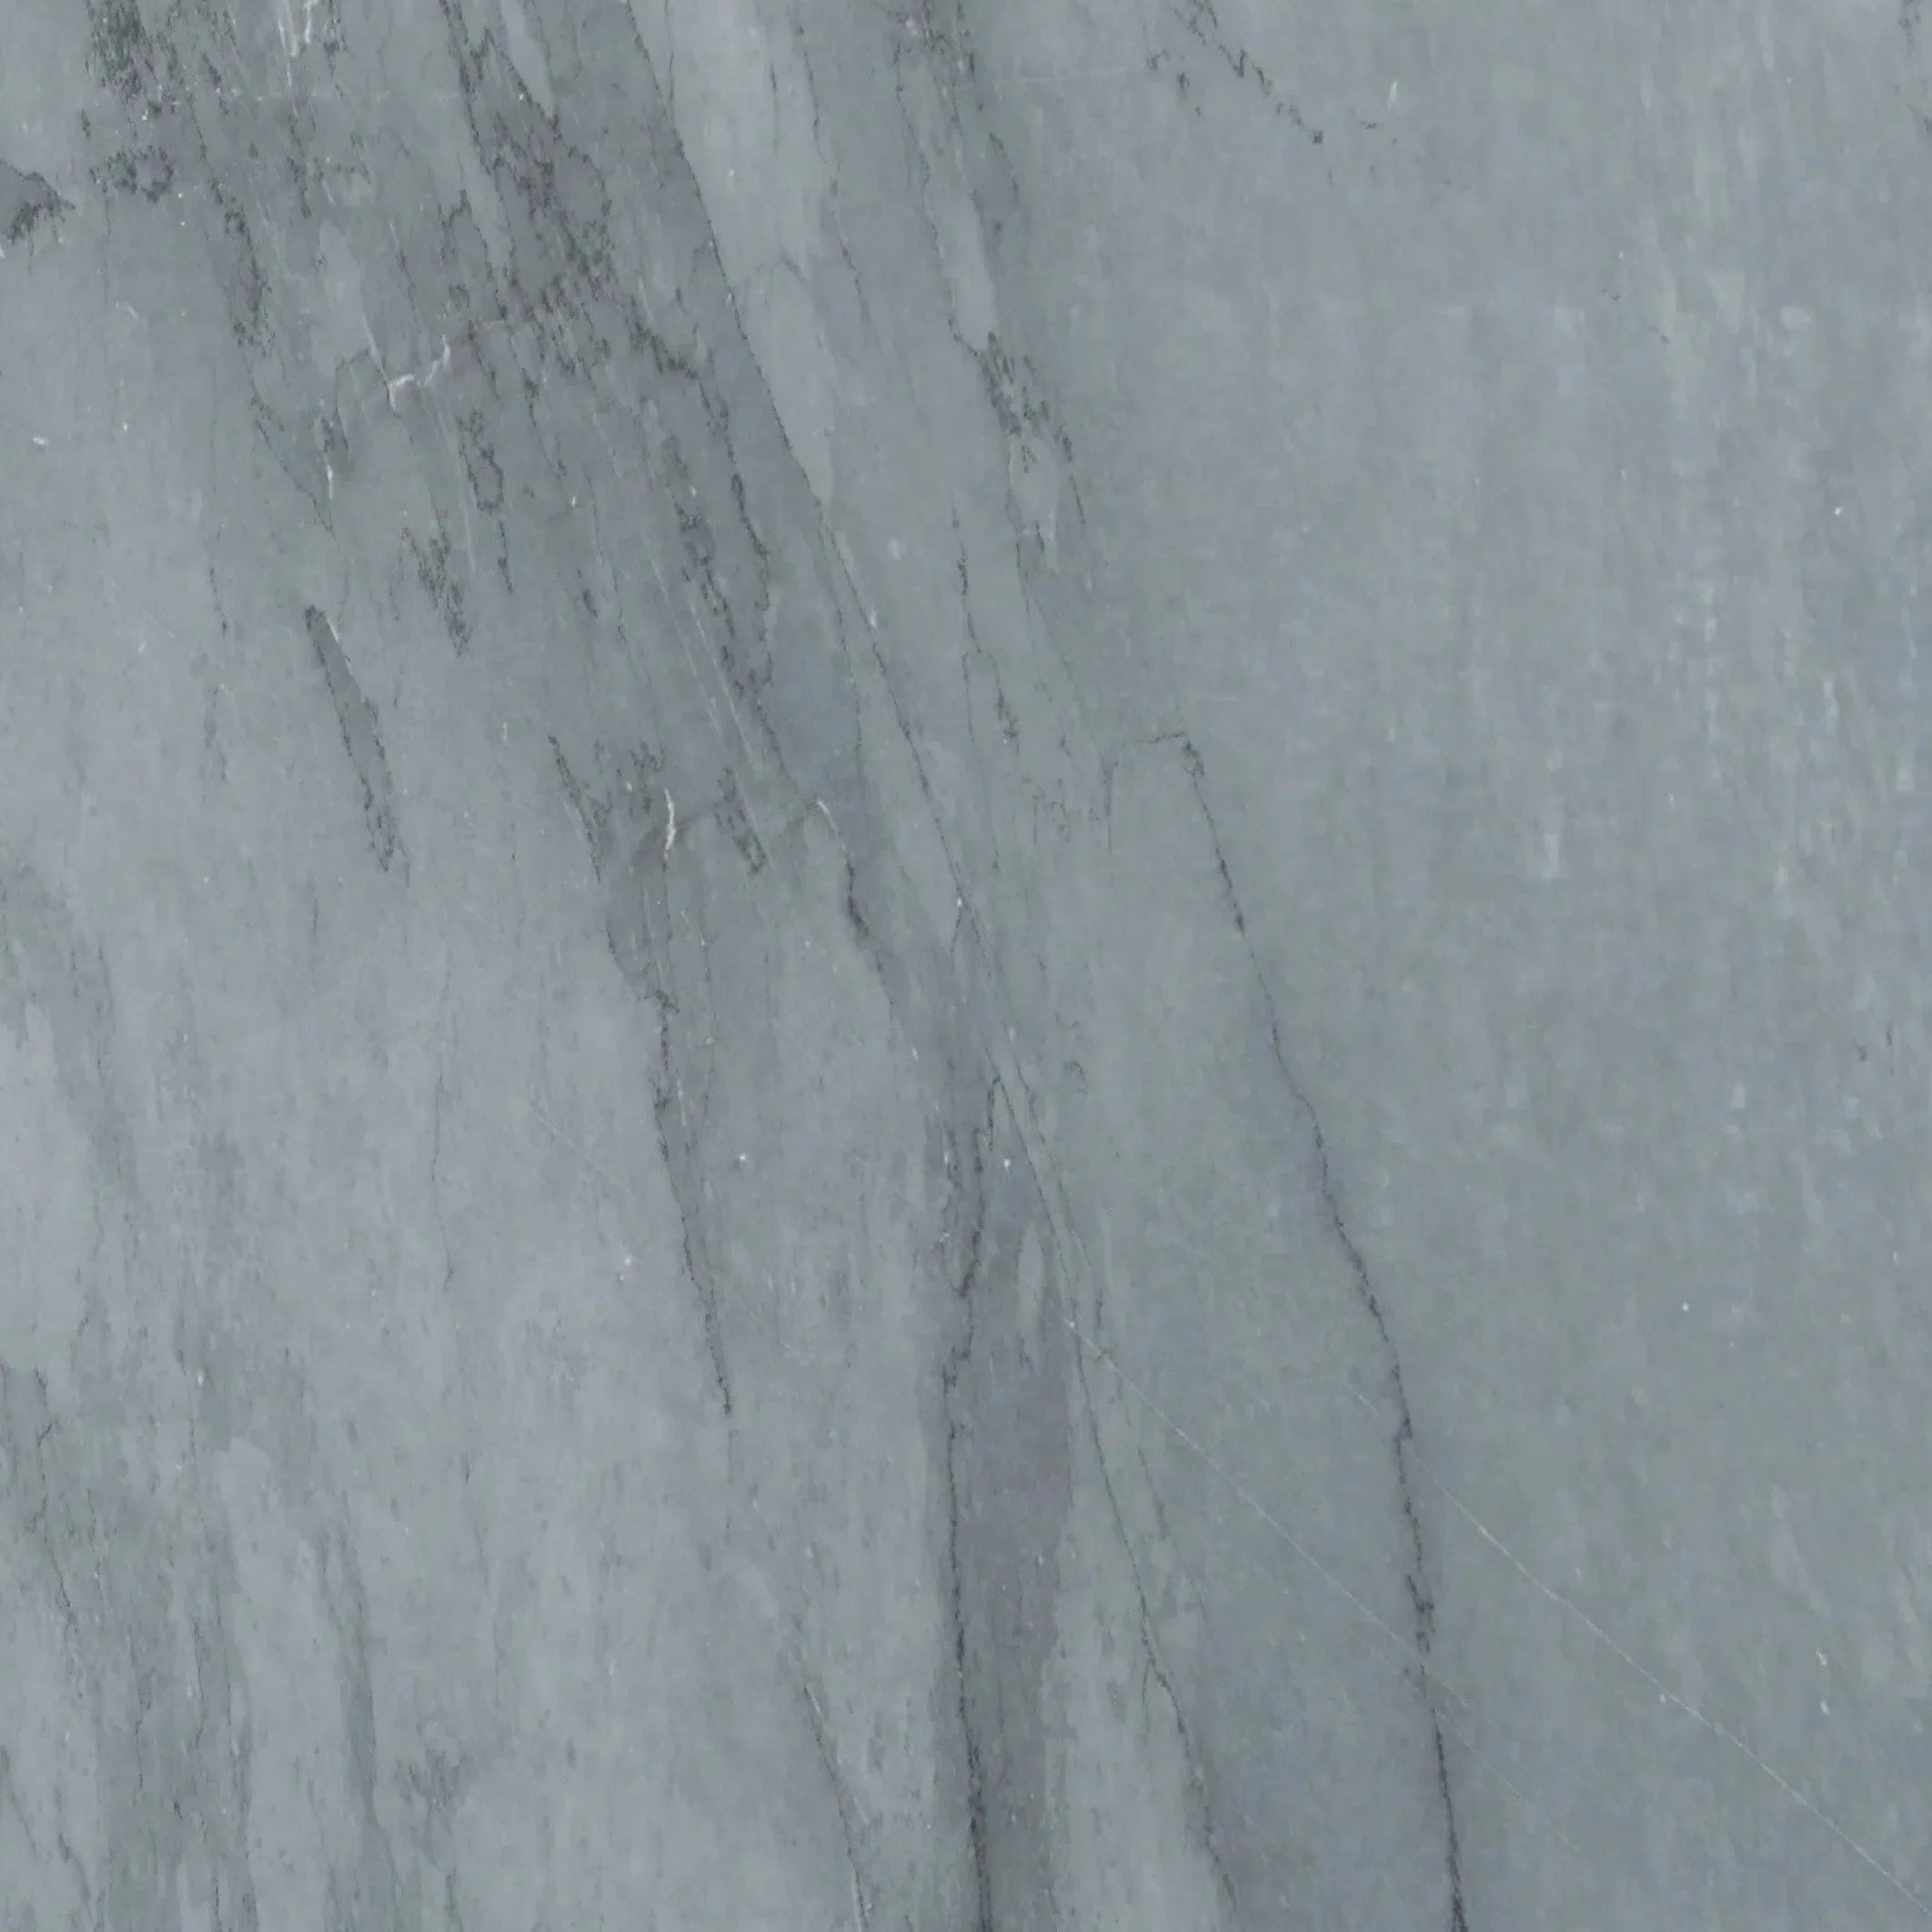
Natural stone brings a unique, high-end feel to any patio. Think travertine, slate, or granite. Travertine is popular because it has a natural texture that can help with grip, and it stays cooler underfoot than some other stones. Slate offers a more rustic look with beautiful color variations. Granite is incredibly strong and resistant to stains. However, some natural stones might need sealing to protect them from the elements and prevent staining. If you're looking for that premium, authentic look, natural stone is definitely worth considering for your U.S. projects.
Selecting Weather-Resistant Tile Choices
Beyond just being tough, tiles need to handle specific weather conditions. Look for tiles that are rated for exterior use and have low water absorption rates. Porcelain tiles are often a top pick because they are dense and fired at high temperatures, making them very resistant to moisture and frost. Ceramic tiles can also work, but make sure they are specifically designed for outdoor use, as some indoor ceramics can crack in cold weather. When you're looking at different tile options, consider various patio tile installation options to see what fits your climate best.
Considering Slip Resistance For Safety
This is a big one, especially if you have kids, pets, or just want peace of mind. A slippery patio can be a hazard. Look for tiles with a textured surface or a matte finish. Many outdoor tiles will have a slip resistance rating (often a DCOF rating). A higher number generally means better grip. Natural stones like travertine often have a naturally textured surface that provides good traction. Don't compromise on safety for style; there are plenty of attractive options that are also slip-resistant.
Evaluating Tile Thickness And Size
The thickness of your tile matters for durability. Thicker tiles are generally stronger and less likely to break under pressure. For patios, you'll typically want tiles that are at least 3/8 inch thick, and often 3/4 inch thick for natural stone pavers. Tile size can affect the look and installation. Larger tiles can make a patio feel more expansive and require fewer grout lines, but they might also be heavier and require more careful cutting around obstacles. Smaller tiles can create intricate patterns.
Matching Tile Style To Your Home's Aesthetic
Your patio tiles should complement your home's architecture and your personal style. Are you going for a modern look? Sleek, large-format porcelain tiles might be perfect. Prefer a more traditional or rustic feel? Natural stone like slate or tumbled travertine could be the way to go. Consider the colors and patterns that will best blend with your home's exterior and landscaping. Think about the overall mood you want to create for your outdoor living space.
Budgeting For Premium Quality Outdoor Tiles
While it's tempting to go for the cheapest option, investing in high-quality outdoor tiles will save you money and headaches in the long run. Premium tiles are more durable, weather-resistant, and less likely to chip, crack, or fade. Natural stone, in particular, can be an investment, but its beauty and longevity often justify the cost. Remember to factor in the cost of adhesive, grout, and any necessary sealants when calculating your total budget. We pride ourselves on offering handpicked A+ top-quality stone, not commercial grade, for a truly premium finish on your patio.
Essential Tools For Installing Outdoor Tiles
Getting your patio ready for new tiles means having the right gear. It’s not just about the tiles themselves, but also the bits and pieces you need to put them down properly. Having the correct tools makes the job go smoother and, honestly, a lot less frustrating. You don't want to be halfway through and realize you're missing something important.
Tile Cutters And Wet Saws For Precision
Cutting tiles to fit around edges or obstacles is a big part of the job. For straight cuts, a good manual tile cutter can do the trick for many materials. However, for harder stones or more complex shapes, a wet saw is a game-changer. A wet saw uses a diamond blade and water to cut tiles cleanly and with less dust. This is especially important if you're working with natural stone, which can be brittle. Getting precise cuts means your finished patio will look much more professional.
Trowels For Spreading Adhesive
When you're laying tiles, you need to spread the adhesive or mortar evenly. This is where trowels come in. You'll typically use a notched trowel. The size of the notches matters – it determines how much adhesive is applied to the concrete surface. A larger notch spreads more adhesive, which is good for larger tiles. Consistent adhesive coverage is key to a strong bond.
Grout Floats And Sponges For Finishing
After the tiles are set and the adhesive has cured, you'll need to fill the gaps between them with grout. A grout float is a rubber-faced tool used to push the grout into these spaces. Once the grout is in, you'll use sponges to wipe away the excess. It takes a bit of practice to get the grout lines looking neat, but these tools are designed to help.
Leveling Tools For Accuracy
Nobody wants a patio where tiles are higher or lower than their neighbors. A level, whether it's a small spirit level or a longer one, is your best friend here. You'll use it constantly to check that each tile, and rows of tiles, are sitting flat. Making sure your foundation is level before you start is half the battle, but checking as you go prevents bigger problems later.
Safety Gear For Protection
Working with tools, especially cutting tools, and materials like cement and adhesives means you need to protect yourself. Safety glasses are a must to keep dust and debris out of your eyes. Gloves will protect your hands from cuts and chemical irritation. If you're doing a lot of cutting, ear protection might be a good idea too, especially with a wet saw. Don't skip this part – it’s not worth the risk.
Measuring Tapes And Marking Tools
Accurate measurements are the foundation of any good tiling project. You'll need a reliable measuring tape to figure out tile layouts and how many tiles you need. Marking tools, like a pencil or chalk line, help you mark where to cut tiles or where to start your layout. Planning your pattern on paper first is a good idea, but these tools bring that plan to life on your patio.
Buckets And Mixing Equipment
When you're working with mortar or adhesives that need mixing, you'll need buckets. Sturdy ones are best. You'll also need something to mix with – a mixing paddle that attaches to a drill makes this much easier than trying to do it by hand, especially for larger batches. Getting the mix right is important for the strength and workability of the material. You can find great natural stone options for your patio project online.
Adhesive And Mortar Considerations For Outdoor Tiles

When you're laying outdoor tiles over concrete, the stuff you use to stick them down is just as important as the tiles themselves. Get this wrong, and you might find yourself with loose tiles or cracks sooner than you'd like. It’s not just about slapping some glue on; there are specific products designed for this kind of job, especially since your patio has to deal with weather.
Selecting Exterior-Grade Tile Adhesives
Not all adhesives are made for the outdoors. You need something that can handle temperature swings, moisture, and the general wear and tear of being outside. Look for products specifically labeled for exterior use. These are formulated to be more flexible and water-resistant than indoor adhesives. Some construction adhesives, like Quikrete 10 oz. Construction Adhesive, are designed for bonding a variety of materials, including tile, and can be a good option for certain outdoor applications.
Understanding Thin-Set Mortar Applications
Thin-set mortar is a popular choice for tiling, and for good reason. It's a cement-based adhesive that creates a strong, durable bond. For outdoor patios, you'll want a modified thin-set mortar, which usually contains polymers. These polymers make the mortar more flexible and water-resistant, which is exactly what you need when tiles are exposed to the elements. It's mixed with water to a peanut-butter-like consistency.
Importance Of Flexible Mortar For Concrete
Concrete, especially outdoors, can expand and contract with temperature changes. If your mortar isn't flexible, these movements can cause the tiles to crack or even pop off. Using a polymer-modified thin-set mortar or a specialized flexible tile adhesive is key to accommodating this movement. This flexibility helps prevent stress on the tile installation, leading to a longer-lasting patio.
Mixing Mortar To The Correct Consistency
Getting the mix right is pretty important. Too wet, and it won't hold well and might take forever to dry. Too dry, and it'll be crumbly and won't spread properly. You're aiming for a consistency that's smooth and spreadable, like thick peanut butter. It should hold its shape on the trowel without slumping. Always follow the manufacturer's instructions on the bag for the best results.
Applying Adhesive Evenly To The Surface
Use the correct trowel size – this is usually specified by the tile manufacturer or the adhesive producer. You want to comb the adhesive onto the concrete in one direction, creating ridges. Then, when you set the tile, you press and twist it slightly to collapse those ridges and get full coverage. Aim for at least 90% adhesive coverage on the back of each tile for a strong bond. Overlapping ridges or uneven application can lead to weak spots.
Working With Mortar In Varying Temperatures
Temperature really matters when you're working with mortar or adhesive. Most products have a recommended temperature range for application, usually between 50°F and 90°F (10°C and 32°C). If it's too cold, the mortar might not cure properly. If it's too hot, it can dry out too quickly before you can set the tiles. On hot days, try to work in the shade or early in the morning. On cooler days, you might need to work a bit faster.
Ensuring Full Coverage For Strong Bonds
This ties back to applying the adhesive evenly. When you set a tile, give it a little wiggle or twist. This helps to break the ridges in the adhesive and spread it out, making sure the entire back of the tile is in contact with the mortar. You can check this by gently lifting a few tiles after setting them to see the coverage. Modern advancements in adhesives and mortars are making this process more straightforward.
Proper adhesive and mortar selection is not just about sticking tiles down; it's about creating a bond that can withstand the elements and the test of time. Choosing the right product and applying it correctly are vital steps for a patio that looks great for years to come.
The Laying Process For Outdoor Tiles Over Concrete
Alright, so you've prepped your concrete and picked out some fantastic outdoor tiles. Now comes the part where it all comes together: laying the tiles. This is where your patio really starts to transform. It might seem a bit daunting, but if you take it step-by-step, you'll get there.
Planning Your Tile Layout and Pattern
Before you even think about mixing any adhesive, you need a plan. Laying out your tiles dry on the patio first is a smart move. This lets you see how the pattern will look and figure out where you'll need to make cuts. Think about the overall look you're going for – a simple grid, a diagonal pattern, or something more intricate? This is also the time to decide on your grout line width. Consistent grout lines are key to a professional finish, so mark out your starting point and work from there. Consider the main viewing angles of your patio and plan the layout to look its best from those spots.
Starting The Tile Installation
Once your layout is planned, it's time to get started. Begin at your marked starting point, usually a straight edge or a corner that's easy to access. Mix your exterior-grade adhesive or thin-set mortar according to the manufacturer's instructions. You want a consistency that's spreadable but not too runny. Using your trowel, spread a thin, even layer of adhesive onto a small section of the concrete. Don't cover too large an area at once, as the adhesive can start to dry before you get the tiles down.
Cutting Tiles For Edges and Obstacles
Chances are, you'll need to cut some tiles to fit around the edges of your patio, any built-in features like planters, or around doorways. A wet saw is your best friend here for clean, precise cuts, especially with natural stone. For simpler cuts, a good tile cutter might do the trick. Always measure twice and cut once! Remember to wear safety glasses when cutting tiles – those little shards can fly.
Maintaining Consistent Grout Lines
This is where tile spacers come in handy. Place a spacer between each tile as you lay it. This ensures that your grout lines are uniform in width all across the patio. Consistent spacing makes a huge difference in the final appearance, giving your tiled surface a clean, professional look. Don't skip this step, even if it feels a bit tedious.
Checking For Levelness As You Go
As you lay each tile, and especially after you've placed a few, use your level to check that they are sitting flat and are even with each other. If a tile is too high, you can gently tap it down with a rubber mallet. If it's too low, you might need to lift it, add a bit more adhesive, and re-lay it. A level surface is critical for both appearance and safety.
Working In Sections For Manageability
It's rarely a good idea to try and tile the entire patio in one go, especially if it's a large area. Work in manageable sections. This allows you to focus on getting each section right without feeling rushed. It also means you can stop for the day if needed without compromising the work you've already done. Just make sure to plan your sections so you don't end up with awkward cuts or unfinished areas at the end.
Allowing Adequate Curing Time
Once all your tiles are laid, the hardest part is waiting! You need to let the adhesive cure completely before you can walk on the tiles or start grouting. Check the adhesive manufacturer's recommendations for curing times – this can vary depending on the product and the weather. Rushing this step can lead to loose tiles or an uneven surface down the line. Patience here really pays off for a durable, beautiful patio.
Grouting Your New Outdoor Tile Patio
Choosing The Right Grout For Exterior Projects
Selecting the correct grout is pretty important for outdoor tile projects. You want something that can handle the weather, you know? For patios, especially those made from natural stone like marble or travertine, you'll want a grout that's flexible. This helps prevent cracking when the temperature changes or if the concrete slab shifts a little. Look for epoxy-based grouts or high-performance cementitious grouts designed for exterior use. These tend to be more durable and resistant to water and stains than standard interior grouts. Make sure the grout you pick is rated for outdoor applications.
Mixing Grout For Optimal Workability
Mixing grout can be a bit of a process, but getting it right makes a big difference. You'll usually mix a powder with water, following the manufacturer's instructions closely. The goal is a consistency like peanut butter – not too runny, not too stiff. Too wet, and it might shrink and crack; too dry, and it'll be hard to spread and won't fill the joints properly. It’s often best to mix only what you can use within about 30 minutes, as it starts to set up.
Applying Grout With A Float
Once your grout is mixed and ready, you'll use a grout float to spread it. Hold the float at an angle and press the grout into the joints, working diagonally across the tiles. You want to make sure every gap is filled completely. It’s a bit like frosting a cake, but with more grout and less sugar. Don't be shy; really push it in there to get good coverage.
Cleaning Excess Grout Promptly
This is where the real work begins after spreading. As soon as you've filled a section, you need to start cleaning off the excess grout from the tile surfaces. Use a damp (not soaking wet!) grout sponge. Wipe diagonally across the tiles to avoid pulling grout out of the joints. Rinse your sponge frequently in a clean bucket of water. You'll probably need a couple of buckets – one for the initial rinse and another for cleaner water. Getting this done while the grout is still workable is key.
Achieving Smooth And Uniform Grout Lines
After the initial cleaning, you'll likely need to go back over the tiles to smooth out the grout lines. This is often done with the damp sponge again, or sometimes a clean, dry cloth. The aim is to create clean, sharp lines between your tiles that look neat and professional. You're looking for consistency in depth and width across all the joints. If you're using larger tiles, consider using tile spacers during installation to help maintain uniform grout lines.
Allowing Grout To Cure Properly
Curing is super important. Don't walk on your newly grouted patio for at least 24-72 hours, depending on the grout type and weather conditions. The manufacturer's instructions will give you a timeline. Rushing this step can lead to weak grout lines that might crack or crumble later on. Patience here really pays off for the long haul.
Sealing Grout For Enhanced Protection
After the grout has fully cured (this can take several days to a week), it's a good idea to seal it. Grout is porous, meaning it can absorb liquids and stains. A good quality grout sealer will create a barrier, making it easier to clean and protecting it from the elements. This step is especially important for outdoor patios where spills and weather are a constant factor. It helps keep your grout looking good for years to come.
Sealing Your Outdoor Tiles And Grout
After all that hard work laying your new patio tiles, the last thing you want is for them to get ruined by the weather or stained by everyday life. That's where sealing comes in. It's a really important step that protects your investment and keeps your patio looking great for years to come. Think of it like putting a protective coat on your tiles and the grout between them.
Why Sealing Is Crucial For Outdoor Tiles
Sealing creates a barrier. This barrier stops water from seeping into the tile and grout, which can cause damage, especially in freezing temperatures. It also makes it harder for stains from things like spilled drinks, food, or even dirt to set in. Without sealing, your beautiful new patio could start looking dull and worn out pretty quickly. This protective layer is key to maintaining the patio's appearance and structural integrity.
Selecting The Appropriate Sealant
Not all sealants are made the same, and you need one that's right for outdoor use. For natural stone tiles, you'll want a penetrating sealer that soaks into the stone rather than just sitting on top. These are great for keeping the natural look of the stone. For other types of outdoor tiles, there are specific sealants designed for durability against the elements. Always check the product label to make sure it's suitable for your specific tile material and for exterior applications. Some sealants can also add a bit of sheen or keep the matte finish, so consider the look you're going for.
Preparing Tiles And Grout For Sealing
Before you can seal, everything needs to be clean and dry. Seriously, give your tiles and grout a good scrub. Any dirt, dust, or old adhesive residue will get trapped under the sealant, and that's not good. Let the tiles and grout dry completely. This might take a day or two, depending on the weather. If you're sealing natural stone, it's often recommended to seal the tiles before grouting to prevent staining [4000]. Then, after the grout has cured, you'll seal the grout itself.
Applying Sealant Evenly
Applying sealant is usually pretty straightforward. You'll typically use a brush, roller, or sprayer, depending on the product. The main thing is to apply it evenly. Don't let it pool up in spots, and make sure you get into all the grout lines. Work in small sections so the sealant doesn't dry before you can spread it out. Read the manufacturer's instructions carefully, as application methods can vary.
Understanding Reapplication Schedules
Sealant doesn't last forever. It wears down over time due to foot traffic, cleaning, and weather exposure. You'll need to reapply it periodically. How often depends on the type of sealant, the amount of wear your patio gets, and the climate. A good rule of thumb is to test a small, inconspicuous area. Sprinkle a little water on it; if the water beads up, the sealant is still working. If it soaks in, it's time to reapply. For most outdoor applications, this might be every one to three years.
Protecting Against Stains And Weather
This is the main point of sealing, right? A good sealant acts as a shield. It makes your tiles and grout resistant to common stains like grease, wine, or coffee. It also helps protect against damage from UV rays, which can fade some materials over time, and from moisture, which can lead to cracking or mold growth. It's a proactive step to keep your patio looking its best.
Enhancing The Natural Beauty Of Your Tiles
Many sealants, especially those for natural stone, don't just protect; they can also bring out the natural colors and patterns in your tiles. Some sealants add a subtle enhancement, making the colors richer without changing the texture. This can really make your patio pop and show off the unique beauty of the materials you chose. It's a nice bonus to the protection they offer.
Maintaining Your Transformed Patio
So, you've gone through the whole process, laid down those beautiful outdoor tiles over your concrete patio, and now it looks fantastic. But what happens next? Just like anything nice, it needs a little attention to keep it looking good. It’s not a ton of work, honestly, but a little regular care goes a long way.
Regular Cleaning Techniques For Outdoor Tiles
First things first, just sweeping your patio regularly is a big help. Get rid of leaves, dirt, and any loose debris before it has a chance to get ground into the grout or stick to the tiles. A good sweep a couple of times a week, especially after windy days or if you have trees nearby, makes a difference. For a more thorough clean, maybe once or twice a year depending on how much traffic it gets and where you live, you can use a pH-neutral cleaner. This is gentle on the tiles and grout. If you notice any green stuff, like algae or mold, especially in shady spots, a bleach-free solution can take care of that. You can find good cleaning guides online for specific tile types.
Addressing Spills And Stains Quickly
Life happens, right? Someone spills a drink, or maybe the grill flares up a bit. The key here is to deal with spills as soon as you can. Don't let them sit. For most common spills, a damp cloth or sponge is usually enough. If something a bit tougher happens, like grease from the grill, you might need a specialized cleaner. Always test any cleaner in an inconspicuous spot first, just to be safe. Acting fast prevents stains from setting in.
Seasonal Patio Care And Upkeep
Your patio's needs change with the seasons. In spring, after the winter grime, a good clean is in order. Summer is usually about regular sweeping and spot cleaning. Fall means dealing with fallen leaves and preparing for colder weather. Winter might mean covering certain types of tiles or just being extra mindful of ice and snow.
Inspecting For Loose Tiles Or Grout
Periodically, take a walk around your patio and just look. Are any tiles loose? Does the grout look like it's cracking or crumbling? It’s much easier to fix a small problem before it becomes a big one. If you find a loose tile, you might be able to re-adhere it yourself. For grout issues, you might need to re-grout a small section. It’s worth checking this at least once a year, maybe in the spring.
Deep Cleaning Methods For Tough Grime
Sometimes, regular cleaning just doesn't cut it. For really stubborn dirt or ground-in stains, you might need to bring out the heavier artillery. This could involve a stiff-bristled brush (make sure it's not wire, which can scratch) and a good quality outdoor tile cleaner. For some materials, a pressure washer on a low setting can be effective, but be careful not to damage the grout or blast away too much. Always follow the manufacturer's recommendations for your specific tile type.
Protecting Tiles During Winter Months
Depending on your climate and the type of tile you chose, winter protection might be necessary. Some natural stone tiles, for example, can be sensitive to freeze-thaw cycles. You might consider covering your patio with a breathable tarp or removing any furniture that could trap moisture. If you live in a very cold area, some people even opt to remove certain types of tiles for the winter, though this is less common for standard patio installations. Always check the specific care instructions for your outdoor porcelain tiles.
Keeping Your Outdoor Tiles Looking Their Best
Ultimately, keeping your patio looking great is about consistency. A little bit of effort spread out over time is far better than a massive cleaning job once every few years. Enjoying your beautifully tiled outdoor space means taking a few minutes now and then to care for it. It’s a worthwhile investment in your home's curb appeal and your own enjoyment.
Troubleshooting Common Installation Issues
Even with the best planning, sometimes things don't go exactly as expected when tiling your concrete patio. Don't worry, most common issues have straightforward fixes. Let's look at a few problems you might run into and how to sort them out.
Dealing With Uneven Tiles
If you notice some tiles aren't sitting flush with their neighbors, it's usually because of inconsistent adhesive spread or a slightly uneven concrete base. Before the adhesive fully cures, you can gently tap down high tiles with a rubber mallet or add a bit more adhesive under low tiles. If the adhesive has already hardened, you might need to carefully remove the tile, scrape off excess adhesive, or add a thin layer of leveling compound before re-setting it. Getting the foundation right from the start makes a big difference here.
Addressing Grout Cracking Or Crumbling
Cracked or crumbling grout often points to a few things: the grout was mixed too dry, it dried too quickly, or the wrong type of grout was used. For exterior projects, a flexible grout designed for patios is best. If the problem is minor, you can sometimes fix it by carefully removing the damaged grout and re-grouting the area. Make sure to mix the new grout to the manufacturer's instructions and allow it to cure properly. For widespread issues, you might need to remove and re-grout the entire section.
Fixing Loose Or Hollow-Sounding Tiles
A tile that sounds hollow when tapped often means there's not enough adhesive underneath it, leading to a weak bond. If caught early, you might be able to carefully lift the tile, clean the old adhesive, apply more, and press the tile back down firmly. If the tile is well-stuck but still sounds hollow, it could be a sign of moisture trapped underneath. This is trickier and might require professional assessment, especially if it's a widespread problem.
Managing Efflorescence On Natural Stone
Efflorescence is that white, powdery residue that sometimes appears on natural stone. It's caused by salts in the stone or substrate migrating to the surface and reacting with moisture. It's usually harmless but can be unsightly. You can often clean it off with a stiff brush or a specialized efflorescence cleaner. Preventing it involves ensuring good drainage and using a quality penetrating sealer on your stone and grout.
Correcting Grout Color Inconsistencies
Sometimes, grout lines can end up with slightly different shades. This can happen if the grout wasn't mixed uniformly or if it dried unevenly. If the difference is slight, a good cleaning might even it out. For more noticeable variations, you might need to re-grout the affected areas, making sure to mix a larger batch of grout at once to keep the color consistent.
Repairing Damaged Tiles
Accidents happen, and a tile might chip or crack. If it's just a small chip, you might be able to fill it with a color-matched epoxy or grout repair product. For larger cracks or broken tiles, you'll need to carefully remove the damaged tile without disturbing the surrounding ones. This usually involves cutting out the grout around the tile and then gently prying it up. Once removed, clean the area and install a new tile using the same adhesive and technique as before.
Ensuring Long-Term Durability
Most of these issues can be avoided with proper preparation and installation. Using the right materials, like exterior-grade adhesives and flexible grout, is key. Paying attention to drainage and allowing adequate curing time for all materials will go a long way. Regular maintenance, including cleaning and periodic sealing, will also help keep your tiled patio looking great for years to come. If you're dealing with a large or complex project, or if you're unsure about any step, don't hesitate to consult with a professional installer. We offer handpicked A+ top-quality natural stone products nationwide, perfect for U.S. projects looking for lasting beauty and durability.
Enhancing Your Patio With Outdoor Tiles
Creating a Seamless Indoor-Outdoor Flow
Adding outdoor tiles over your concrete patio can really change how your home feels. It's like extending your living space right outside. When you pick the right tiles, you can make the transition from your indoor rooms to your patio feel smooth and natural. Think about using tiles that have a similar color or pattern to your indoor flooring. This visual connection makes the whole area seem bigger and more connected. It’s a great way to get more use out of your home, especially when the weather is nice. Imagine walking from your living room straight onto a beautifully tiled patio – it just feels right.
Adding Value and Appeal to Your Home
Upgrading your patio with quality outdoor tiles isn't just about looks; it's a smart investment. A well-designed and well-installed tiled patio can significantly boost your home's curb appeal and market value. Potential buyers often see a beautiful outdoor living area as a major plus. We offer handpicked A+ top-quality natural stone products, not commercial grade. This means you're getting premium materials that stand out. Direct importing allows us to provide these luxury natural stones at better prices, making a high-end upgrade more accessible for your U.S. project.
Designing Functional Outdoor Living Spaces
Your patio can become more than just a place to put a chair. With the right tile choice, you can create different zones for different activities. Maybe one area for dining, another for lounging, and perhaps a spot for a small garden. The durability of natural stone tiles means they can handle heavy use, whether it's from furniture, foot traffic, or just the elements. Planning your layout carefully helps make the space work for your lifestyle. Consider how you want to use the space and choose tiles that support that vision.
Incorporating Lighting and Furniture
Once your patio is tiled, think about how lighting and furniture can complete the look. Outdoor lighting can make your tiled patio usable and attractive after dark, highlighting the beauty of the stone. Comfortable furniture arranged on the tiles creates inviting spots to relax. The right choices can turn a simple concrete slab into a stylish and comfortable extension of your home. The right tile is the foundation for a truly functional and beautiful outdoor room.
The Aesthetic Impact of Premium Natural Stone
When you choose premium natural stone, like marble or travertine, for your patio, the aesthetic difference is noticeable. These materials have a natural beauty and character that manufactured tiles often can't match. Each piece is unique, adding a touch of elegance and sophistication to your outdoor space. We focus exclusively on these high-quality stones because we believe they offer the best look and feel for discerning homeowners undertaking U.S. projects.
Achieving a Luxurious and Inviting Atmosphere
Natural stone tiles bring a sense of luxury and warmth to any patio. The textures and colors available can create an atmosphere that feels both exclusive and welcoming. It’s about creating a space where you and your guests feel comfortable and impressed. This kind of upgrade transforms a basic outdoor area into a destination within your own home.
Enjoying Your Beautifully Tiled Patio
Ultimately, the goal is to have a patio you love spending time on. A well-tiled patio is easier to clean, more attractive, and adds significant enjoyment to your home life. Whether you're hosting a barbecue, enjoying a quiet morning coffee, or simply relaxing in the evening, your tiled patio will be a space you're proud of. We ship orders fast, often same-day, so you can start enjoying your transformed space sooner. If you have questions about choosing the right marble or travertine, our experts are ready to help you find the perfect fit for your project.
Want to make your patio look amazing? Outdoor tiles can totally change your space, making it a cool spot to hang out. Imagine stepping onto a beautiful new floor right outside your door! It's easier than you think to get that dream patio.
Ready to see how different tiles can transform your outdoor area? Visit our website today to explore all the stylish options and find the perfect tiles for your patio.
Your Beautiful Patio Awaits
So, there you have it. Installing outdoor tiles over your concrete patio might seem like a big job, but with a little planning and the right materials, it’s totally doable. You’ll end up with a patio that looks amazing and adds real value to your home. Think of all the cookouts and lazy afternoons you’ll enjoy out there! If you’re looking for top-notch natural stone, like marble or travertine, check out places that import directly. They often have the best quality without the crazy markup, and they can usually ship it out pretty fast. Plus, getting samples beforehand is a smart move to make sure you love the look. Happy tiling!
Frequently Asked Questions
Can I really put tiles right over my existing concrete patio?
Absolutely! Laying tiles over concrete is a fantastic way to give your patio a whole new look. The concrete acts as a strong base, but you'll need to make sure it's clean, smooth, and has good drainage first.
What kind of tiles work best outside on concrete?
For outdoor patios, you'll want tough tiles that can handle weather. Think about natural stones like travertine or marble, or special outdoor-rated ceramic or porcelain tiles. The most important thing is that they're made for the outdoors and won't crack or fade easily.
How do I make sure the tiles don't get slippery when wet?
Safety first! Look for tiles with a good grip, often called 'slip-resistant.' Many outdoor tiles are designed with a bit of texture to help you walk safely, even when it's raining.
What's the best glue or sticky stuff to use for outdoor tiles?
You need a special outdoor-rated tile adhesive or thin-set mortar. These are made to stick strong and last through different temperatures and weather. Regular indoor glue won't cut it!
Do I need to seal my outdoor tiles and the spaces between them (grout)?
Yes, sealing is super important! It protects the tiles and grout from stains, water, and freezing. It helps them last longer and keeps them looking great for years to come.
How much space should I leave between the tiles?
Leaving a small, even gap between tiles, called a grout line, is key. This space lets the tiles expand a little if the temperature changes and gives you a place to put the grout, which helps hold everything together.
What if my concrete patio isn't perfectly flat?
A little unevenness can usually be fixed. You might need to add a leveling compound before tiling, or use a bit more adhesive in low spots. The goal is a smooth, flat surface for the best tile job.
How long will it take to install my new patio tiles?
It depends on the size of your patio and how much experience you have. Laying the tiles might take a day or two, but you'll also need to wait for the adhesive and grout to dry and harden, which can take a few more days.
What tools do I absolutely need to get the job done?
You'll need things like a tile cutter or wet saw for straight cuts, trowels to spread the adhesive, a grout float for filling the gaps, a level to make sure everything is straight, and of course, safety gear like gloves and eye protection.
Can I tile over cracked concrete?
Small cracks are usually okay if you fix them first. You'll want to fill them in and make the surface smooth. Big, deep cracks might mean you need to do more serious repair work on the concrete before you can tile.
How often do I need to re-seal my patio tiles?
Most outdoor sealants need to be reapplied every 1-3 years, depending on the type of sealant and how much wear and tear your patio gets. Check the sealant's instructions for the best schedule.
What's the difference between using adhesive and mortar?
Adhesive often comes pre-mixed and is easier to use for smaller jobs. Mortar, usually a powder you mix with water, is generally stronger and better for larger outdoor areas, especially if you're using heavier natural stone tiles.