
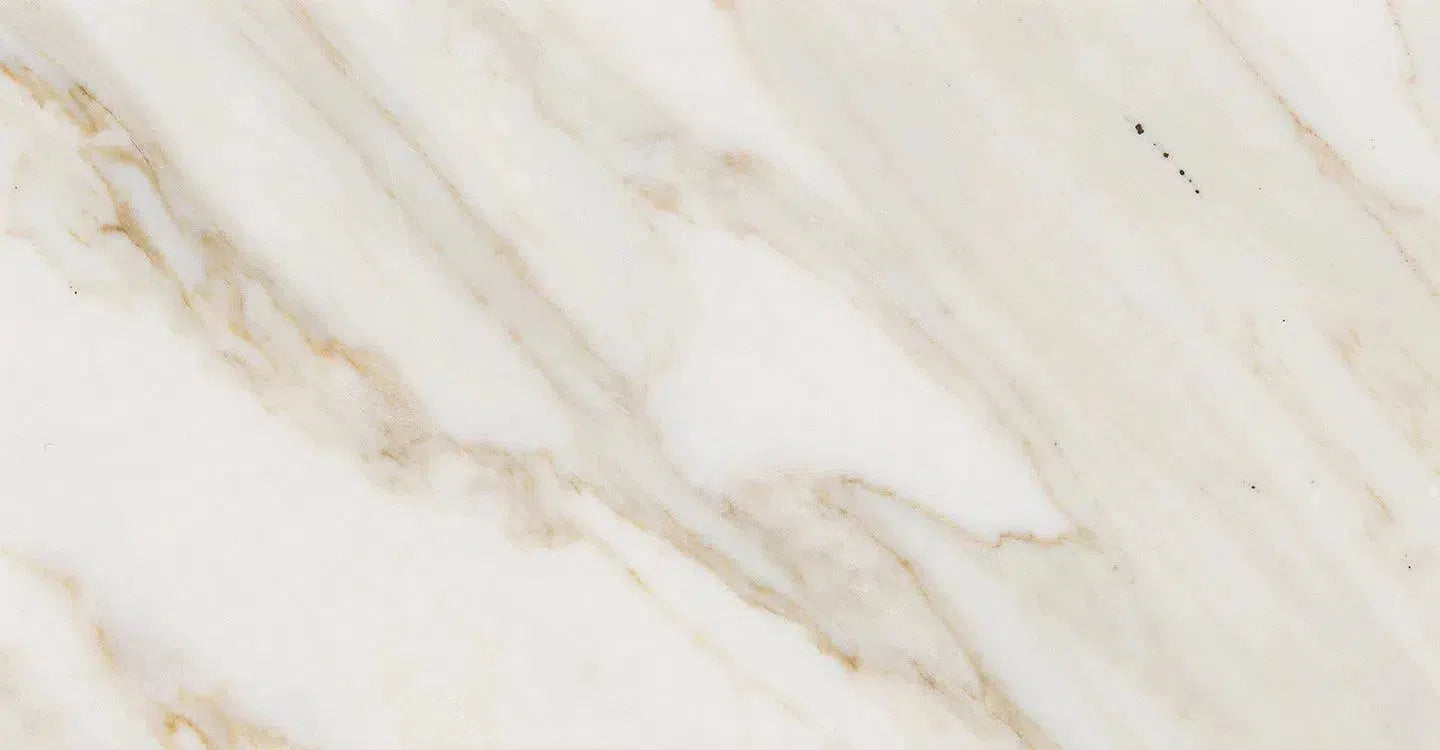


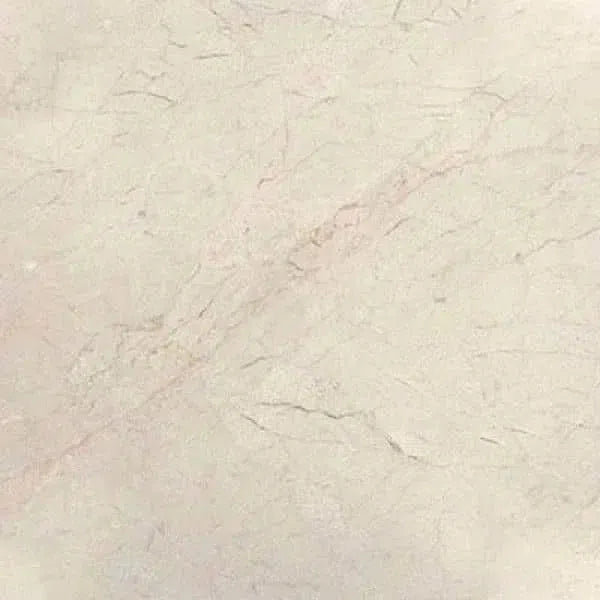


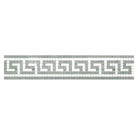
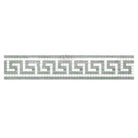


Thassos Supreme 3 1/2X7 Greek Key Border (w/ Ming-Green) Marble
Each box contains 10 Border
Each box contains 10 Border
Covers 1 sq.ft
Couldn't load pickup availability
DESCRIPTION
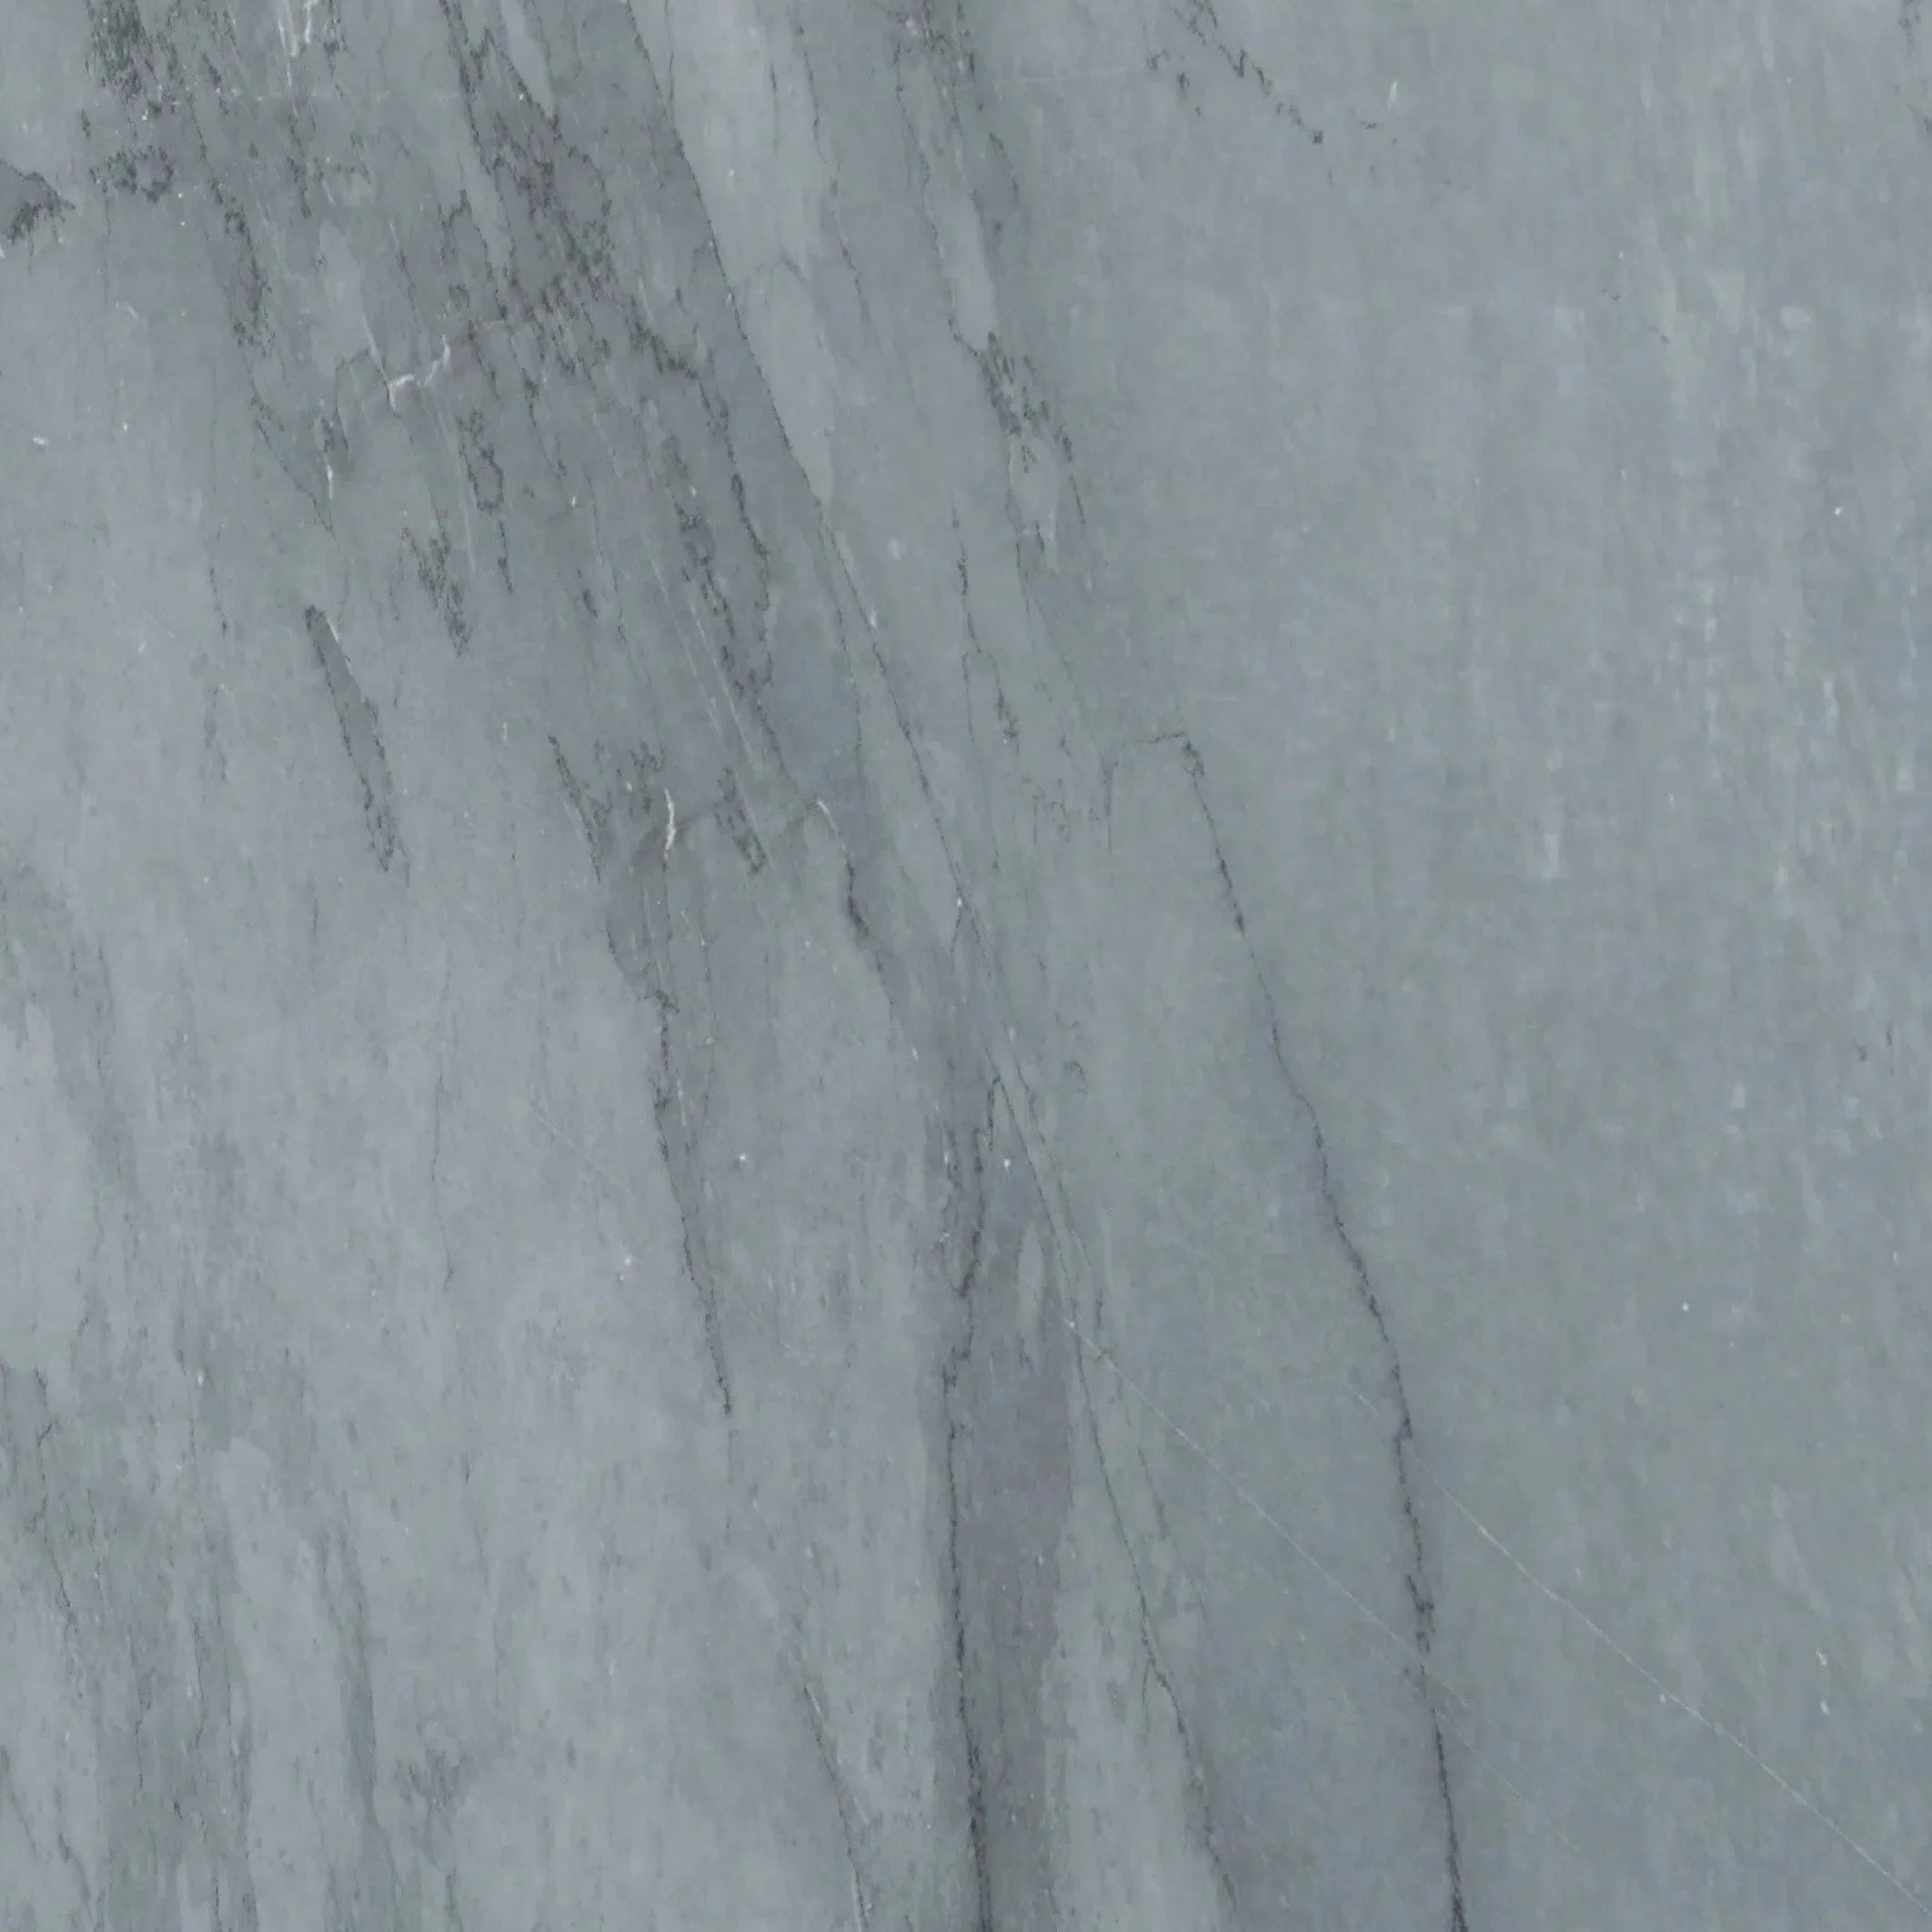
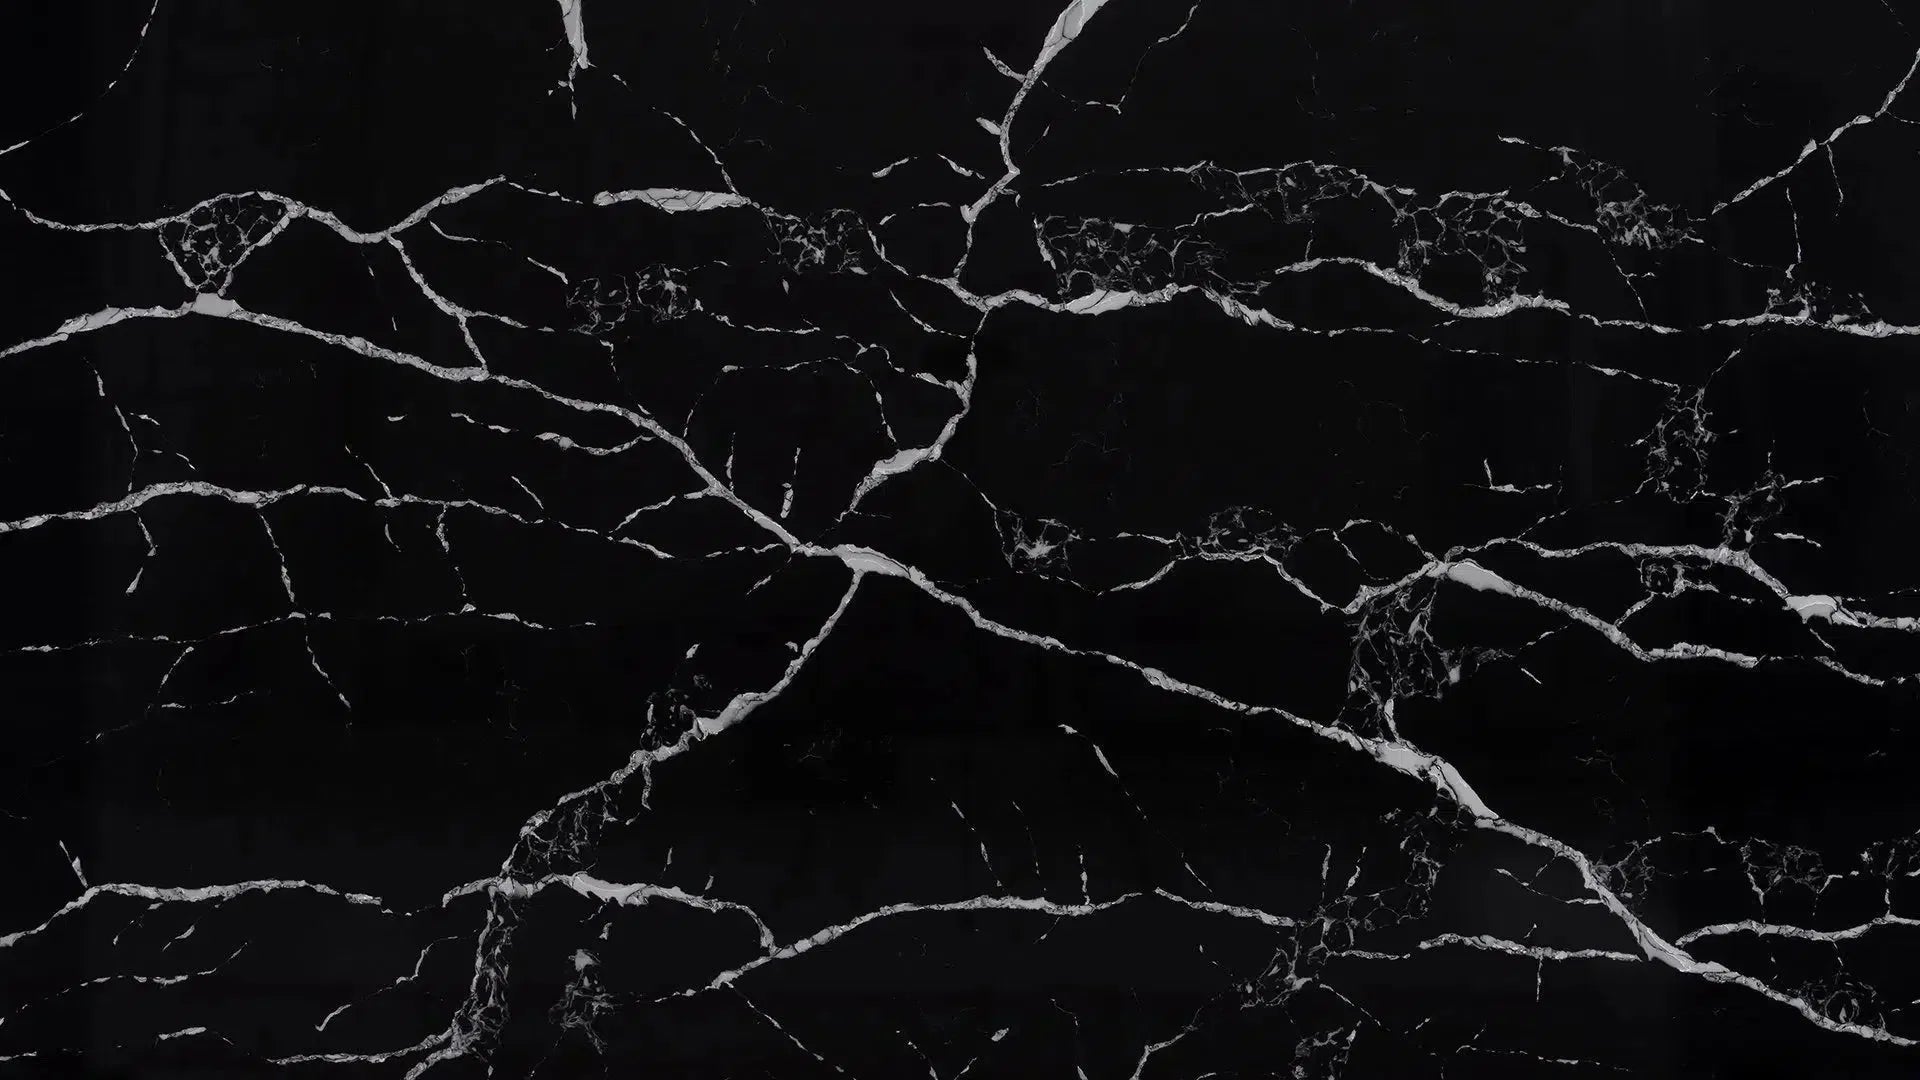
Introducing the Exquisite Thassos White Marble Greek Key Border—an epitome of luxury that redefines elegance in any space. This striking marble border features a pure white background complemented by intricate green accents arranged in the classic Greek key motif, resulting in a refined and visually captivating design. Sourced meticulously from Greece, each piece embodies the renowned purity and brilliance of Thassos White Marble, esteemed worldwide for its luminous quality and crisp coloration. Provided by American Stone Center, this border tile stands as more than a decorative feature—it reflects discerning taste and a commitment to enduring style, suitable for a diverse array of both residential and commercial settings.
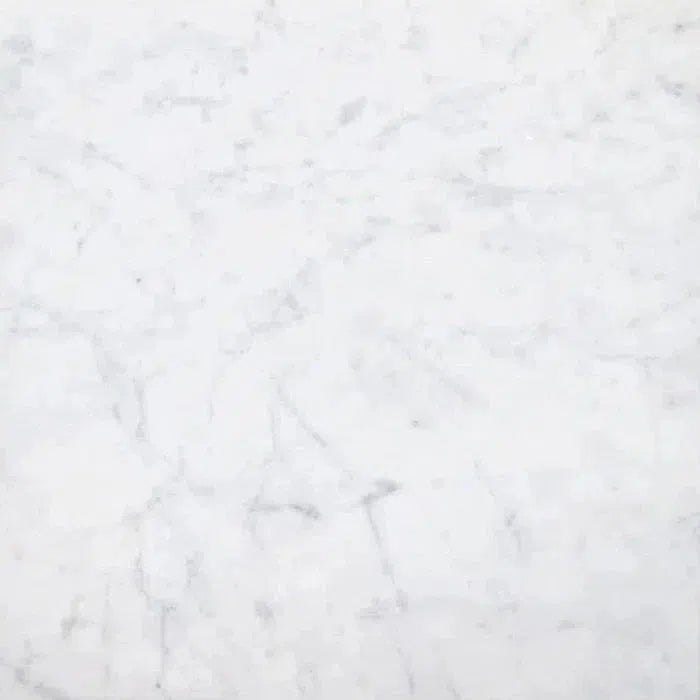
Exceptionally versatile, the Thassos White Marble Greek Key Border brings a sense of tranquility and luxury to kitchens, bathrooms, hallways, living areas, lobbies, and more. Its robust composition ensures resilience against daily wear, making it particularly well-suited for high-traffic spaces or environments requiring superior durability. The timeless combination of white marble with subtle green veining adapts beautifully to numerous interior aesthetics, including contemporary, neoclassical, and transitional designs, while complementing a wide range of color palettes. Whether featured as an elegant backsplash tile, eye-catching floor accent, or sophisticated shower border, this marble border integrates seamlessly into your decor and elevates the ambiance with understated grandeur.
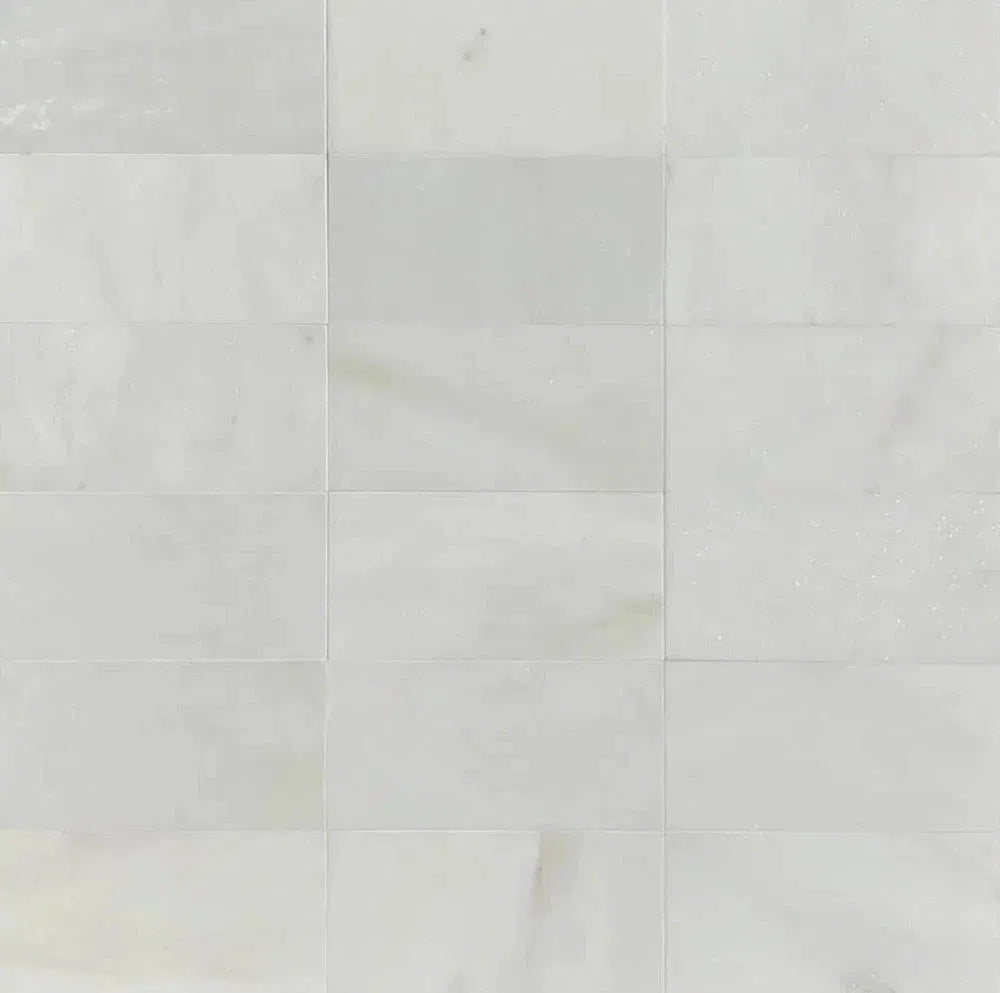
Each border is crafted with meticulous attention to detail, highlighting both polished and honed surface options that accentuate marble’s inherent translucence and refined texture. These finishes enhance the natural light within a room, helping to open up interiors and create a feeling of spaciousness and serenity. American Stone Center’s unwavering commitment to quality assurance means every tile undergoes rigorous selection and inspection, ensuring uniformity, precision, and lasting beauty. With the Thassos White Marble Greek Key Border, you can confidently infuse your home or commercial property with a timeless statement piece that not only enhances visual appeal but also adds lasting value. Discover how this premium marble border can transform your space, supporting your design vision with distinction and excellence.
SPECIFICATIONS
INSTALLATION
Material Inspection and Installation Guidelines
Material Inspection
Before installation, carefully inspect all goods for any damage or defects such as chipped edges or broken pieces. Natural stone surfaces, including marble and travertine, will have naturally occurring variations in color, pattern, texture, and veining that may differ from what was pictured. No adjustments or services can be provided once installation has begun.
Substrate Preparation
To ensure a proper installation, follow these substrate guidelines:
• Surface Condition: The substrate must be clean, flat, and free of contaminants, including curing compounds. It should also be free of cracks.
• Waterproofing: In wet areas, waterproof the substrate following the manufacturer's recommendation for a waterproofing and crack prevention membrane compatible with your setting material.
• Expansion Joints: Install expansion joints at all changes in plane in the tile work and where tile abuts restraining surfaces. Use silicone caulking sealant instead of grout in all corner joints.
Installation
Dry-Fitting
• Pattern Planning: Dry-fit your pattern before starting installation. Visualize the installation and plan the placement of pieces, especially with tiles that have a lot of variation.
Mortar Application
• Thin-Set Mortar: Use white thin-set mortar to avoid affecting the tile color. For faster installation, use a rapid curing thin-set mortar.
• Application:
◦ Apply adhesive to an area that can be covered within 10-15 minutes.
◦ Grout joints should be a minimum of 1/16” and not butt set.
◦ Smooth down the ridges using the flat side of the trowel before fixing the tiles in the mortar bed.
◦ For our ceramic material, use a 3/16" or 1/4" square notch trowel. For other tiles, a 9" trowel with a 1/8" square notch is recommended.
Grouting
• Non-Sanded Grout: Use non-sanded grout for ceramic tiles to prevent scratching. Test a small area before grouting to ensure the stone surface does not scratch.
• Packing Grout Joints: Pack grout joints fully, avoiding pits or voids. Clean excess grout as you work, and do not let it harden completely.
• Cleaning: Never use acids to clean grout haze. Use a damp sponge for final cleaning and smoothing grout joints.
• Grout Release: Apply grout release before grouting to facilitate cleaning and protect against staining from contrasting color grouts.
Cutting
• Tools: Use a wet-saw with a new, continuous rim diamond blade designed for cutting ceramic tile for the best results.
Cleaning
General Cleaning
• Porcelain Tile: Clean with a damp sponge mop and a solution of 1/4 cup white vinegar to every 2 gallons of water. Sweep or vacuum regularly.
Unpolished Surfaces
• Sweeping: Use a soft-bristle broom and sweep in two directions: along the grain and diagonally to dislodge dust and debris.
• Cleaning Solution: Saturate the tile with a neutral cleaning solution like vinegar and hot water, let it sit for 5–10 minutes, then scrub with a brush using the two-direction method.
• Rinsing: Rinse with clean water to remove the cleaning solution.
High Traffic Areas
• Clean at least once per day and wet mop regularly.
Reminders
• Avoid Certain Cleaners: Do not use ammonia, bleach, or acid-based cleaners, as they may alter grout color. Avoid wax, oil-based, abrasive cleaners, sealants, and agents with dyes or colors.
• Steel Wool: Do not use steel wool pads, as leftover particles may rust.
• Entrance Rugs: Place rugs at entrances to minimize dirt and grit from being tracked onto the tile flooring from outdoors.
By following these guidelines, you will ensure the successful and lasting installation of your natural stone surfaces.
The Waste Factor
How Much Do I Need to Order?
The best practice is to order at least 10-30% more than your project requirements to account for potential issues, waste due to cutting material, and other potential breakage during installation.
When installing natural stone, understanding the waste factor is crucial. The waste factor refers to the amount of stone that will be cut, trimmed, or otherwise discarded during the installation process. The waste factor varies depending on how tightly the stones are fitted; tighter joints require more trimming and thus produce more waste.
Waste Factor Considerations
• Project Size: Larger projects might have a slightly lower percentage of waste due to more efficient use of materials.
• Joint Tightness: Tighter joints increase the waste factor due to more precise trimming.
• Stone Variations: Natural stones have variations in color and texture, necessitating extra materials to ensure consistency across the installation.
Example Calculation
For a project area of 1,000 square feet with an expected waste factor of 10% to 30%, you would need to purchase between 1,100 and 1,300 square feet of stone.
Tips for Managing Waste
1. Mock-Up: Create a small mock-up to better estimate your specific waste factor before ordering materials.
2. Order Extra: Always order extra materials for future repairs or additions, as natural stone batches can vary.
3. Efficient Cutting: Plan cuts carefully to minimize waste and use off-cuts in less visible areas.
By accurately calculating the waste factor and ordering extra material, you can ensure a smoother installation process and a consistent appearance of your natural stone veneer.
Installation Tips
Installing natural stone flooring can be a rewarding project, giving your home a luxurious and timeless look. Here's a step-by-step guide to help you through the process:
Materials and Tools Needed:
• Natural stone tiles (marble, granite, slate, etc.)
• Tile adhesive (thin-set mortar)
• Grout
• Tile spacers
• Notched trowel
• Level
• Tape measure
• Tile cutter or wet saw
• Rubber mallet
• Sponge and bucket
• Grout float
• Sealer (specific to your type of stone)
• Safety equipment (gloves, goggles, knee pads)
Step-by-Step Guide:
1. Preparation:
• Measure the Area: Calculate the square footage of the area where you plan to install the tiles.
• Prepare the Subfloor: Ensure that the subfloor is clean, dry, and level. If necessary, apply a self-leveling compound.
• Acclimate the Tiles: Let the stone tiles sit in the installation area for a couple of days to acclimate to the room temperature and humidity.
2. Layout Planning:
• Dry Lay the Tiles: Lay out the tiles without adhesive to plan the pattern and placement. Start from the center and work your way out to ensure an even layout.
• Mark Guidelines: Use a chalk line to mark the center of the room and create reference lines for laying the tiles.
3. Applying Adhesive:
• Mix the Thin-set Mortar: Follow the manufacturer's instructions to mix the mortar.
• Spread the Mortar: Using the notched trowel, spread the thin-set mortar on a small section of the subfloor. Hold the trowel at a 45-degree angle to create ridges in the mortar.
4. Laying the Tiles:
• Place the Tiles: Press the tiles into the mortar, twisting them slightly to ensure a good bond. Use tile spacers to maintain consistent gaps between the tiles.
• Check for Level: Regularly check that the tiles are level and adjust as necessary using the rubber mallet.
5. Cutting Tiles:
• Measure and Mark: Measure the tiles that need to be cut to fit along the edges and mark them.
• Cut the Tiles: Use a tile cutter or wet saw to cut the tiles to the required size.
6. Grouting:
• Allow Adhesive to Cure: Let the adhesive dry for at least 24 hours or as recommended by the manufacturer.
• Mix the Grout: Mix the grout according to the instructions.
• Apply the Grout: Using a grout float, apply the grout diagonally across the tiles to fill the gaps. Remove excess grout with the float.
• Clean the Tiles: Use a damp sponge to wipe off excess grout from the tile surfaces. Rinse the sponge frequently and be careful not to remove grout from the joints.
7. Sealing:
• Allow Grout to Cure: Let the grout cure for the recommended time, usually 48-72 hours.
• Seal the Tiles: Apply a stone sealer to protect the tiles from stains and moisture. Follow the manufacturer's instructions for application and curing times.
8. Final Touches:
• Clean the Floor: After the sealer has dried, give the floor a final cleaning to remove any residue.
• Inspect the Installation: Check the tiles and grout lines for any imperfections and make any necessary repairs.
Tips:
• Always wear safety equipment when cutting tiles.
• Follow the manufacturer's instructions for all materials used.
• Work in small sections to prevent the adhesive from drying out before the tiles are laid.
• Regularly clean your tools to prevent the mortar and grout from hardening on them.
This guide should help you install natural stone flooring successfully. If you have any specific questions or encounter any issues during the installation, feel free to ask!
California Proposition 65
WARNING: Products sold at Surfaces Galore contain chemicals, including stone dust, which are known to the State of California to cause cancer, birth defects or other reproductive harm.
Disclaimer: Surfaces Galore provides information to give customers an overview of the process from choosing to installation of our natural stone surfaces. However, we are not responsible for any mistakes, problems, or issues that may arise. All responsibility for the selection, installation, and any associated outcomes rests solely with the customers.
|
TILE DIMENSIONS |
1 TILE COVERS |
|
2"x8" Tile |
Price is per Square Foot, Each tile covers 0.11 sq.ft. |
|
4"x4" Tile |
Price is per Square Foot, Each tile covers 0.11 sq.ft. |
|
4"x8" Tile |
Price is per sq.ft., Each tile covers 0.22 sq.ft. |
|
4"x12" Tile |
Price is per Square Foot, Each tile covers 0.333 sq.ft. |
|
3"x6" Subway Tile |
Price is per Square Foot, Each tile covers 0.125 sq.ft. |
|
3"x12" Subway Tile |
Price is per Square Foot, Each tile covers 0.25 sq.ft. |
|
9"x18" Subway Tile |
Price is per Square Foot, Each tile covers 1.13 sq.ft. |
|
8"x12" Tile |
Price is per Square Foot, Each tile covers 0.67 sq.ft. |
|
6"x18" Tile |
Each tile covers 0.75 sq.ft. |
|
6"x6" Tile |
Each tile covers 0.25 sq.ft. |
|
12"X12" Tile |
1 sq. ft. / priced per piece |
|
12"X24" Tile |
2 sq. ft. / priced per piece |
|
12"x36" Tile |
Price is per Square Foot, Each tile covers 3 sq.ft. |
|
16"X16" Tile |
1.77 sq. ft. / priced per piece |
|
18"X18" Tile |
2.25 sq. ft. / priced per piece |
|
18"X36" Tile |
4.5 sq. ft. / priced per piece |
|
24"X24" Tile |
4 sq. ft. / priced per piece |
|
36"X36"Tile |
9 sq. ft. / priced per piece |
|
Mosaic Tile Dimensions |
1 Sheet of Mosaic Tile Coverage |
|
1" Hexagon Mosaic Tile |
0.85 sq. ft. / priced per sheet |
|
2" Hexagon Mosaic Tile |
1 sq. ft. / priced per sheet |
|
3" Hexagon Mosaic Tile |
0.80 sq. ft. / priced per sheet |
|
4" Hexagon Mosaic Tile |
0.56 sq. ft. / priced per sheet |
|
5" Hexagon Mosaic Tile |
0.90 sq. ft. / priced per sheet |
|
6" Hexagon Mosaic Tile |
0.84 sq. ft. / priced per sheet |
|
10" Hexagon Mosaic Tile |
0.60 sq. ft. / priced per sheet |
|
5" Combo Hexagon Mosaic Tile |
0.70 sq. ft. / priced per sheet |
|
Vortex Hexagon Mosaic Tile |
1.16 sq. ft. / priced per sheet |
|
1"x2" Basketweave Mosaic Tile |
0.92 sq. ft. / priced per sheet |
|
2"x2" Square Mosaic Tile |
0.94 sq. ft. / priced per sheet |
|
3/8"x3/8" Square Mosaic Tile |
1 sq. ft. / priced per sheet |
|
5/8"x5/8" Square Mosaic Tile |
1 sq. ft. / priced per sheet |
|
5/8x3/4 Mini Brick Mosaic Tile |
1 sq. ft. / priced per sheet |
|
1x1 Checkerboard Mosaic Tile |
0.97 sq. ft. / priced per sheet |
|
Manhattan/Random Strip Mosaic Tile |
0.90 sq. ft. / priced per sheet |
|
Octave Mosaic Tile |
0.90 sq. ft. / priced per sheet |
|
Triple Weave Mosaic Tile |
0.80 sq. ft. / priced per sheet |
|
Florita Mosaic Tile |
1.17 sq. ft. / priced per sheet |
|
Berlinetta Mosaic Tile |
0.80 sq. ft. / priced per sheet |
|
6" Arabesque/Lantern Mosaic Tile |
0.62 sq. ft. / priced per sheet |
|
2"x4" Grand Brick Subway Mosaic Tile |
0.93 sq. ft. / priced per sheet |
|
Mini Herringbone Mosaic Tile |
0.86 sq. ft. / priced per sheet |
|
1"X2" Herringbone Mosaic Tile |
0.85 sq. ft. / priced per sheet |
|
1"x3" Herringbone Mosaic Tile |
1 sq. ft. / priced per sheet |
|
1"X4" Herringbone Mosaic Tile |
0.92 sq. ft. / priced per sheet |
|
1"X6" Herringbone Mosaic Tile |
0.94 sq. ft. / priced per sheet |
|
1"x1" Square Mosaic Tile |
0.97 sq. ft. / priced per sheet |
Disclaimer: All coverages by tile and mosaics in this list might have a 5%-10% difference. The reason for this change is that we strive to keep our stock in good value by working with different suppliers worldwide. Each factory has its own templates, which is why all these coverages might change without updating this information panel. Please keep in mind that these calculations are quite accurate, but in the end, they are just estimates.All Sizes are nominal