


So, you're thinking about tackling that backsplash project yourself? That's awesome! Grouting can seem a bit daunting at first, especially if you've never done it before. But honestly, with a little patience and the right steps, you can totally get that professional look. This guide is here to walk you through how to grout a backsplash, breaking it down so it's not so scary. We'll cover everything from getting your tools ready to cleaning up like a pro. Let's get this done!
Key Takeaways
- Gather all your tools and pick a grout color that fits your style before you start.
- Make sure your tile surface is super clean and protect nearby areas from grout.
- Mix the grout to the right texture and let it rest a bit before applying.
- Apply grout evenly, working in sections and using the float to fill every joint.
- Clean off excess grout with a damp sponge, rinsing it often.
- Refine the lines with a second pass and check for any missed spots or smears.
- Manage grout haze by buffing or using a remover if needed.
- Allow the grout to cure fully and seal it to keep it looking good.
Preparing Your Backsplash For Grouting
Before you even think about mixing grout, a little prep work goes a long way. Getting your backsplash ready is key to a smooth grouting process and a professional-looking finish. It’s not the most exciting part, but trust me, you’ll be glad you took the time.
Gathering Essential Grouting Tools
Having the right tools makes all the difference. You don't want to be halfway through the job and realize you're missing something important. Here’s a quick rundown of what you’ll need:
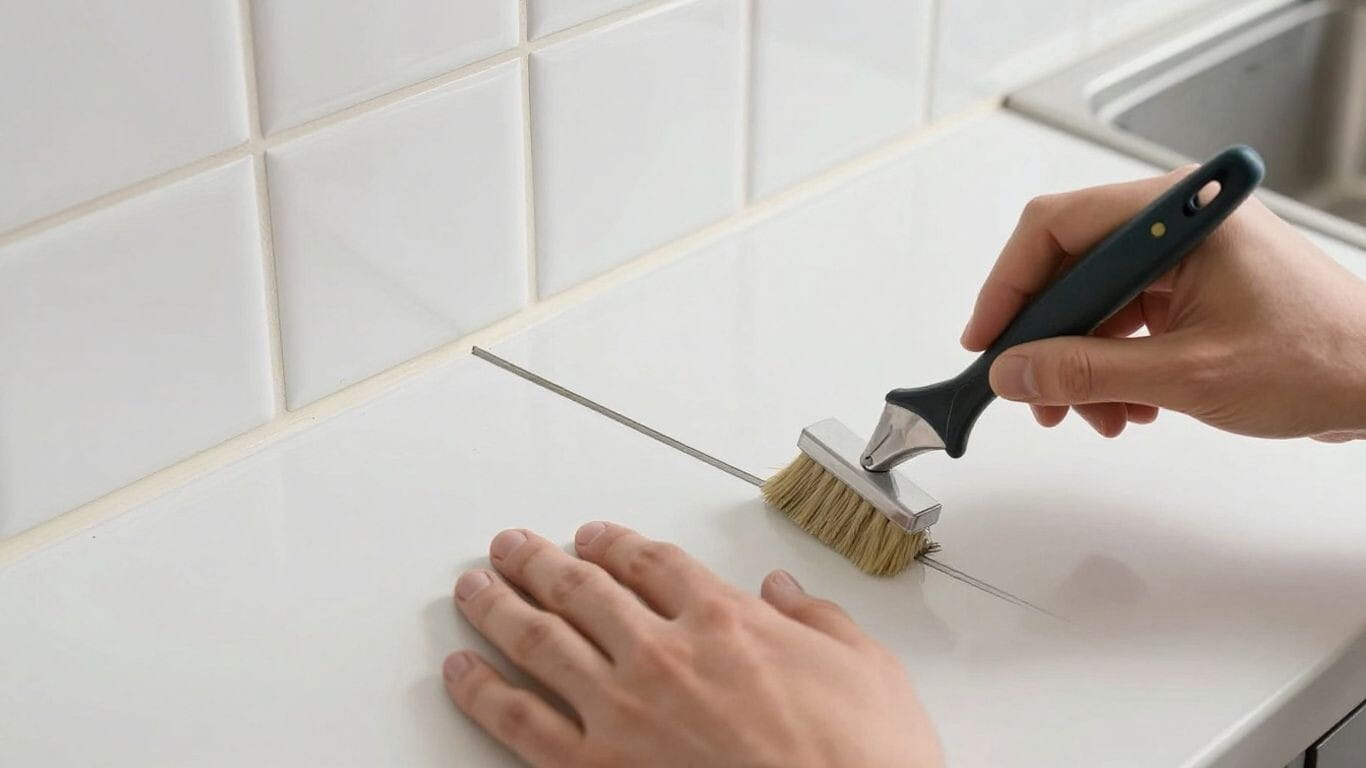
- Grout Float: This is your main tool for spreading the grout. Look for one with a firm rubber pad.
- Grout Sponges: You'll need a couple of these, specifically designed for grout cleanup. They're denser than regular sponges.
- Buckets: At least two – one for mixing grout and one for rinse water. Clean water is super important.
- Trowel or Margin Trowel: Useful for scooping grout into the float.
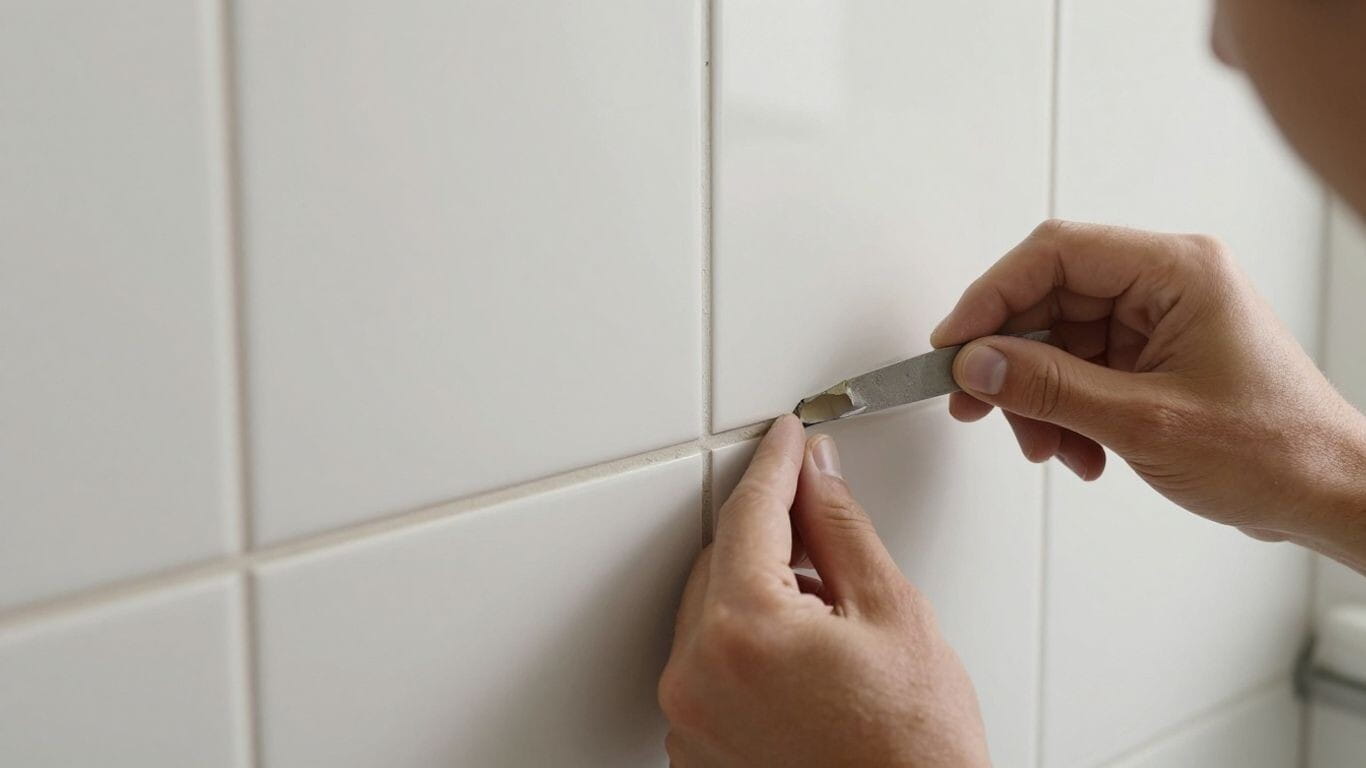
- Utility Knife or Grout Saw: For cleaning out any old grout or debris from the joints.
- Microfiber Cloths: For the final buffing and haze removal.
- Painter's Tape: To protect surfaces you don't want to get grout on.
- Gloves: Grout can be tough on your hands.
Selecting The Perfect Grout Color
The color of your grout can dramatically change the look of your tile. Think about the overall style you're going for. Do you want the grout to blend in and make the tiles pop, or do you want it to be a feature itself?
- Neutral Colors (Gray, Beige, White): These are classic choices that work with almost any tile. They tend to make the tile pattern stand out.
- Dark Colors (Charcoal, Black): These can add a modern, dramatic look and hide dirt well, but they can also make grout lines more noticeable.
- Contrasting Colors: A bold grout color can turn your backsplash into a work of art, especially with simpler tiles.
Consider ordering a few small samples of grout in your top color choices to see how they look next to your actual tile in your kitchen's lighting. It’s a small step that can prevent a big regret.
Understanding Different Grout Types
Not all grout is created equal. The type you choose depends on your tile and where it's going. For most backsplashes, you'll likely be using one of these:
- Sanded Grout: Contains sand, making it stronger and less likely to shrink. It's best for wider grout joints (1/8 inch or more).
- Unsanded Grout: Doesn't have sand, so it's smoother and won't scratch delicate tiles like glass or polished metal. It's for narrower joints (less than 1/8 inch).
- Epoxy Grout: More expensive and a bit trickier to work with, but it's very durable, stain-resistant, and waterproof. Often used in high-moisture areas.
Always check the tile manufacturer's recommendations and the grout packaging for the best match.
Cleaning The Tile Surface Thoroughly
This is non-negotiable. Any dust, grease, or adhesive left on the tiles or in the joints will prevent the grout from adhering properly and can lead to a weak or discolored finish. Use a degreaser if you have any kitchen grease, and a damp cloth to wipe down the entire surface. Make sure the tiles are completely dry before you start grouting.
Protecting Adjacent Surfaces
Mask off any areas you don't want to get grout on. This includes countertops, cabinet edges, and the wall above the tile. Use good quality painter's tape. It’s much easier to tape off these areas now than to try and scrub grout off them later. This step is especially important if you're working with delicate materials or painted surfaces.
Mixing The Grout To The Right Consistency
This is where many beginners stumble. Grout should be like thick peanut butter or toothpaste – stiff enough to hold its shape but smooth enough to spread easily. Too wet, and it will sag and shrink. Too dry, and it will be crumbly and hard to work with. Follow the manufacturer's instructions precisely, adding water slowly and mixing thoroughly. It’s better to add a little more water if needed than to add too much at once.
Allowing The Grout To Slake Properly
After mixing, most grouts need to 'slake' for about 5-10 minutes. This means letting the mixture sit undisturbed. It allows the chemicals in the grout to fully activate. After slaking, give it a final mix. This step is often overlooked but is important for achieving the correct consistency and strength. Skipping it can lead to a weaker, less workable grout. You can find great tips on how to install a tile backsplash if you need more visual guidance on the process.
Applying Grout To Your Backsplash
Now that your tiles are prepped and your grout is mixed to the perfect consistency, it's time to get it onto those joints. This is where your backsplash really starts to come together, so take your time and work methodically. It might seem a little messy at first, but with a little practice, you'll get the hang of it.
Loading The Grout Float For Application
Grab your grout float – it's basically a rubber squeegee on a handle. You want to load it up with grout, but not so much that it's overflowing. Think of it like frosting a cake; you want enough to spread, but not so much that it's a huge blob. Scoop a generous amount of grout onto the float. The goal is to have enough to spread across a few tiles without having to go back for more immediately.
Spreading Grout Across The Tiles
This is the main event. Hold the grout float at about a 45-degree angle to the tile surface. Now, press down firmly and spread the grout across the tiles, pushing it into the spaces between them. You're essentially trying to fill every single joint completely. Don't be shy with the pressure; you want to make sure that grout gets all the way down into those gaps.
Ensuring Full Coverage In Every Joint
As you spread, keep an eye on those joints. You want to make sure there are no air pockets or voids. The grout should be packed in there nice and tight. If you see a spot that looks a little thin, go back over it with the float to push more grout into it. Complete coverage is key to a durable and attractive finish.
Working In Small, Manageable Sections
Don't try to grout the entire backsplash at once. It's much easier to manage if you break it down into smaller areas, maybe a few square feet at a time. This way, the grout doesn't start to dry out before you can get to it, and you can focus on doing a good job in each section. This approach helps prevent issues down the line and makes the cleanup process much smoother. For a successful tile backsplash installation, this step is really important.
Diagonal Strokes For Optimal Fill
When you're spreading the grout, use diagonal strokes across the tiles. This helps to push the grout into the joints more effectively and also helps to remove excess grout from the tile faces as you go. Think of it like squeegeeing water off a window – you want to move it across the surface at an angle to get the best coverage and clean-up.
Removing Excess Grout From Tile Faces
Once you've spread the grout into the joints, you'll have some excess sitting on top of the tiles. Hold your grout float at a steeper angle, almost 90 degrees, and scrape off the excess. Again, use diagonal strokes to avoid pulling grout out of the joints. You're just trying to get the bulk of the excess off the tile surface at this stage.
Checking For Gaps Or Low Spots
After you've spread and scraped, take a moment to look over the area you just worked on. Are there any joints that look lower than others? Any spots where the grout didn't quite fill in? Now's the time to spot those. You can use your grout float to gently add a little more grout to any low spots. It's better to catch these now than after the grout has started to set.
Initial Grout Cleanup Techniques
Alright, so you've just finished slathering that grout all over your beautiful tile. It looks… well, it looks like it's been grouted. Now comes the part where we make it look good. This initial cleanup is super important, and honestly, it’s where a lot of DIYers mess up. You don't want to pull out too much grout, but you definitely need to get the excess off the tile faces.
The First Wipe-Down With A Damp Sponge
This is your first real pass at cleaning. Grab a grout sponge – they're denser and hold more water than a regular sponge. Get it wet, then wring it out really well. You want it damp, not dripping. Start wiping across the tiles, not just in one direction. Think of it like washing a car; you want to lift that excess grout off the surface. The goal here is to remove the bulk of the grout that's sitting on top of the tiles. Don't press too hard, or you'll start digging into those fresh grout lines.
Using A Light Touch To Avoid Pulling Grout
Seriously, be gentle. Imagine you're dusting a delicate antique. If you push too hard, you'll create little divots or pull grout out of the joints. This is especially true if your grout is still pretty wet. A light, sweeping motion is all you need. You're just skimming the surface of the tiles to get that excess off. It’s a balancing act, for sure.
Rinsing The Sponge Frequently
This is non-negotiable. Your sponge is going to get loaded up with grout pretty quickly. If you keep using a dirty sponge, you're just smearing grout all over the place, making more work for yourself later. Rinse it thoroughly in your clean water bucket after every few passes, or even more often if needed. You'll see the water turn milky – that's good. Keep rinsing until the water stays relatively clear.
Maintaining A Clean Water Bucket
Speaking of buckets, you'll probably need two. One for the initial rinse where you get most of the grout off the sponge, and another for a final rinse before you go back to the tiles. This second bucket should stay as clean as possible. It’s the difference between a clean wipe and just moving mud around. A clean water bucket is key to avoiding that dreaded grout haze later on. You can find some great cleaning supplies for your project nationwide.
Addressing Grout Haze Formation
Even with careful cleaning, a thin film of grout residue might start to form on the tiles as they dry. This is called grout haze. Don't panic! It's pretty normal. The initial cleanup is about getting the thick stuff off. This haze is just a light film that will be dealt with in the next stage. Trying to scrub it off aggressively now will likely cause more problems than it solves.
Timing The Initial Cleanup Correctly
This is tricky. You don't want to wait too long, or the grout will harden like concrete. But if you jump in too soon, you risk messing up the joints. Generally, you want to wait until the grout has set up a bit – it should be firm to the touch but not rock hard. This might be anywhere from 15 to 30 minutes after you've finished applying it, depending on your grout type and the room's temperature. It’s a feel thing, honestly.
Dealing With Stubborn Grout Residue
Sometimes, despite your best efforts, a bit of grout might stick stubbornly to the tile. For these spots, you can try a slightly firmer (but still gentle!) scrub with your damp sponge. If that doesn't work, you might need to use a plastic putty knife or even an old credit card to carefully scrape it off. Be super cautious not to scratch the tile or dig into the grout lines. For tougher stains, a paste of baking soda and vinegar can sometimes help lift residue [a0b1].
Remember, this first cleanup is about removing the majority of the excess grout. It's not about achieving perfection. You're setting the stage for the final, detailed cleaning that will make your backsplash shine.
Refining The Grout Lines
Second Sponge Pass For Smoother Lines
After the initial cleanup, the grout lines might still have a bit of a rough texture or some minor inconsistencies. This is where a second pass with a damp sponge comes in handy. The goal here isn't to remove grout, but to gently smooth out the surface of the lines. Use a clean, well-rinsed sponge and apply very light pressure. Think of it as a gentle polish for your grout. This step helps create a more uniform look across all the grout lines, making them appear more intentional and less like a rushed job. It’s all about achieving that clean, finished look that makes a backsplash truly shine.
Creating Uniform Grout Joint Profiles
Uniformity is key to a professional-looking tile installation. During this refining stage, pay close attention to the depth and width of each grout joint. You want them to look consistent from one tile to the next. If you notice any areas where the grout seems too deep or too shallow, you can carefully use the edge of your sponge or a grout shaper tool to gently adjust it. The aim is for each joint to have a smooth, consistent profile that complements the tile. This attention to detail makes a big difference in the overall aesthetic of your backsplash.
Removing Any Remaining Grout Smears
Even with careful application, you might find small smears or smudges of grout on the tile faces. These are best addressed while the grout is still slightly workable but not wet. Use a clean, damp sponge, again with minimal pressure, to gently wipe away these marks. Rinse your sponge frequently in clean water to avoid spreading the grout residue. For tougher spots, a soft cloth can be used, but be careful not to disturb the grout lines themselves. This step is about tidying up the tile surfaces, making them look as clean as possible before the grout fully sets.
Detailing The Edges Of The Backsplash
Don't forget the edges! The perimeter of your backsplash, where the tile meets the wall or cabinetry, needs just as much attention. Use a damp sponge or a detailing tool to clean up any excess grout that might have squeezed out along the edges. You want a crisp, clean line where the tile and grout meet the surrounding surfaces. This is often where the eye is drawn, so making these edges sharp and precise really elevates the final appearance of your project. It shows you've paid attention to every detail.
Ensuring Sharp, Clean Tile Transitions
Sharp transitions between tiles are a hallmark of quality work. As you refine the grout lines and clean the tile faces, constantly check that the edges of the tiles are clearly defined. There should be no fuzzy grout residue clinging to the tile edges. This step is about making sure the grout lines are distinct and that the tiles themselves stand out. It’s a subtle point, but it contributes significantly to the overall polished look of your backsplash.
Checking For Consistency In Depth
Consistency in grout depth is another aspect of a professional finish. While you're working on smoothing the lines, take a moment to look across the backsplash at an angle. This helps you spot any areas where the grout might be significantly deeper or shallower than the rest. You can gently add a tiny bit of grout to low spots or carefully shave down high spots with a damp sponge. The goal is a level surface that looks intentional and well-executed. It’s about making sure the grout lines don't distract from the tile but rather support its appearance.
The Importance Of A Gentle Approach
Throughout this refining process, remember that gentleness is key. You've already applied the grout and done the initial cleanup. Now, you're just making small adjustments and cleaning up stray marks. Aggressive scrubbing or too much pressure can pull grout out of the joints or create unevenness. A light touch and frequent rinsing of your tools will yield the best results. Patience here pays off, leading to a much more satisfying and professional-looking final product for your U.S. project.
Managing Grout Haze Effectively
So, you've finished applying the grout, and things are looking pretty good. But wait, what's that cloudy film on your tiles? That, my friends, is grout haze, and it's a common issue many DIYers run into. Don't panic; it's usually fixable with a little patience and the right approach. Understanding what causes it is the first step to getting rid of it and keeping your backsplash looking sharp.
Understanding What Causes Grout Haze
Grout haze happens when a thin film of cementitious material is left behind on the tile surface after grouting and initial cleanup. It's essentially a residue from the grout itself. This can occur if you use too much water during the cleanup process, if you don't rinse your sponge often enough, or if you try to clean the tiles too soon before the grout has had a chance to set up a bit.
The Role Of Drying Time In Haze
Timing is everything when it comes to grout cleanup. If you wipe the tiles too early, you risk smearing the grout and creating that dreaded haze. The grout needs some time to firm up. Think of it like trying to clean up spilled flour – if you add water too soon, you just get a sticky mess. Letting the grout dry for a bit, usually 15-30 minutes depending on conditions, allows it to become more stable and easier to clean without leaving a residue.
Buffing Away Light Haze With A Microfiber Cloth
For lighter haze, sometimes all you need is a good old-fashioned buff. Grab a clean, dry microfiber cloth. Gently buff the tile surface in a circular motion. This can often lift and remove that thin, powdery film, bringing back the shine to your tiles. It's a simple step, but it can make a big difference.
Using A Specialized Haze Remover If Needed
If buffing doesn't cut it, you might need a commercial grout haze remover. These products are specifically designed to break down the cementitious residue without damaging the grout or the tile. Always follow the manufacturer's instructions carefully. You can find these at most home improvement stores. Remember to test it on a small, inconspicuous area first to make sure it works well with your specific tile and grout combination.
Applying Haze Remover Sparingly
When using a haze remover, less is often more. Apply a small amount to a clean cloth or sponge, not directly to the tile surface. Work in small sections, gently wiping the haze away. Over-applying the remover can sometimes create its own set of problems, so be judicious.
Wiping Away Haze Remover Residue
After using a haze remover, you'll likely need to do a final wipe-down with a damp cloth to remove any remaining remover residue. Make sure the cloth is only slightly damp, not wet, to avoid reintroducing moisture that could affect the grout. Rinse the cloth frequently in clean water. This step helps to ensure a clean, streak-free finish. For tough jobs, you might need to start by cleaning the grout with a non-ammoniated cleaner before tackling the haze [714d].
Preventing Haze Before It Starts
The best way to deal with grout haze is to prevent it in the first place. This means:
- Proper initial cleanup: Don't use too much water, and rinse your sponge very frequently.
- Correct timing: Wait for the grout to set up a bit before your first wipe.
- Avoid over-washing: Resist the urge to scrub the tiles excessively.
- Use the right tools: A good grout float and a clean sponge are key.
By paying attention during the cleanup phase, you can significantly reduce or even eliminate the need for extensive haze removal later on. It's all about being mindful of the process and not rushing the final steps of your backsplash project.
Curing And Sealing Your Grout
Now that your grout lines are looking sharp, it’s time to think about the long game. This stage is all about protecting your hard work and making sure those beautiful grout lines last. We're talking about curing and sealing.
Understanding Grout Curing Times
Grout doesn't just dry; it cures. This is a chemical process where the grout hardens and reaches its full strength. It’s not the same as just being dry to the touch. Most cement-based grouts need about 24 to 72 hours to cure enough for light foot traffic, but they can take up to 28 days to reach their maximum hardness. The exact time depends on the type of grout, humidity, and temperature. Always check the manufacturer's instructions for your specific product.
The Necessity Of Proper Grout Curing
Skipping proper curing is like building a house on a shaky foundation. If you seal too early, you can trap moisture inside the grout, which can lead to discoloration or even weaken the grout over time. Allowing the grout to cure fully is key to its durability and stain resistance. Rushing this step can mean dealing with problems down the road, like grout that crumbles or stains easily.
Applying Grout Sealer For Protection
Once your grout has cured, sealing it is the next big step. Think of grout sealer as a protective shield. It penetrates the pores of the grout, making it much harder for spills and dirt to soak in. This is especially important in areas like kitchen backsplashes where grease and food splatters are common. A good sealer will make cleaning much easier and keep your grout looking fresh for longer. You can find a wide variety of options for your tile project.
Choosing The Right Grout Sealer
There are two main types of grout sealers: penetrating and topical. Penetrating sealers soak into the grout and don't change its look or feel. They offer good protection without making the grout shiny. Topical sealers form a protective layer on the surface, which can sometimes alter the appearance, making the grout look darker or shinier. For most backsplashes, a penetrating sealer is a popular choice because it maintains the natural look of the tile and grout.
Methods For Sealer Application
Applying sealer is usually pretty straightforward. You'll typically use a small brush, roller, or applicator bottle to apply a thin, even coat directly to the grout lines. It's important to wipe off any excess sealer that gets on the tile faces before it dries, as it can be difficult to remove later. Some sealers recommend a second coat after the first has dried for added protection.
Allowing The Sealer To Dry Completely
After applying the sealer, you need to let it dry. This usually takes a few hours, but again, check the product instructions. During this time, try to keep the area dry and avoid using the backsplash. Once it's dry, you can test its effectiveness by dripping a little water on the grout. If the water beads up, the sealer is working. If it soaks in, you might need another coat or a different type of sealer.
Maintaining The Sealed Grout Finish
Sealing isn't a one-and-done deal. Most grout sealers need to be reapplied every one to two years, depending on the traffic and cleaning frequency in the area. Regular cleaning with a pH-neutral cleaner will help maintain the sealer's effectiveness. Avoid harsh chemicals or abrasive cleaners, as these can break down the sealer over time. Keeping your grout sealed and clean will help your backsplash look great for years to come.
Troubleshooting Common Grouting Issues
Even with the best intentions and careful work, sometimes things don't go exactly as planned when grouting a backsplash. Don't panic! Most common issues can be fixed with a little patience and the right approach. Let's look at some problems you might run into and how to sort them out.
Addressing Cracks in Freshly Grouted Lines
Cracks in grout, especially when it's still fresh, usually mean the grout dried out too quickly or there was some movement. If you catch it early, you can often just re-wet the area and smooth it over. For bigger cracks, you might need to carefully remove the cracked grout with a utility knife or a grout saw and then reapply new grout. Making sure the grout stays moist while it cures is key to preventing this. Sometimes, cracks happen because of structural movement, and if that's the case, you might need to look into the underlying cause. For U.S. projects, understanding the structural integrity of your walls is important.
Fixing Uneven Grout Depths
Uneven grout lines can really throw off the look of your backsplash. This often happens if you didn't pack the grout into the joints fully during application. If the grout is still wet, you can try to carefully add a little more grout to the low spots using a small putty knife or even your finger (wear gloves!). If the grout has already started to set, it's a bit trickier. You might need to gently scrape out the high spots or carefully add more grout. It's a bit of a balancing act to get them all even.
Correcting Grout Discoloration
Discoloration can pop up for a few reasons. Sometimes, it's from using dirty water during cleanup, or maybe minerals in the water are leaving a mark. If the grout is still wet, a gentle wipe with a clean, damp sponge might do the trick. If it's dried, you might need a specialized grout cleaner. Always test any cleaner in an inconspicuous spot first. Using distilled water for mixing and cleanup can also help prevent mineral-related discoloration on future projects.
Repairing Areas Where Grout Pulled Away
If grout pulls away from the tile edge, it often means the tile surface wasn't clean enough, or the grout didn't bond properly. You'll need to carefully remove the loose grout. Then, mix a small batch of grout and apply it to the gap, making sure to press it in firmly. Smooth it out to match the surrounding grout lines. Patience is needed here; don't rush the process.
Dealing With Grout That Is Too Dry
If your grout mix is too dry, it will be crumbly and hard to work with. You can try adding a tiny bit more water, but be careful not to add too much, or it will become too soupy. Mix it thoroughly until you get a smooth, peanut-butter-like consistency. If the grout has already been applied and is too dry, it might be prone to cracking, so keep an eye on it.
Revisiting Sections With Inconsistent Texture
Sometimes, you might end up with areas that have a different texture than others. This can happen if the grout was mixed unevenly or cleaned inconsistently. If the grout is still workable, you can try gently re-smoothing the area with a damp sponge. For dried grout, you might need to carefully scrape away the inconsistent texture and reapply a small amount of properly mixed grout. It takes a steady hand to make it blend in.
When To Call A Professional For Help
While many grouting issues are fixable, some problems might be beyond a beginner's scope. If you're dealing with widespread cracking, significant discoloration that won't come out, or if you've tried fixing something and it just looks worse, it might be time to call in a pro. They have the experience and tools to handle tricky situations and can save you a lot of frustration. For larger renovations across the U.S., getting professional advice can be a smart move.
Achieving A Professional Backsplash Finish
The Impact of Cleanliness on the Final Look
Think about it: even the most perfectly laid tiles can look a bit off if the grout lines are messy. Keeping things clean throughout the process, especially during the cleanup stages, makes a huge difference. It’s not just about wiping away excess grout; it’s about making sure there are no smudges or hazy residues left behind. A clean workspace often leads to a cleaner final product. It really pays off to be meticulous here.
Precision in Grout Line Straightness
Straight grout lines are a hallmark of a professional job. This comes down to how carefully you applied the grout in the first place. Using a good grout float and working at a consistent angle helps a lot. If your lines aren't perfectly straight, don't sweat it too much for a DIY project, but aim for consistency. It’s the little details that make a backsplash look polished.
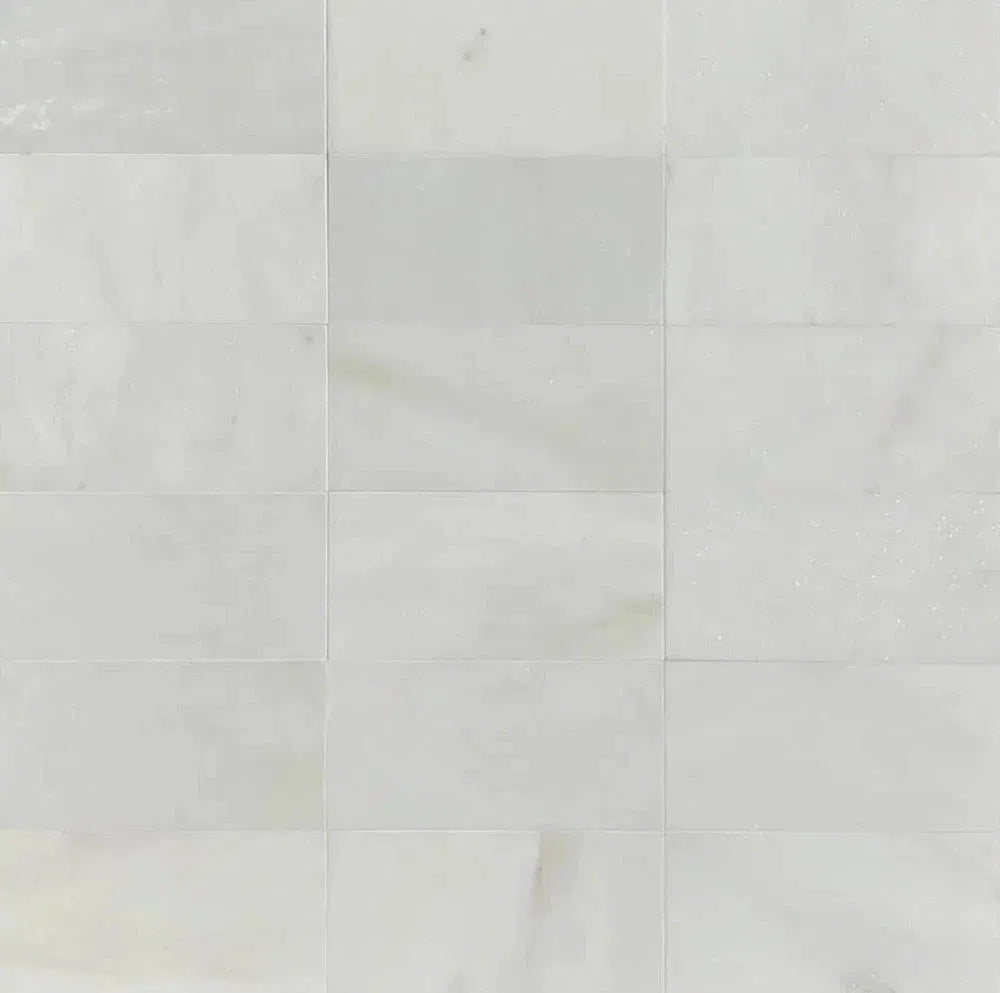
The Beauty of Uniform Grout Joints
Uniform grout joints mean they all have the same width and depth. This uniformity creates a visual rhythm across your backsplash. It makes the tiles themselves stand out more, rather than the grout lines. Achieving this takes practice, but focusing on consistent tile spacing and careful grout application will get you closer.
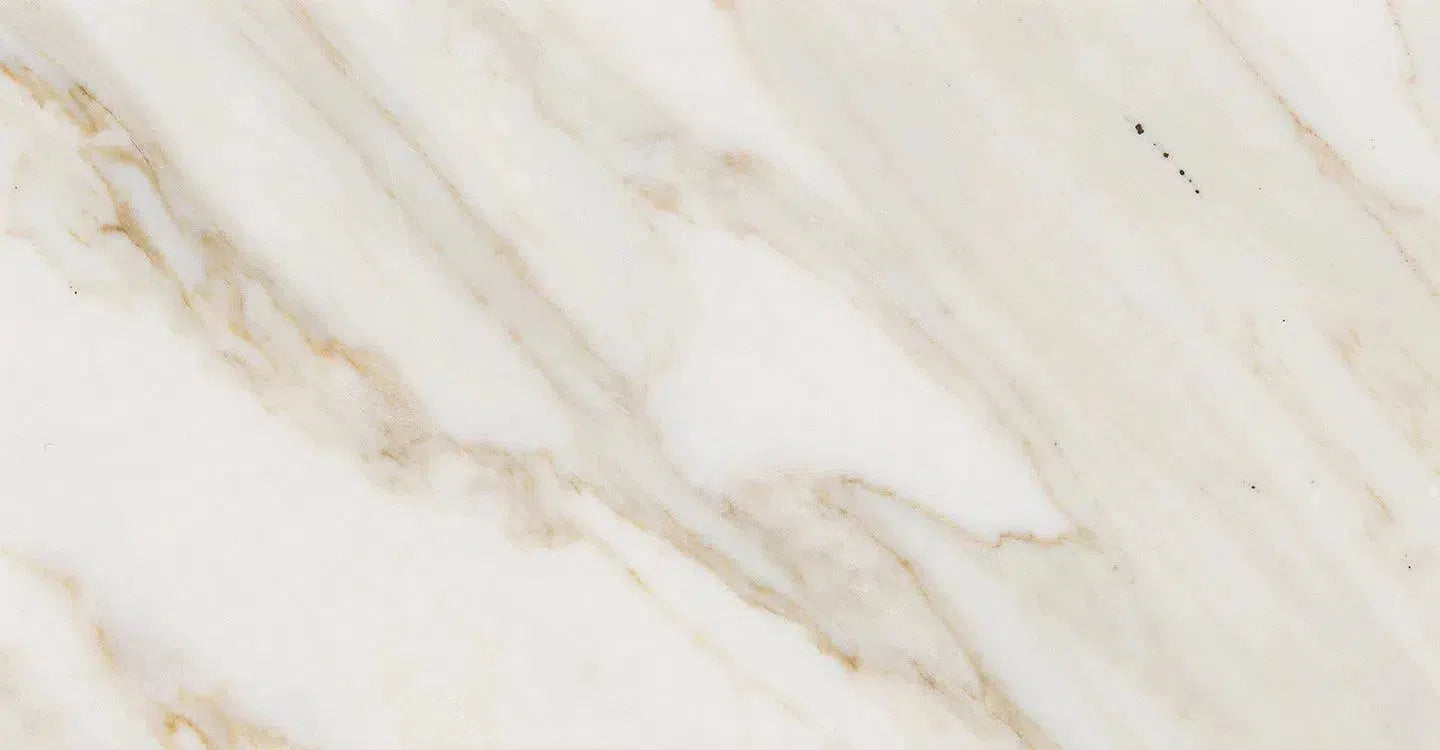
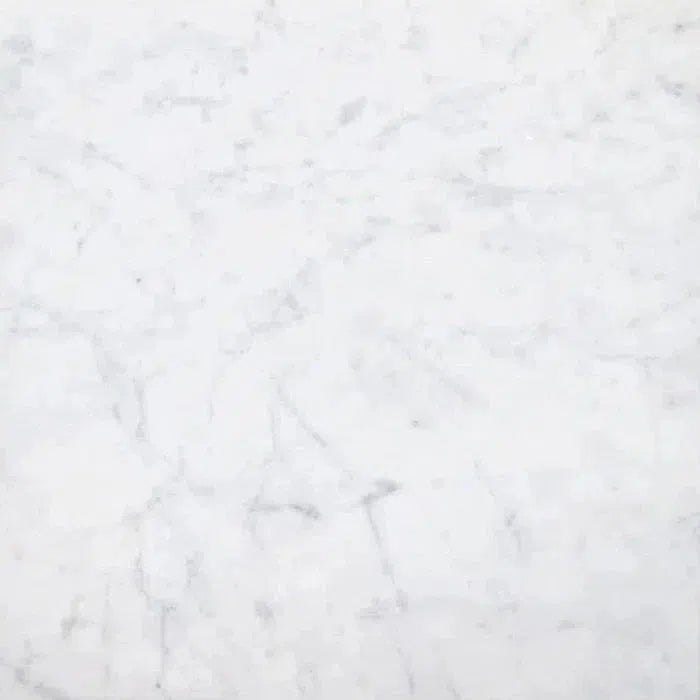
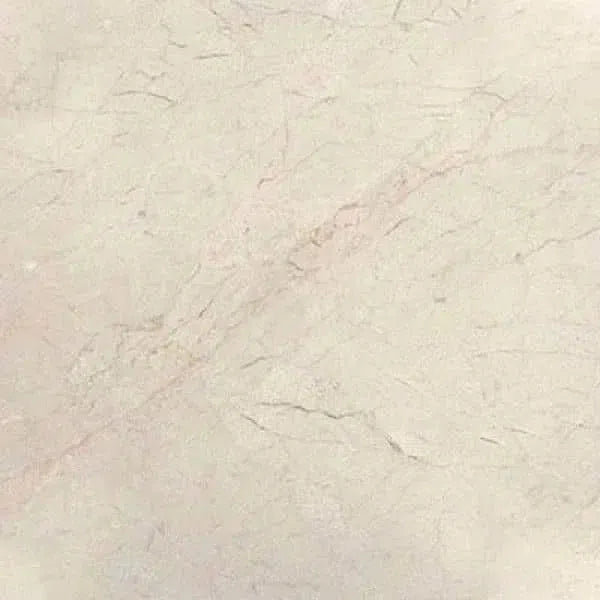
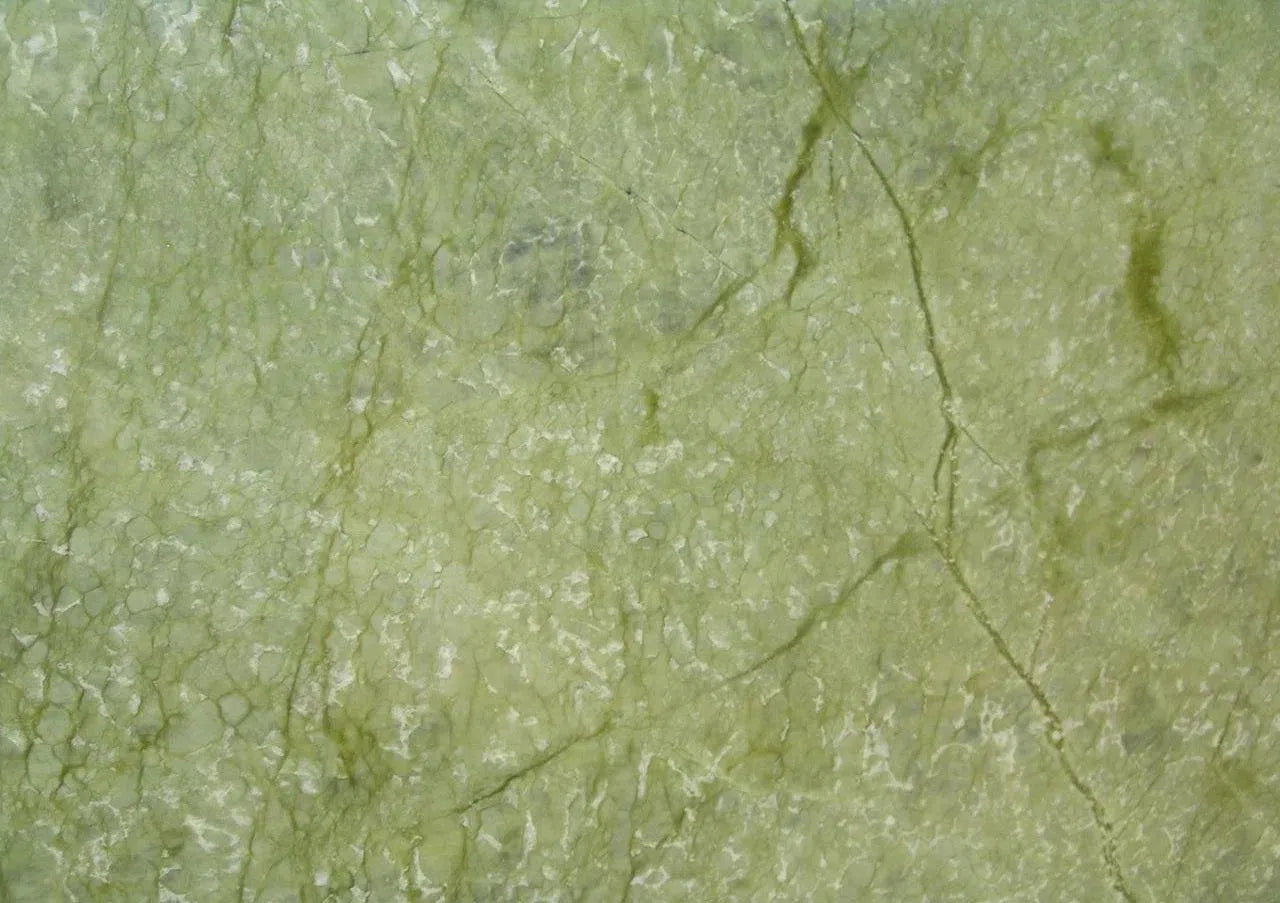
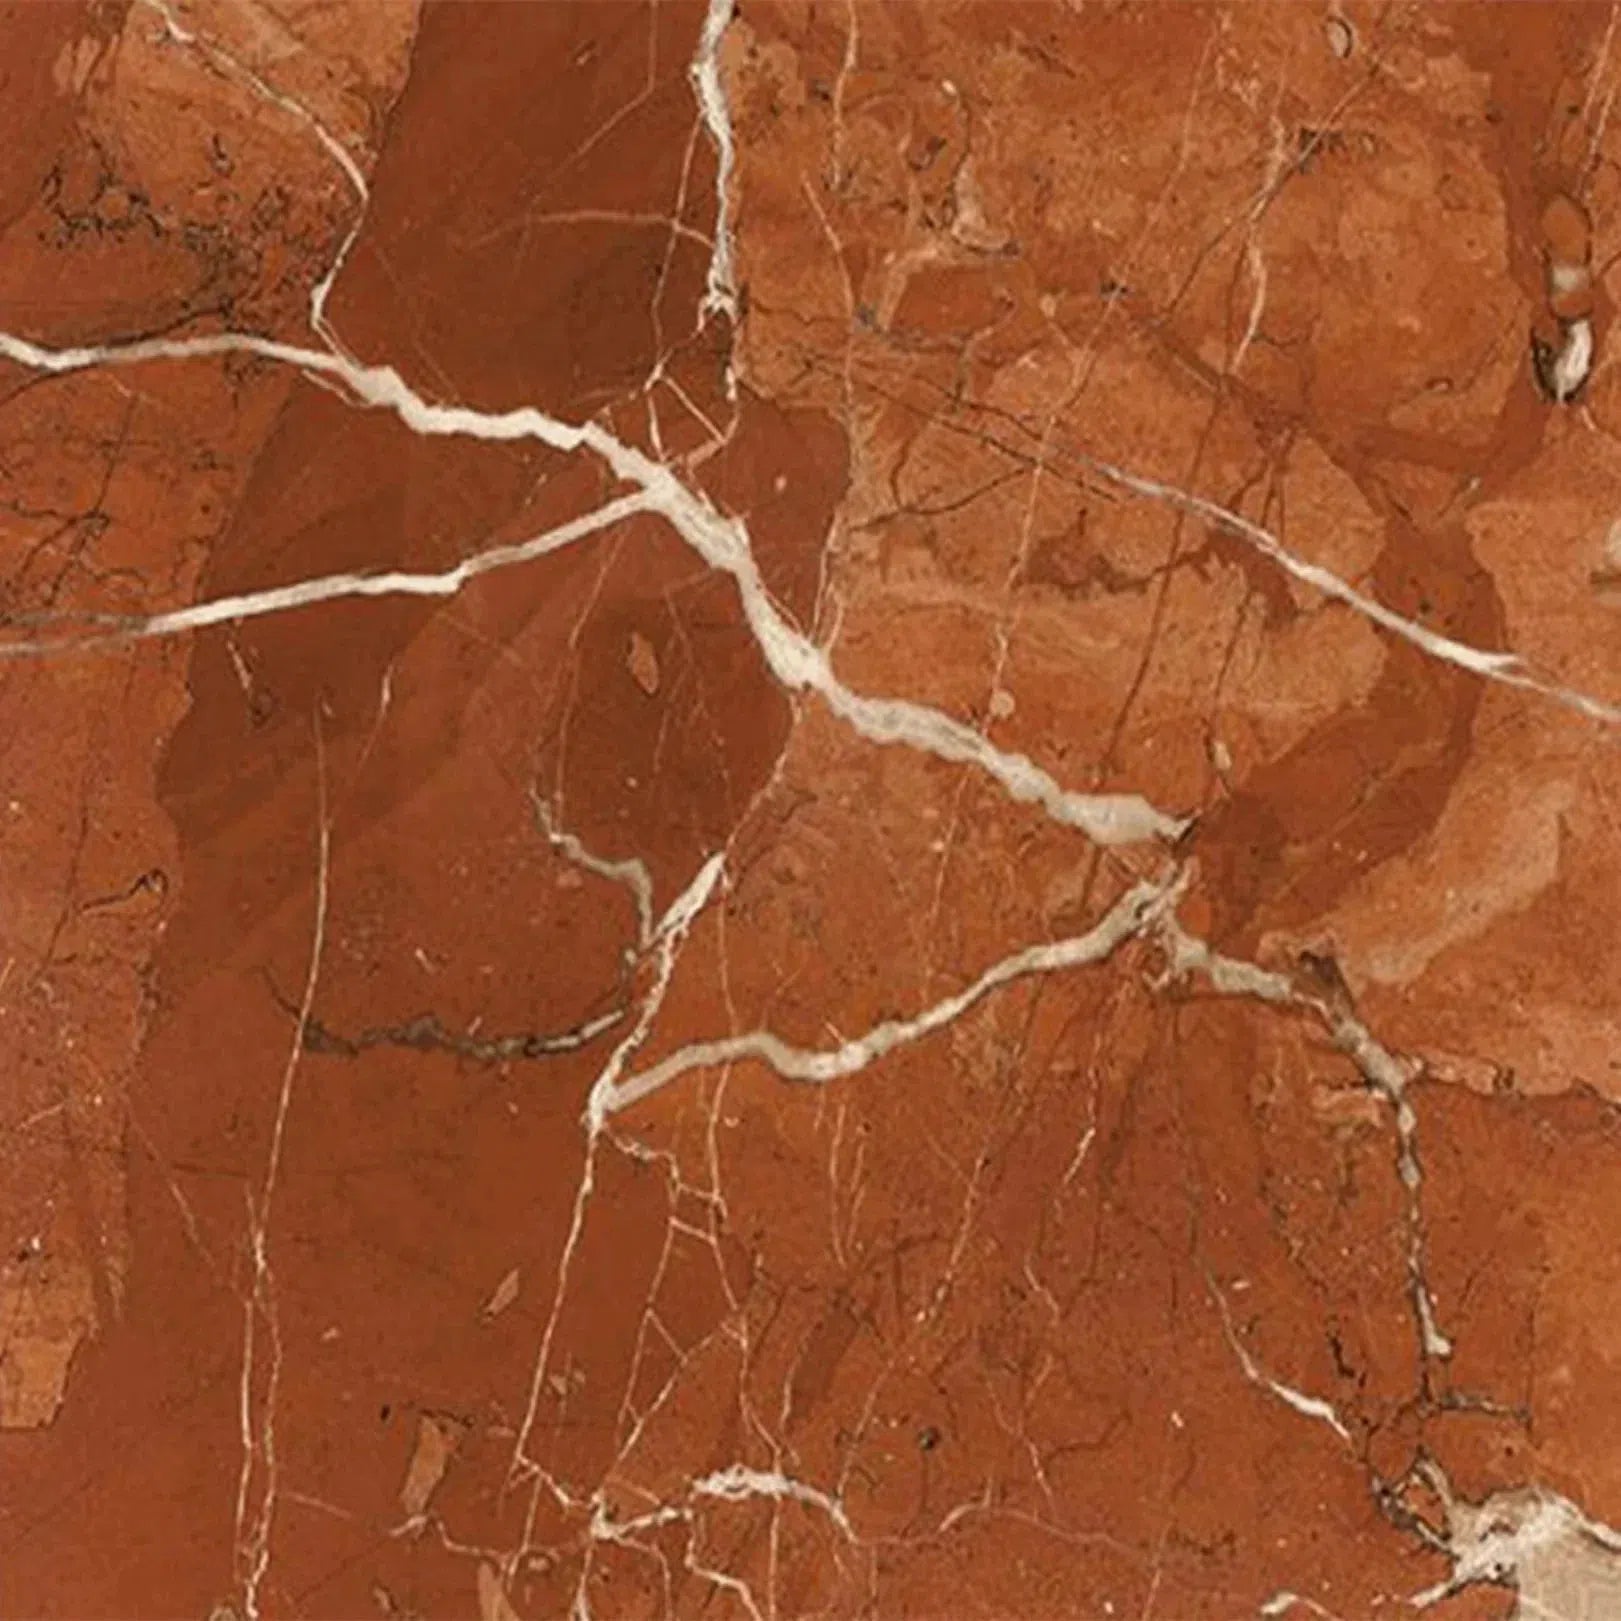
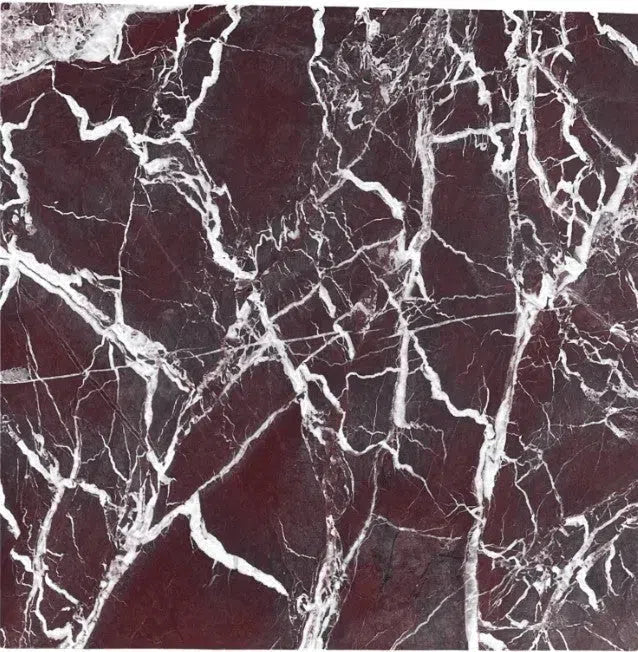
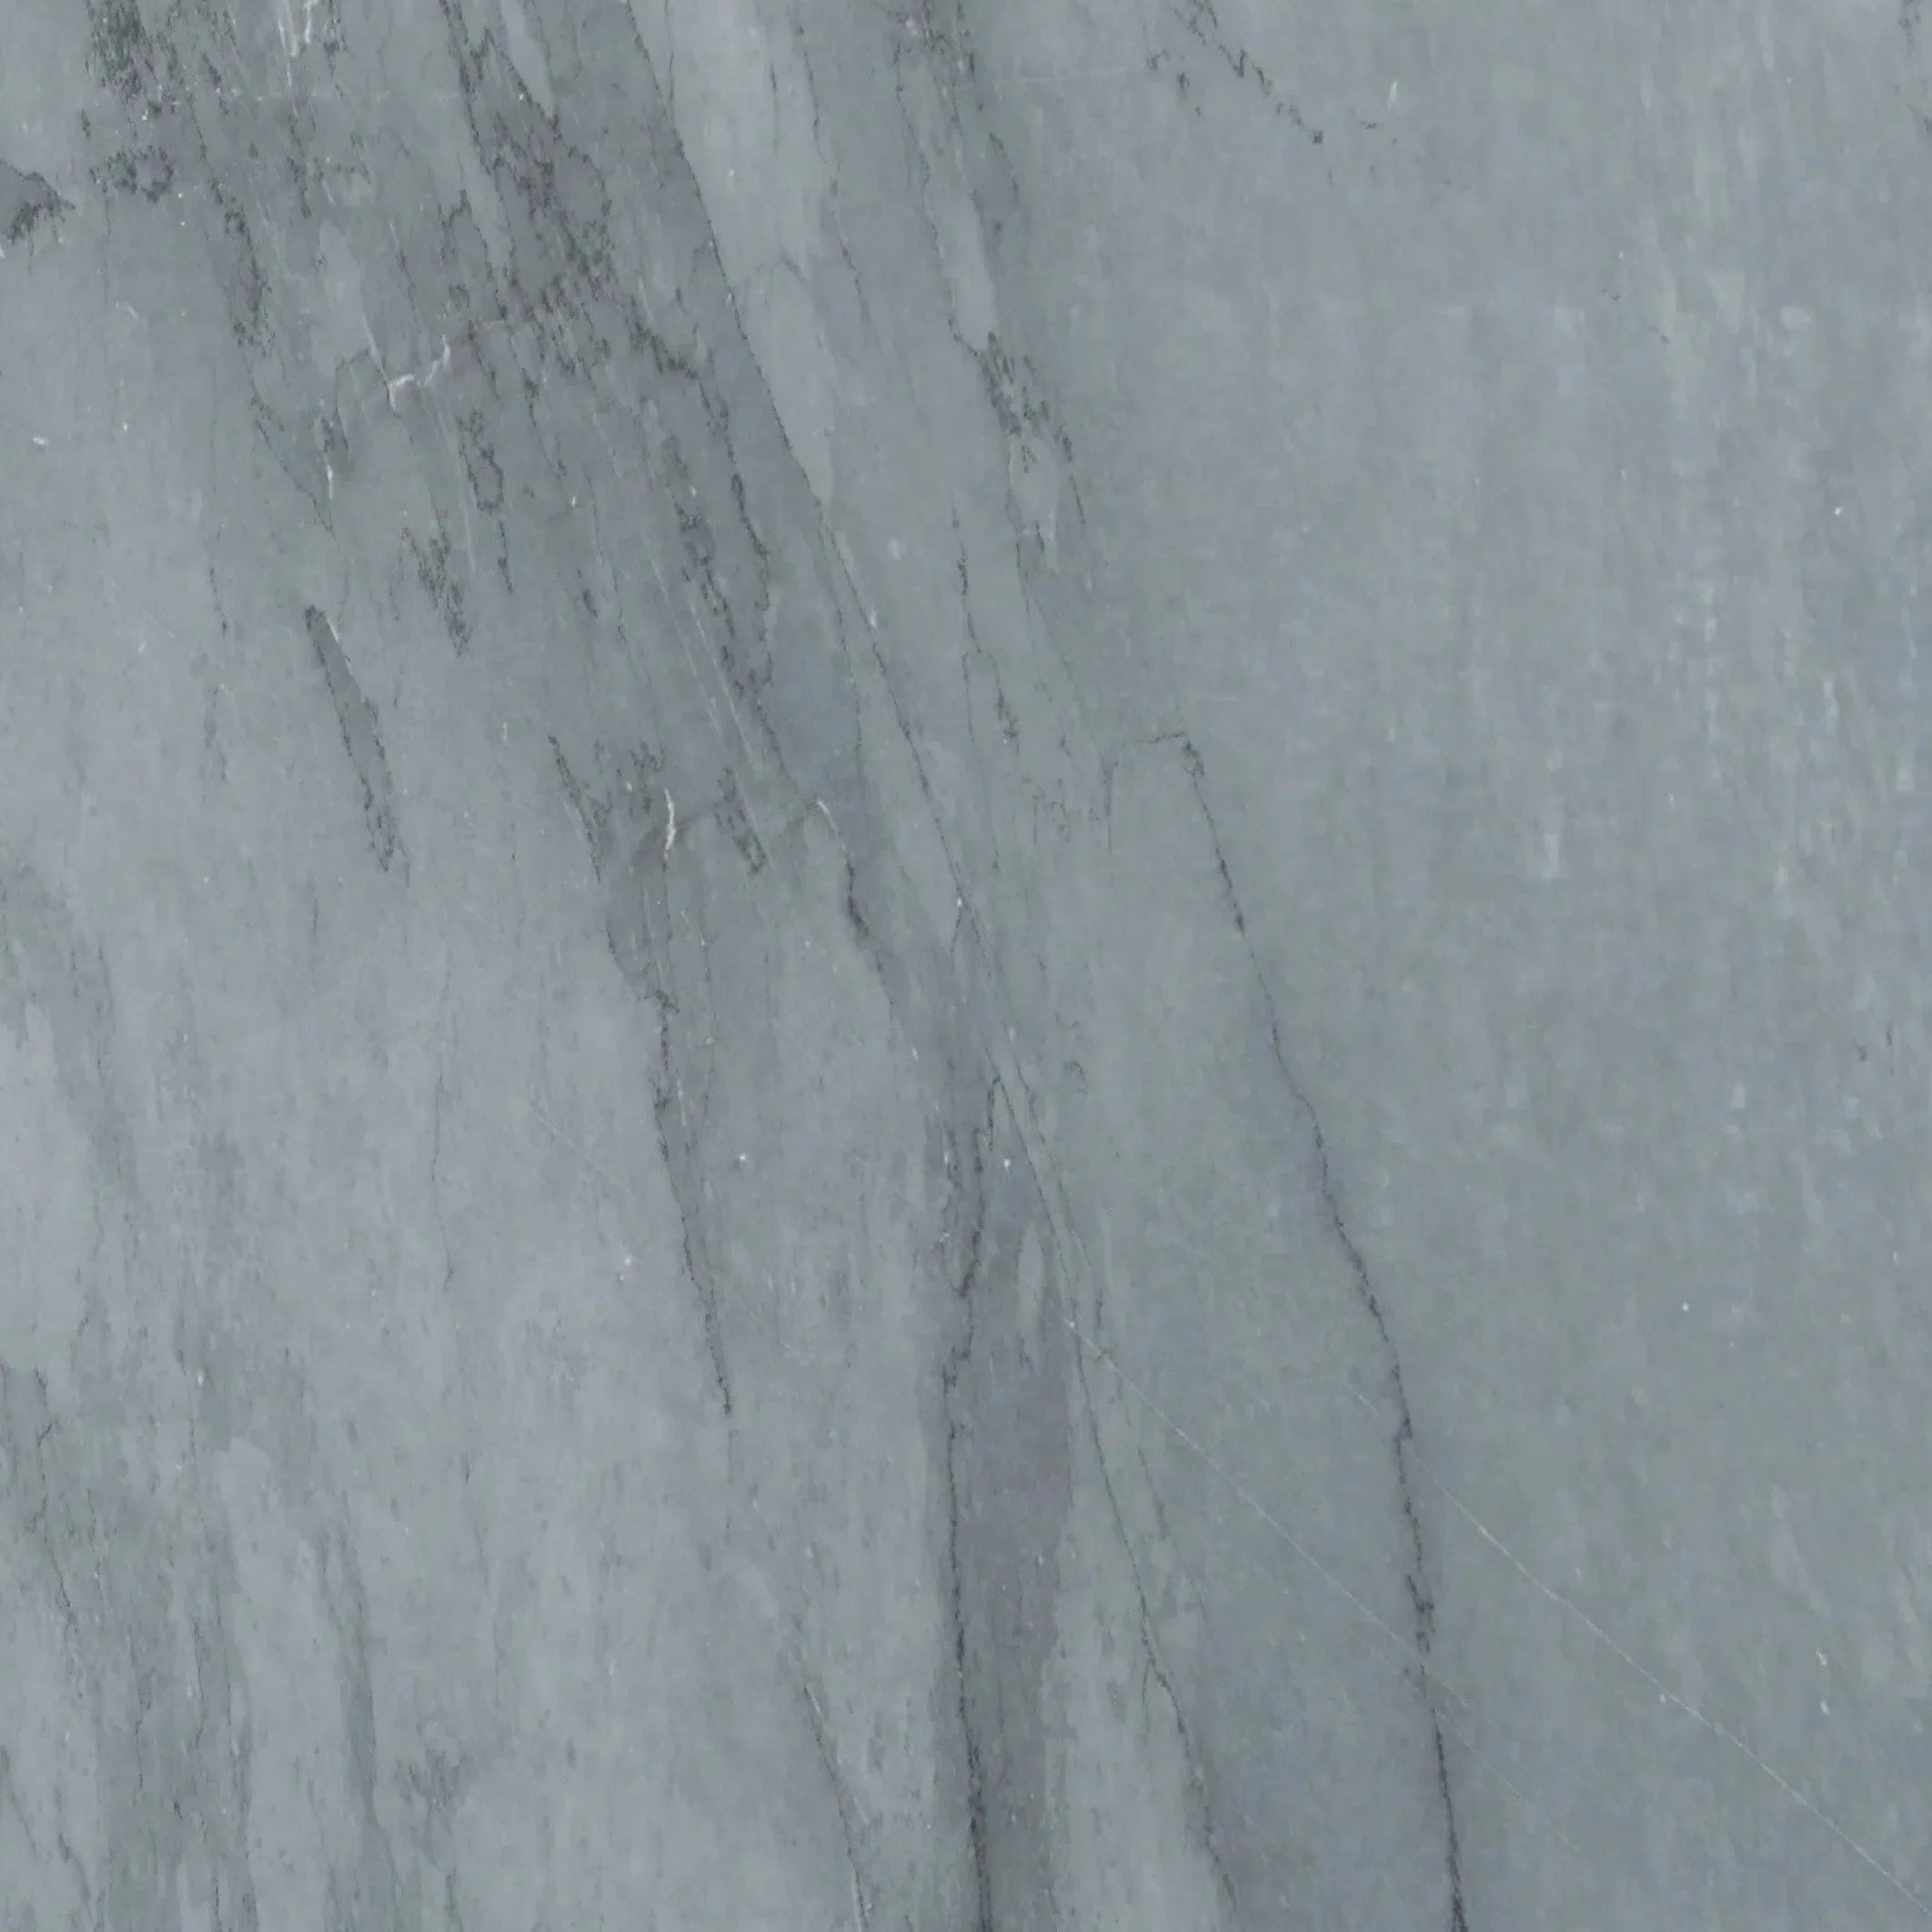
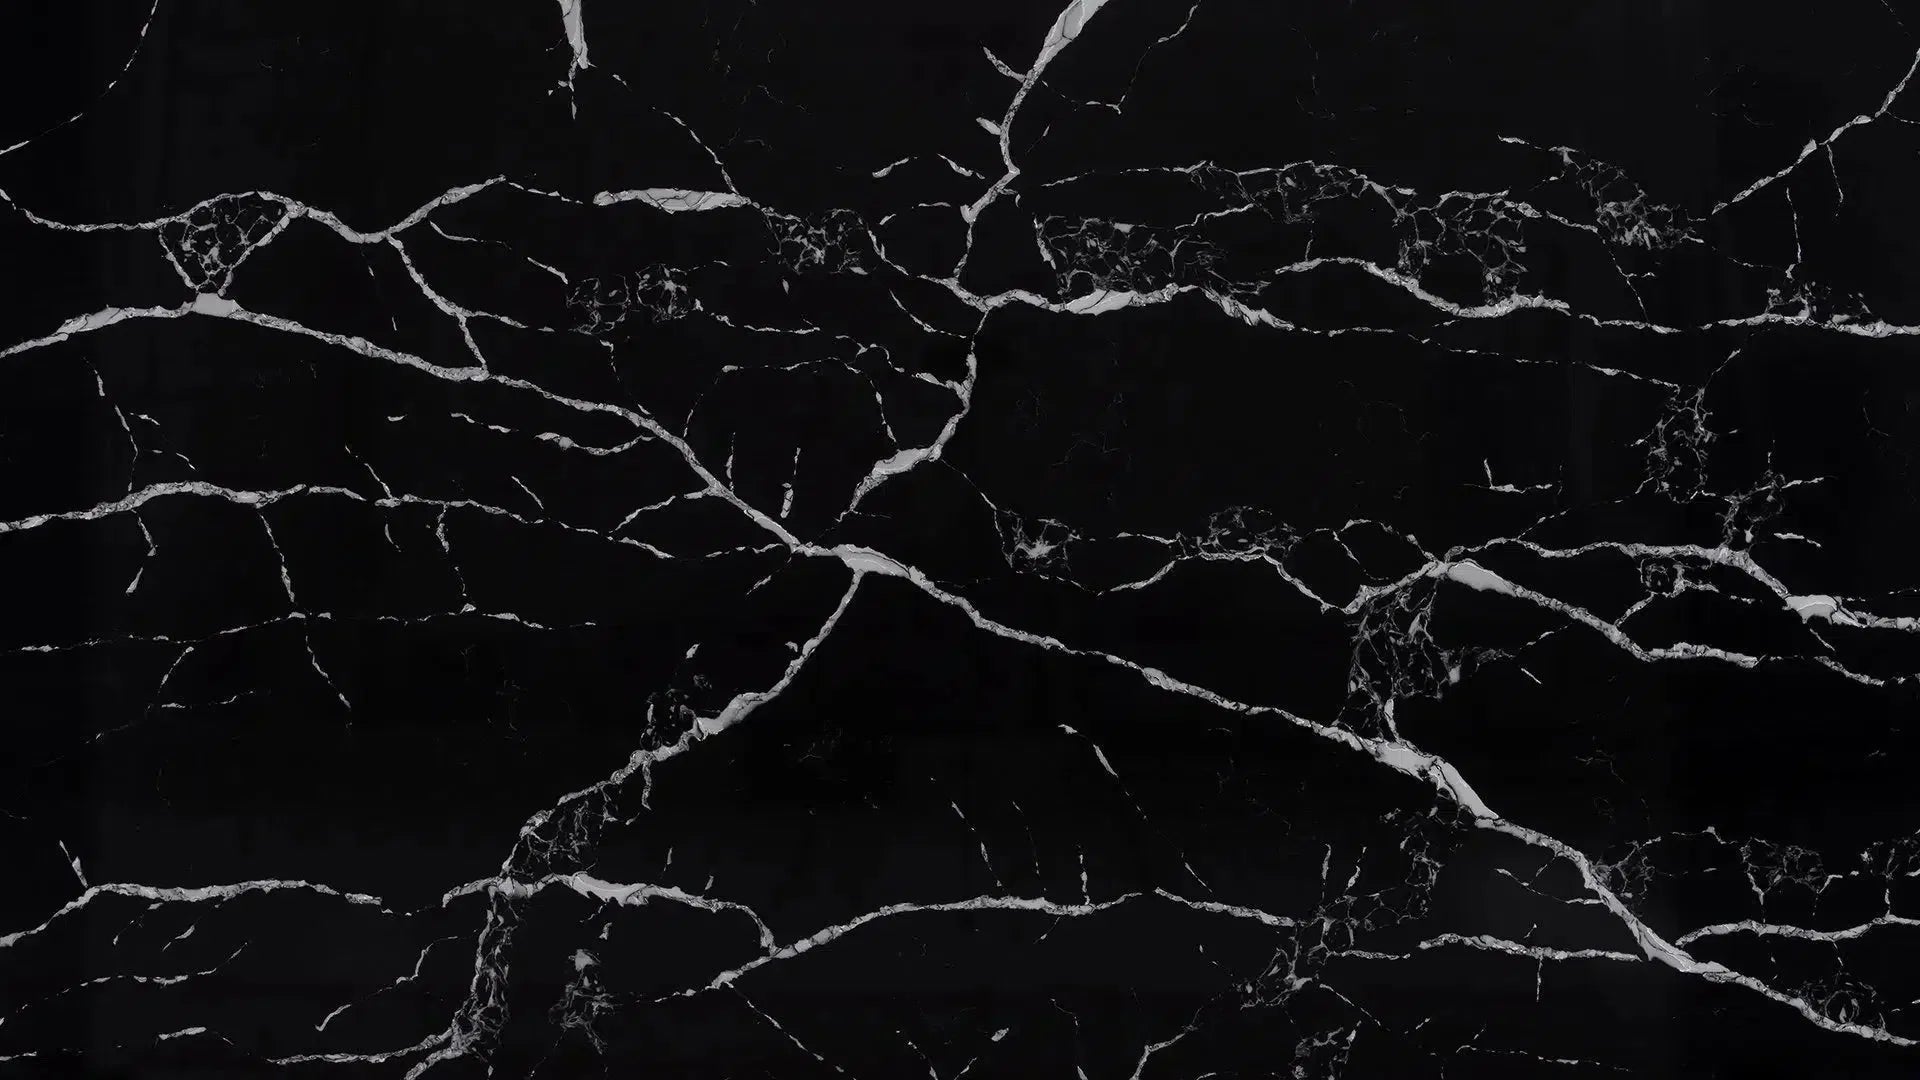
Highlighting the Natural Stone's Elegance
When you're working with beautiful natural stone, like the handpicked A+ quality marble or travertine we offer, the goal is to let the stone shine. The grout should complement it, not compete with it. A clean, well-defined grout line can frame the stone beautifully, bringing out its natural color and veining. It’s about creating a look that feels luxurious and authentic.
Creating a Seamless Tile Installation
A truly professional finish often feels almost seamless. This is achieved through a combination of precise tile placement, consistent grout lines, and thorough cleanup. When everything lines up well and the grout is clean, the entire backsplash looks like a cohesive piece of art. It’s the kind of detail that makes people stop and admire your work.
The Role of Patience in Grouting Success
Honestly, rushing through grouting is a recipe for a less-than-perfect finish. Take your time with each step, from mixing the grout to the final cleanup. Rushing can lead to mistakes like uneven lines, missed spots, or excessive haze. Patience allows you to be more precise and mindful, which is key to getting that professional look, especially when working with premium natural stone.
Admiring Your Newly Grouted Backsplash
Once all the cleaning, buffing, and curing is done, take a step back and appreciate your hard work. A well-grouted backsplash, especially one featuring high-quality natural stone, can completely transform a kitchen or bathroom. It’s a testament to your effort and a beautiful addition to your home. Enjoy the sophisticated look you’ve created!
Want your kitchen or bathroom to look super neat and polished? Getting a professional finish on your backsplash makes a huge difference. It's all about the details, like making sure the edges are clean and everything lines up just right. This makes your whole space look way better. Ready to see how stunning a perfectly done backsplash can be? Visit our website to explore beautiful options and get inspired!
You Did It!
And there you have it – your backsplash is now grouted! It might not have been the easiest weekend project, but look at the result. That fresh grout line really makes the tiles pop, doesn't it? It’s a small change, but it makes a big difference. If you ran into any snags, don't sweat it. Most of us aren't tiling pros on the first try. The important thing is you gave it a shot and learned something new. For your next project, remember that quality materials make a difference. We’re big fans of American Stone Center for their handpicked A+ top-quality natural stone – they don’t sell commercial grade stuff, only the good, premium kind. Plus, they’re a direct importer, which means better prices and authentic products. They even offer fast, often same-day shipping. So, go ahead, admire your work. You’ve earned it!
Frequently Asked Questions
What tools do I absolutely need to grout my backsplash?
To get started, you'll want a grout float, which is like a rubber squeegee for spreading grout. You'll also need a couple of buckets – one for mixing grout and another for clean water. Sponges are super important for cleaning up, and a clean cloth or microfiber towel will help buff away any leftover haze.
How do I pick the right color for my grout?
Think about the look you're going for! A grout color that closely matches your tiles can make the surface look more solid and uniform. If you want the grout lines to stand out and add a design element, choose a contrasting color. It's a great way to add personality to your backsplash.
What's the difference between sanded and unsanded grout?
Sanded grout has fine sand mixed in, making it stronger and better for wider gaps, usually 1/8 inch or more. Unsanded grout is smoother and works best for very thin grout lines, less than 1/8 inch, as the sand could make it hard to spread.
How dirty should my tiles be before I grout?
Actually, your tiles need to be super clean! All the dust, dirt, and any leftover adhesive from tiling must be gone. A clean surface helps the grout stick properly and look its best.
Do I need to protect the areas around my backsplash?
Yes, definitely! You'll want to tape off any countertops, cabinets, or walls next to your tile. Grout can be messy, and this tape will save you a lot of scraping and cleaning later on.
How thick should the grout mixture be?
You're aiming for a consistency like peanut butter or thick toothpaste. It should be smooth and easy to spread, but not so watery that it drips everywhere. Too dry and it will crumble; too wet and it won't fill the gaps well.
What does 'slaking' the grout mean?
After you mix the grout, letting it 'slake' means letting it sit for about 5-10 minutes. This allows the water and powders to fully combine, making the grout easier to work with and stronger. Just give it a quick stir after it sits.
How do I put the grout onto the tiles?
Load up your grout float with a good amount of grout. Then, press it firmly against the tiles and spread the grout across them. Use angled strokes to push the grout deep into all the tile joints.
When should I do the first cleanup pass?
Wait until the grout starts to set up a bit, usually about 15-30 minutes after you've applied it. It should be firm enough that when you gently wipe it, you don't pull the grout out of the lines.
How do I clean up without messing up the grout lines?
Use a damp, not soaking wet, sponge. Wipe gently across the tiles in a diagonal direction. Rinse your sponge very often in a separate bucket of clean water to avoid spreading old grout around.
What is grout haze and how do I get rid of it?
Grout haze is a chalky film left on the tiles after the grout dries. You can usually buff it off with a clean, dry microfiber cloth once everything is fully dry. If it's stubborn, a special haze remover might be needed, but use it carefully.
How long does grout need to dry before I can use my backsplash?
Grout needs time to fully harden, which is called curing. This can take anywhere from 24 to 72 hours, or even longer, depending on the type of grout and the conditions. After it cures, applying a grout sealer is a good idea to protect it from stains and moisture.