


So, you've got a concrete slab and you're thinking about putting some nice travertine pavers on top? It's a pretty popular way to upgrade a patio or walkway, and honestly, it looks fantastic when it's done right. This guide is all about how to install travertine pavers over concrete, step by step. We'll walk you through everything from getting the concrete ready to the final touches. It might seem like a lot, but breaking it down makes it totally doable for most DIYers.
Key Takeaways
- Make sure your concrete surface is clean, level, and has good drainage before you start.
- Gather all your materials, including the travertine pavers, the right adhesive, and joint sand.
- Plan your paver layout carefully, including patterns and any cuts you'll need.
- Apply the adhesive mortar evenly to the concrete in sections you can manage.
- Set the travertine pavers one by one, keeping consistent gaps and checking for levelness.
- Use a wet saw for any cuts needed around edges or obstacles, and always use safety gear.
- Secure the edges of your paver installation with proper restraints.
- Fill the gaps between pavers with sand, sweep it in well, and compact it for stability.
Preparing Your Concrete Surface For Travertine Pavers
Before you even think about laying down those beautiful travertine pavers, you've got to get your concrete base ready. It’s like prepping a canvas before painting – you can't just slap the paint on and expect a masterpiece. A solid foundation is key to a patio or walkway that looks great and lasts for years. Skipping this step is a recipe for cracks, unevenness, and general headaches down the road.
Assessing The Existing Concrete Condition
First things first, take a good, hard look at your concrete. Is it cracked? Does it have low spots or high spots? Is it crumbling anywhere? You need to know what you're working with. A thorough inspection will tell you if the concrete is sound enough for a paver overlay. If it's severely damaged, you might need to consider more extensive repairs or even a full replacement, but for most situations, some prep work will do the trick.
Ensuring Proper Concrete Drainage
Water is the enemy of any outdoor surface. If your concrete doesn't drain well, water will pool up, freeze and expand in the winter, and generally cause trouble. You want water to flow away from your house and any structures. Check the slope of your existing concrete. Ideally, it should have a slight pitch away from buildings. If it's flat or slopes towards your house, you might need to address this before laying pavers. Sometimes, a bit of regrading or adding a drainage system is necessary.
Cleaning The Concrete Thoroughly
This is not the time to be lazy. You need to get that concrete spotless. Any dirt, grease, oil, or old sealant will prevent the new adhesive from sticking properly. Use a stiff brush and a good concrete cleaner. A pressure washer can be a lifesaver here, but be careful not to damage the concrete surface. Rinse it off completely and let it dry fully. Seriously, let it dry. Damp concrete is not your friend.
Repairing Any Cracks Or Imperfections
Now, tackle those cracks and divots you found during your inspection. Small cracks can usually be filled with a concrete patching compound or a flexible sealant. For larger cracks or spalling (where the surface is flaking off), you might need a more robust repair material. The goal is to create a smooth, continuous surface. Don't just cover them up; fix them properly. This is where you'll really appreciate having a solid base.
Achieving A Smooth And Level Surface
Travertine pavers need a flat surface to sit on. If your concrete has significant humps or dips, your pavers will be uneven, leading to tripping hazards and a less-than-professional look. You might need to use a self-leveling compound for low spots. For high spots, you might have to grind them down a bit. It doesn't have to be perfectly flat like a billiard table, but it needs to be consistently level across the area where the pavers will go.
Considering Concrete Etching For Adhesion
For some adhesive mortars, especially those designed for overlay applications, etching the concrete surface can really help. This process creates a slightly rougher texture, giving the adhesive something more to grip onto. You can achieve this with a mild acid solution (follow safety instructions carefully!) or by using a mechanical grinder. It's an extra step, but it can make a big difference in the long-term bond between the concrete and the new paver layer. This is a common practice when you're looking at installing travertine over concrete.
Evaluating The Concrete's Structural Integrity
Before you commit to covering your concrete, take a moment to think about its overall health. Is it old and crumbling? Does it have major structural cracks that suggest the ground beneath it has shifted? If the concrete itself is failing, putting pavers on top won't fix the underlying problem. It's like putting a fancy new roof on a house with rotten beams – it's just delaying the inevitable. For most residential patios and walkways, the concrete is usually sound, but it's always worth a quick check. If you're unsure, it might be worth consulting a professional to assess the concrete's condition.
Gathering Essential Materials And Tools
Before you start laying down those beautiful travertine pavers, you need to make sure you have everything ready. It’s like getting all your ingredients together before you bake a cake – you don’t want to be halfway through and realize you’re missing the eggs, right? For a project like this, having the right stuff on hand makes the whole process go much smoother. We're talking about getting the best materials and the right tools for the job, so your new travertine patio or walkway looks fantastic and lasts for years.
Selecting Premium Travertine Pavers
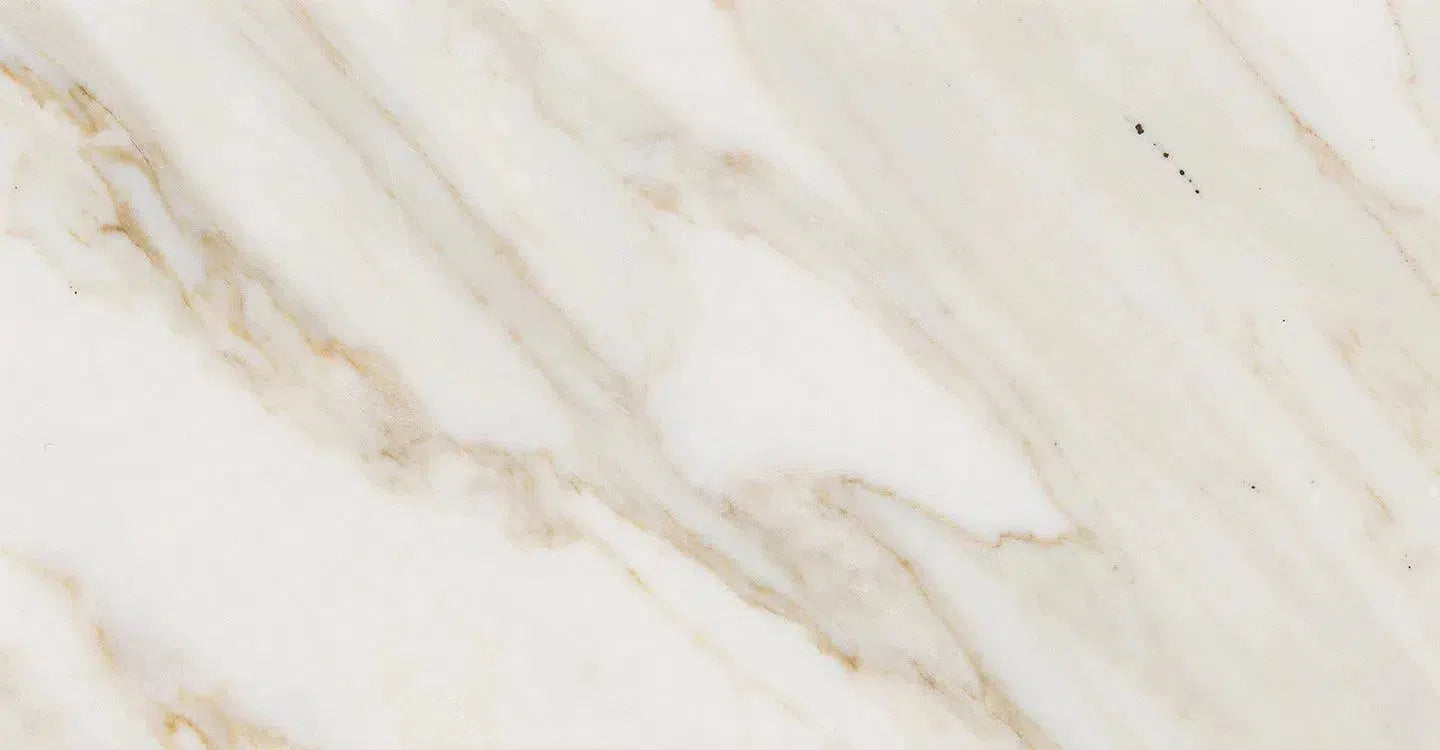
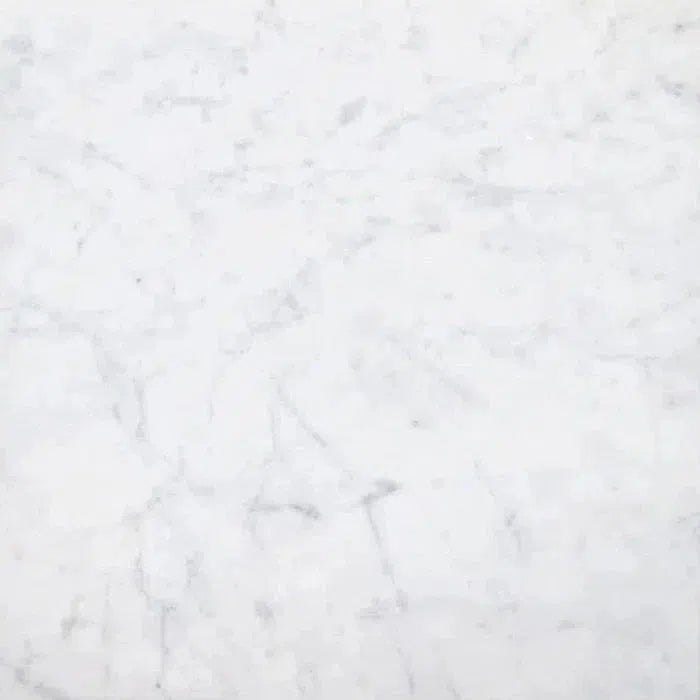
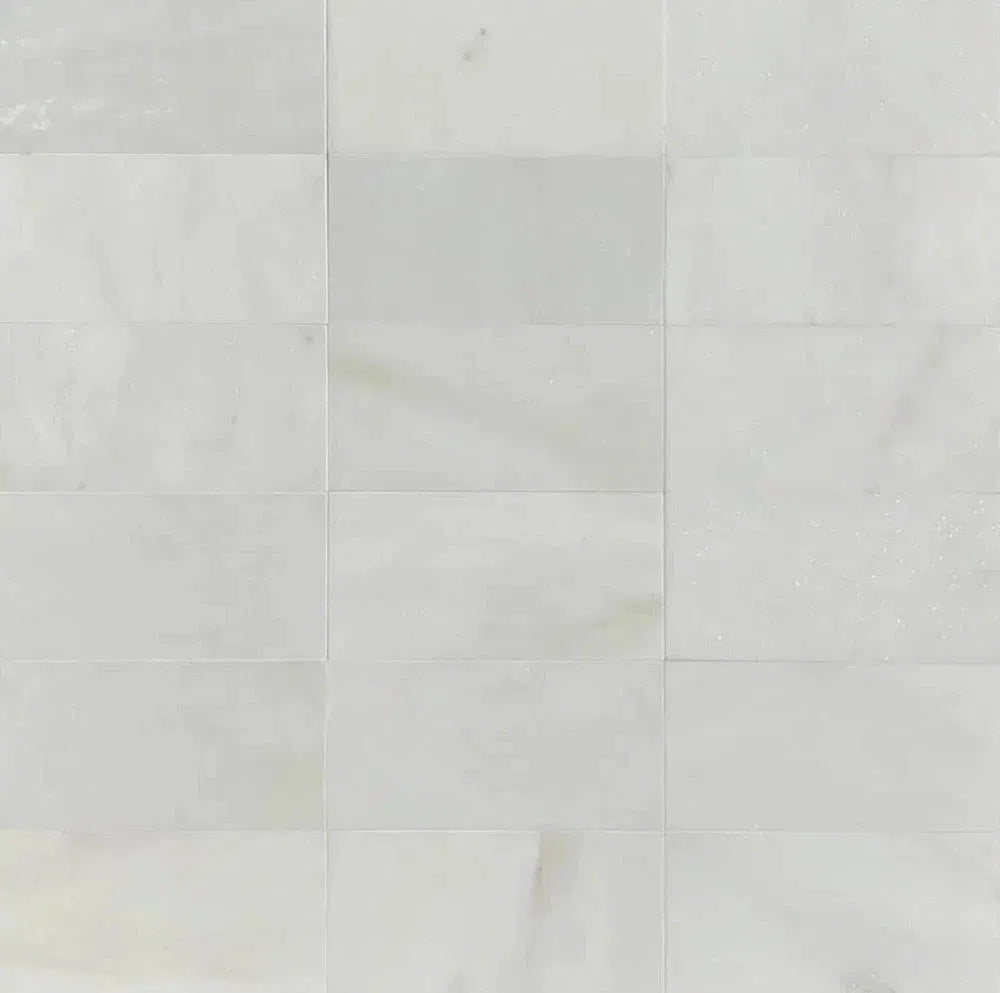
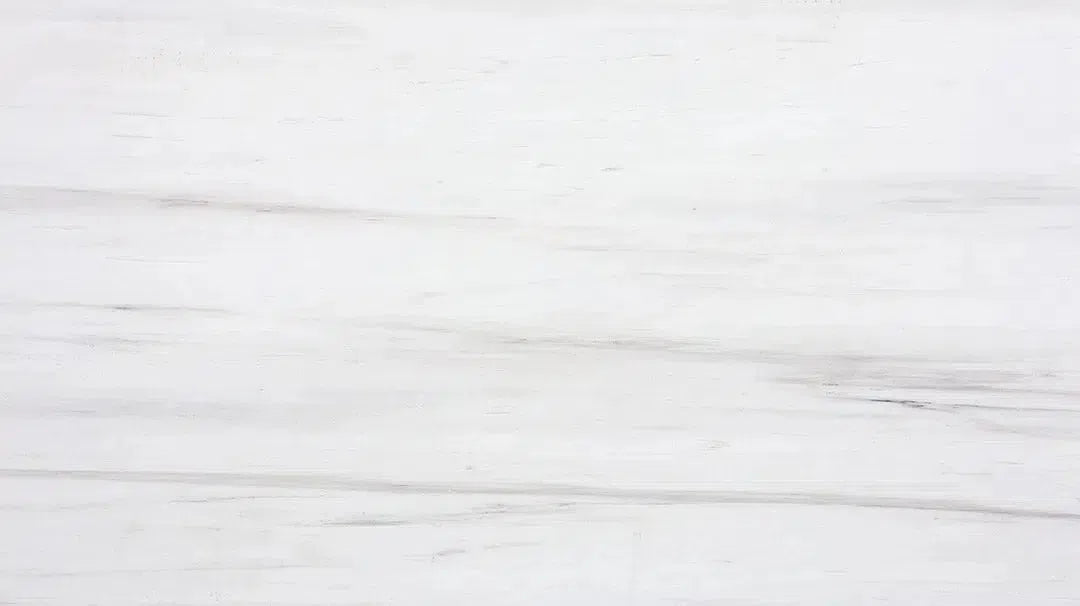
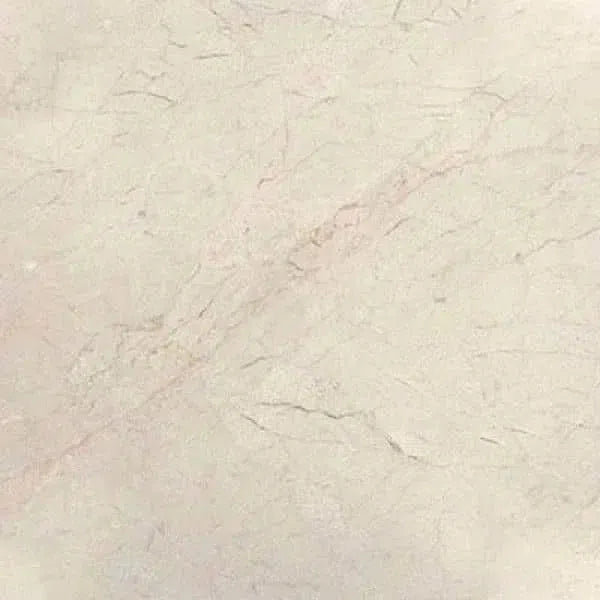
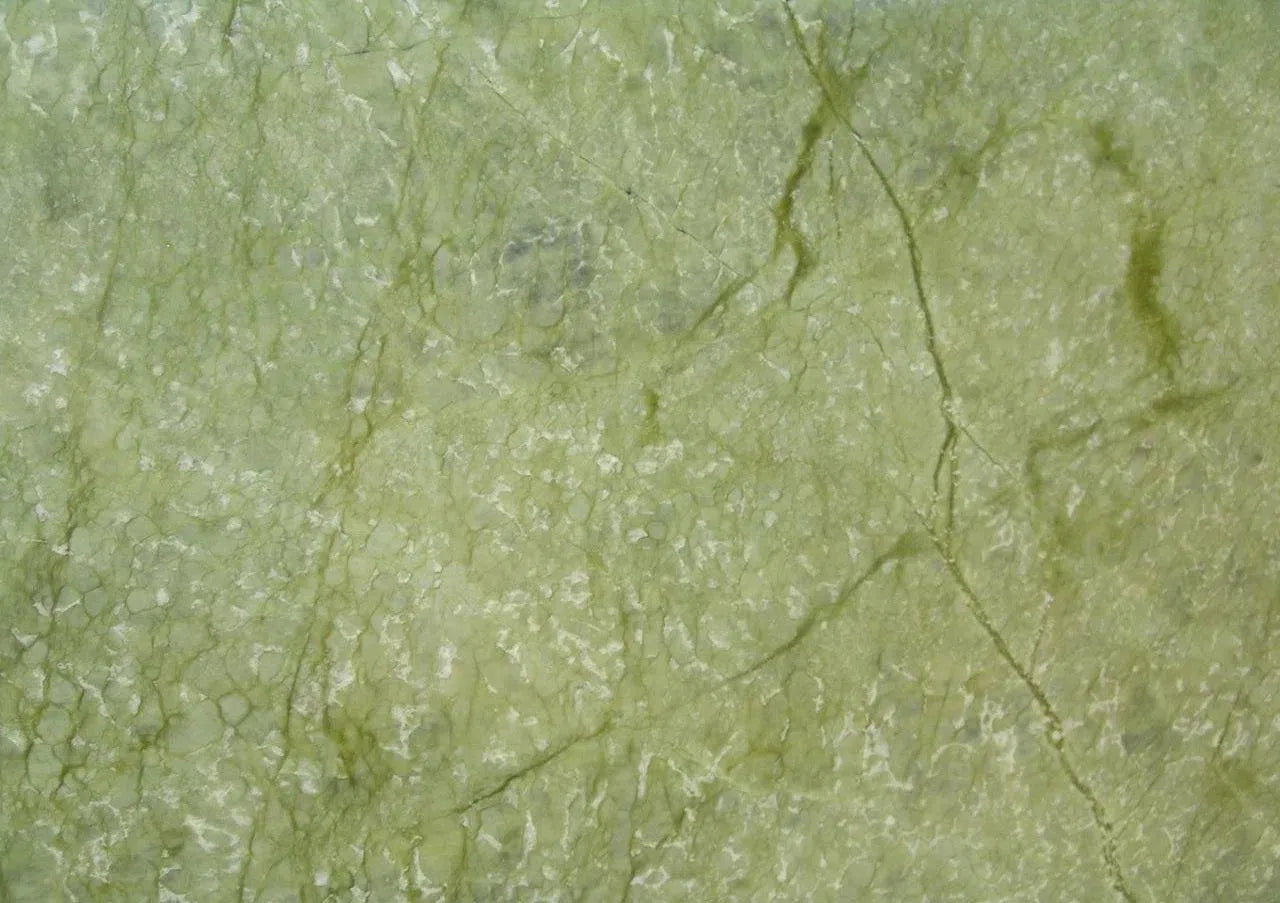
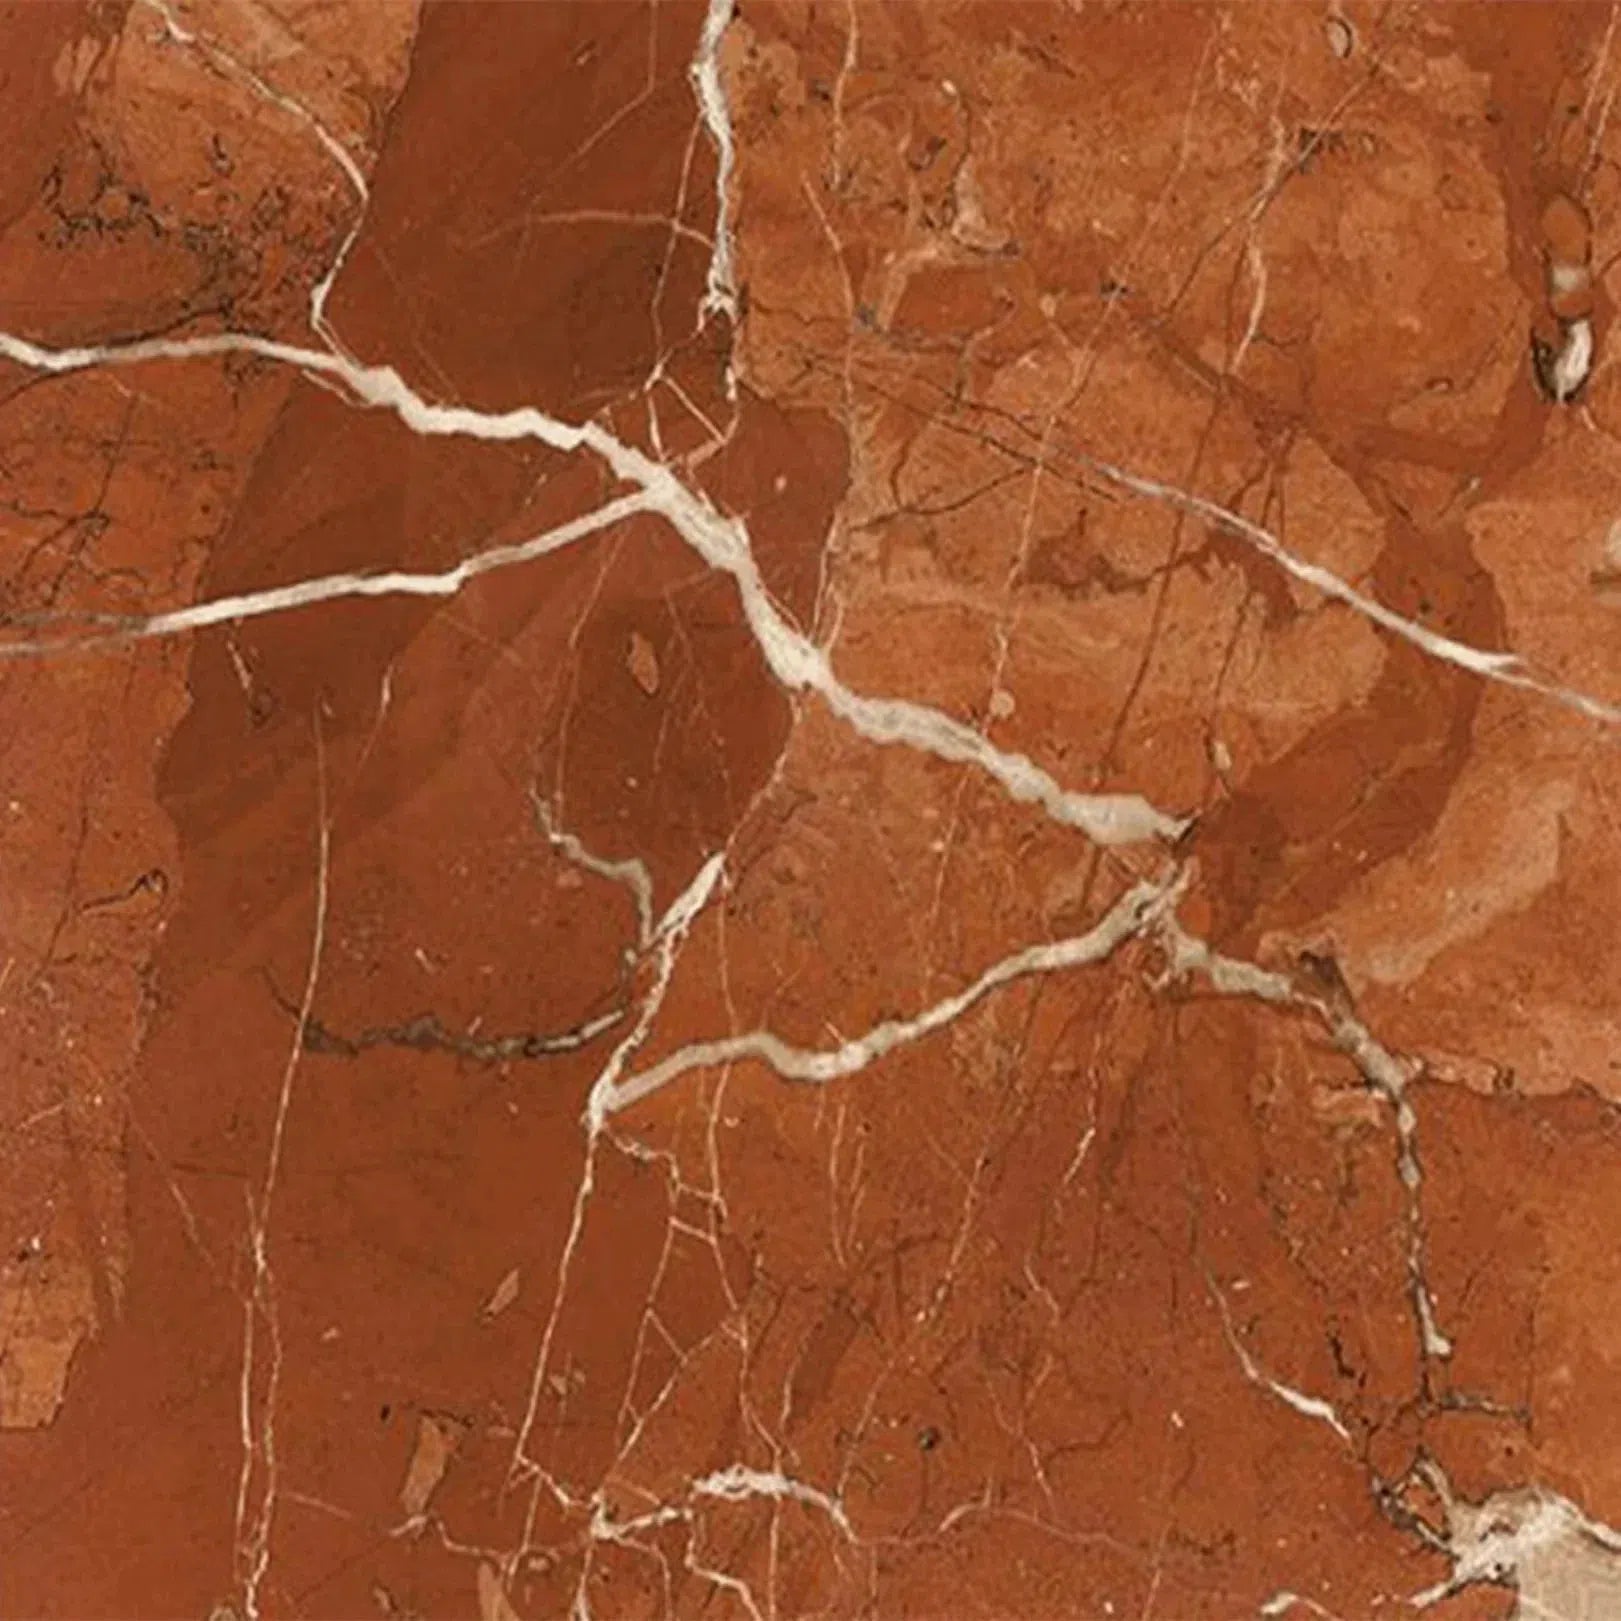
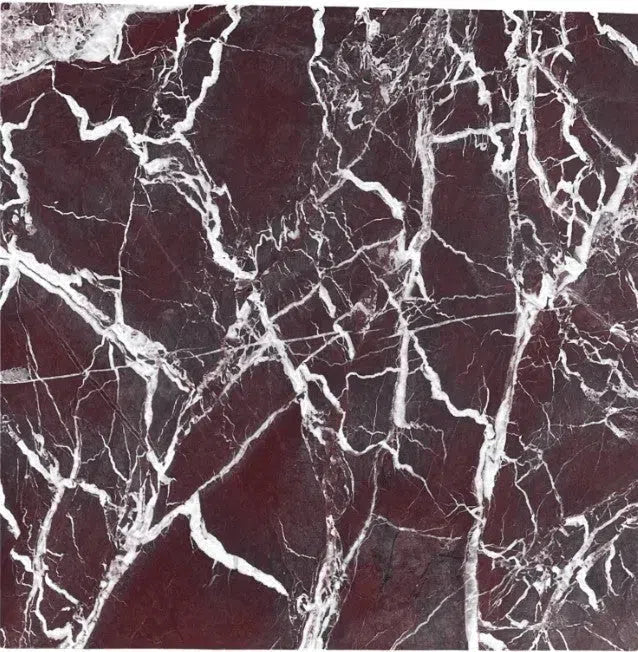
This is where the magic starts. You want pavers that look good and are built to last. Travertine is a natural stone, and it comes in different grades. For a high-quality finish, you'll want to look for what we call 'A+ top-quality' stone. This means the pavers are selected for their durability and consistent appearance. We don't deal in commercial grade; our focus is strictly on premium natural stone. Think about the color and finish that will best suit your home's style. Samples can be really helpful here to see how they look in your actual outdoor space. Remember, these are natural stones, so there will be slight variations, which is part of their charm.
Choosing The Right Adhesive Mortar
Since you're installing over concrete, you'll need a strong adhesive to bond the travertine to the existing surface. Not just any old mortar will do. You need a flexible, high-quality adhesive specifically designed for exterior use and for bonding stone to concrete. It needs to be able to handle temperature changes and moisture without breaking down. Look for products that mention good adhesion and flexibility. This is one area where skimping can lead to problems down the road, like pavers coming loose.
Acquiring Joint Sand For Stability
Once your pavers are set, you'll fill the gaps between them with joint sand. This isn't just for looks; it's super important for keeping your pavers stable. The sand locks them together, preventing them from shifting or wiggling. You'll want to use a polymeric sand or a good quality paver joint sand. Polymeric sand hardens after it gets wet, creating a solid, weed-resistant surface between the stones. Make sure you get enough to fill all the joints completely.
Essential Tools For Paver Installation
Having the right tools makes a huge difference. You'll need:
- Shovels and Rakes: For moving sand and any base materials if needed.
- Wheelbarrow: To transport pavers, sand, and mortar.
- Stiff Bristle Broom: For sweeping sand into the joints.
- Rubber Mallet: To gently tap pavers into place and level them.
- Level: A long level (4-foot or longer) is best for checking if your pavers are flat.
- Masonry Hammer and Chisel: For minor adjustments or shaping.
- Trowels: A notched trowel for spreading the adhesive mortar evenly.
- Wet Saw: For cutting pavers to fit edges or around obstacles. This is a must-have for a professional finish.
Safety Gear For A Secure Project
Don't forget to protect yourself! Working with stone and tools can be risky if you're not careful. You'll definitely want:
- Safety Glasses: Protect your eyes from dust and debris, especially when cutting pavers.
- Work Gloves: Keep your hands safe from rough stone and tools.
- Knee Pads: You'll be spending a lot of time on your knees, so save them!
- Dust Mask: Important when cutting pavers to avoid inhaling silica dust.
- Sturdy Work Boots: Protect your feet.
Measuring Tools For Precision
Accuracy matters. You'll need a reliable tape measure to plan your layout and mark any cuts. A chalk line or string line can also be helpful for keeping your rows straight. Getting the measurements right from the start prevents headaches later on.
Mixing And Application Equipment
For mixing your adhesive mortar, you'll likely need a sturdy bucket and a mixing paddle attachment for a drill. This makes getting the right consistency much easier than trying to mix by hand. Make sure your drill is powerful enough for the job. You'll also need a clean surface to mix on, like a tarp or a mixing board.
Planning Your Travertine Paver Layout
Before you even think about mixing mortar or laying a single paver, you need a solid plan for how your travertine will look and fit. This step is all about visualizing the final outcome and making sure it works practically for your space. Getting this right now saves a lot of headaches later on.
Designing The Pattern And Style
Travertine pavers can be laid in a bunch of different ways, and the pattern you choose really sets the tone for your whole project. Think about the overall vibe you're going for. Are you aiming for a classic, formal look, or something more relaxed and natural? Common patterns include:
- Running Bond: Pavers are laid in a staggered, brick-like pattern. This is simple and works well with rectangular pavers.
- Herringbone: Pavers are laid at a 45 or 90-degree angle to each other, creating a strong, interlocking V-shape. This pattern is visually striking and very stable.
- Basketweave: Pavers are laid in alternating directions to mimic the look of woven material. This often uses square or rectangular pavers in pairs.
- Random Pattern: A mix of different paver sizes laid out in a non-uniform, natural-looking way. This can be great for a more organic feel.
Your choice of pattern can affect how many cuts you need to make and how the pavers interact with the edges of your area. Consider the size and shape of your travertine pavers when deciding on a pattern. For example, smaller, irregular shapes might lend themselves better to a random pattern, while larger, uniform pavers can handle more structured designs. The right travertine installation pattern can make a huge difference in the final look and feel of your patio or walkway.
Calculating The Number Of Pavers Needed
Once you've picked your pattern, it's time to do some math. You don't want to run out of pavers halfway through, and you definitely don't want to order way too many. Measure your installation area accurately. Calculate the square footage of the space you need to cover. Then, figure out the square footage of a single paver. Divide the total area by the area of one paver to get a rough estimate. Always add about 10-15% extra to your order to account for cuts, breakage, and potential future repairs. It's better to have a few extra than to be short.
Marking The Installation Area
Use stakes and string lines, or spray paint, to clearly mark the boundaries of your installation area on the prepared concrete. This gives you a visual guide to work within and helps keep your lines straight, especially if you're going for a specific pattern. Make sure these lines are square and true to your design.
Considering Edge Restraints
Even though you're laying pavers over concrete, you still need to think about what's happening at the edges. Edge restraints, like plastic or metal edging, help keep the pavers from shifting outwards over time, especially if there's any movement or settling. Plan where these will go and how they'll integrate with your pattern. They provide a clean finish and add to the overall stability of the installation.
Planning For Cuts And Transitions
No project is perfectly rectangular. You'll likely need to cut pavers to fit around curves, obstacles like drains or posts, or to meet existing structures. Look at your design and identify where cuts will be necessary. This helps you estimate the extra material needed and plan your cutting strategy. Thinking about transitions, like where your paver patio meets a lawn or another surface, is also important for a professional look.
Visualizing The Final Aesthetic
Take a moment to really picture what the finished project will look like. Consider the color and texture of the travertine pavers against your home's exterior. Think about how the light will hit the surface at different times of day. If you're unsure, ordering a few sample pavers can be a good idea to see them in person and in your actual space. This mental walkthrough helps catch potential issues before they become real problems.
Dry Laying Pavers For Review
This is a really useful step that many people skip. Before you apply any adhesive, lay out a section of your pavers without any mortar. This allows you to check your pattern, see how the gaps look, and make any adjustments to your layout. It's your last chance to easily move things around and confirm that everything is exactly how you want it. It’s a great way to spot any potential problems with the pattern or fit before committing to adhesive. This is a good time to think about whether travertine pavers or concrete is the right choice for your project's aesthetic and durability needs.
Proper planning prevents poor performance. Taking the time to map out your layout, calculate materials, and visualize the end result will save you time, money, and frustration down the line. It’s the foundation for a beautiful and lasting travertine installation.
Applying Adhesive Mortar To Concrete
This is where things start to get really solid. You've prepped your concrete, you've got your beautiful travertine pavers ready to go, and now it's time to stick them down. This step is super important because it's what keeps your pavers from shifting around later. Think of it as the glue holding your whole project together.
Mixing The Mortar To The Correct Consistency
Getting the mortar mix right is key. You don't want it too soupy, or it'll just run everywhere and won't hold well. On the other hand, if it's too dry, it'll be crumbly and won't bond properly. You're aiming for a consistency that's like thick peanut butter or maybe slightly looser, like toothpaste. It should hold its shape on a trowel but still be spreadable. Always follow the manufacturer's instructions on the bag – they know their stuff.
Applying A Uniform Layer Of Mortar
Once your mortar is mixed, you need to get it onto the concrete. Use a notched trowel for this. The notches are there for a reason; they help you spread the mortar in an even layer with consistent ridges. These ridges are important because they help the mortar bond to both the concrete and the paver, and they also help push out any air pockets. Try to keep the trowel at a consistent angle as you spread.
Working In Manageable Sections
Don't try to mix and spread mortar over your entire patio area at once. Mortar has a working time, meaning it starts to set up after a while. You'll want to work in smaller sections that you can comfortably cover with pavers before the mortar begins to harden. A good rule of thumb is to work in areas about 2-3 square feet at a time. This way, you're not rushing, and you can be sure each paver is set into wet mortar.
Ensuring Full Coverage On The Concrete
When you're spreading the mortar, make sure you're getting good coverage on the concrete. You want those ridges from the trowel to be present across the entire section you're working on. This ensures that when you lay the paver, the mortar makes full contact with the back of it. If you miss spots, you might end up with areas that aren't properly adhered, which can lead to problems down the line.
Understanding Mortar Working Time
This is a big one. Mortar starts to set up once it's mixed with water. The exact working time can vary depending on the product, the temperature, and humidity, but generally, you've got about 30-60 minutes. If you see the mortar starting to skin over or get stiff, it's best to mix a fresh batch rather than trying to force it. You can find specific details on the mortar packaging. For projects across the U.S., be mindful of how local weather conditions might affect this.
Using The Right Trowel For Application
As mentioned, a notched trowel is your best friend here. The size of the notches matters. For travertine pavers, you'll typically want a trowel with larger notches, often around 1/2 inch or 3/4 inch. These create deeper ridges that are better suited for the thickness and porosity of natural stone pavers. Check the paver manufacturer's recommendations or ask your supplier if you're unsure about the right trowel size. Using the correct trowel helps achieve that strong bond we're after.
Avoiding Over-Application Of Mortar
While you want full coverage, you don't want to go overboard. Too much mortar can squeeze up between the paver joints, creating a mess that's hard to clean and can look unprofessional. It also wastes material. Aim for a consistent layer that fills the space without excessive overflow. You can always add a little more if needed, but it's harder to take away excess once it's spread. A good, even spread is the goal, not a mountain of mortar.
Setting Travertine Pavers In Place
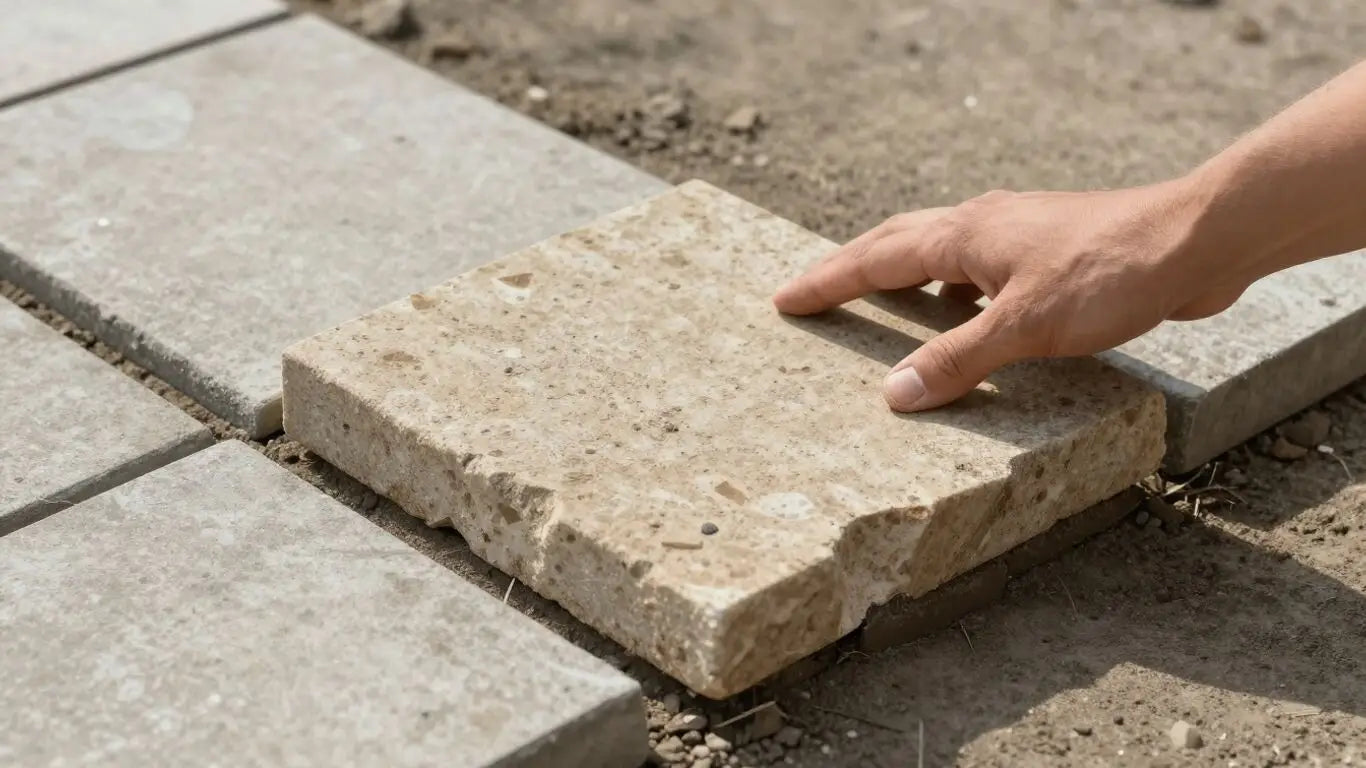
Starting The Paver Placement
Alright, the concrete is prepped, the mortar is mixed, and you're ready for the fun part: laying down those beautiful travertine pavers. This is where your design starts to take shape. Begin at one corner of your marked area, usually the most visible one, and place your first paver. Don't just drop it in; gently set it down onto the mortar bed. Think of it like placing a puzzle piece. You want it to sit snugly but not be forced.
Maintaining Consistent Gaps Between Pavers
This step is super important for the final look and stability. You'll want to keep a consistent space between each paver. A good rule of thumb is about 1/8 to 1/4 inch. You can use paver spacers for this, or if you're feeling confident, just eyeball it, making sure each gap looks the same. This space will later be filled with joint sand, which helps lock everything together. Consistent spacing makes a huge difference in the professional finish.
Tapping Pavers For Secure Seating
Once a paver is in position, give it a gentle tap with a rubber mallet. This does two things: it helps settle the paver into the mortar, making sure it's fully supported, and it helps you check if it's level with its neighbors. You're not trying to hammer it down, just a firm tap to seat it properly. If a paver seems too high or too low, you can carefully lift it, add or remove a bit of mortar, and reset it.
Checking Paver Levelness Regularly
As you go, keep checking that your pavers are level. Use a level tool across a few pavers at a time. You don't want any high spots or low spots, as these can be tripping hazards and just don't look right. If you notice a paver is off, now's the time to adjust it. It's much easier to fix it while the mortar is still wet than after it's hardened.
Adjusting Pavers As Needed
Don't be afraid to make small adjustments. If a paver is slightly high, a few more taps with the mallet should do it. If it's too low, you might need to gently pry it up, add a little more mortar to that spot, and then reset it. The goal is a smooth, even surface across the entire area. This is where patience really pays off.
Working Methodically Across The Area
It's best to work in a systematic way. Lay out your pavers row by row, or section by section, depending on your pattern. Avoid walking on the freshly laid pavers as much as possible. If you need to step on them, try to distribute your weight evenly. This methodical approach helps prevent mistakes and keeps your lines straight.
Ensuring A Tight And Professional Finish
Take your time with each paver. A little extra care now will result in a patio or walkway that looks like it was done by a pro. Pay attention to the edges and corners, making sure everything lines up nicely. Remember, this is the foundation for your beautiful new outdoor space, so getting this part right is key. If you're working on a larger project nationwide, consider how your layout will flow across the entire area. Travertine pavers are a fantastic choice for durability and style.
Cutting Travertine Pavers For Edges And Obstacles
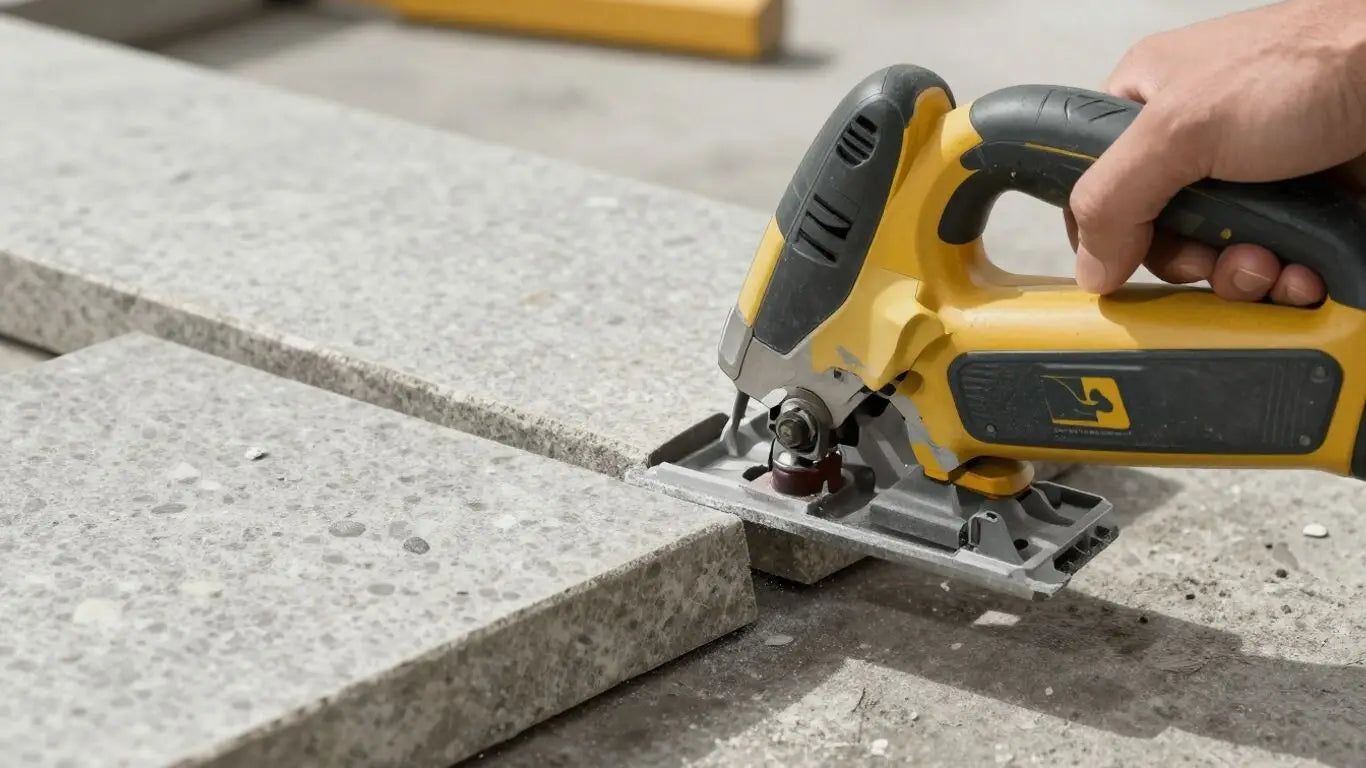
Sometimes, your beautiful travertine paver project needs a little shaping. Whether you're fitting pavers around a garden bed, a drainpipe, or just need to make a clean edge along a wall, cutting is part of the process. Don't let the thought of cutting scare you; with the right tools and a bit of care, you can achieve professional-looking results.
Measuring And Marking Cut Lines
Accuracy here is key. Before you even think about cutting, measure twice, mark once. Use a reliable tape measure and a pencil or chalk line to mark exactly where you need the cut to be. For curved cuts, you might need to trace a template or use a flexible measuring tape to get the curve just right. This careful marking prevents wasted material and ensures a snug fit.
Using A Wet Saw For Precise Cuts
When it comes to cutting natural stone like travertine, a wet saw is your best friend. It uses a diamond blade that spins at high speed, and the water keeps the blade cool and reduces dust. This combination gives you the cleanest, most accurate cuts possible. For smaller jobs or simpler cuts, a circular saw with a diamond blade might work, but a wet saw is generally preferred for travertine. You can find rental options if you don't want to buy one. For precise cuts on your travertine tiles, a wet saw is highly recommended for a clean and accurate installation.
Safety Precautions During Cutting
Safety first, always. When operating a wet saw or any power tool, wear safety glasses to protect your eyes from debris. Hearing protection is also a good idea, as these saws can be loud. Gloves will help you get a better grip on the pavers and protect your hands. Make sure the area around the saw is clear and stable.
Achieving Clean Edges
After the cut is made, you might notice a little roughness along the edge. You can smooth this out with a rubbing stone or a concrete grinding block. This step isn't always necessary, but it gives your installation a more polished, finished look, especially where edges will be visible.
Fitting Pavers Around Curves
Curves can be tricky, but they're manageable. For gentle curves, you might be able to make a series of straight cuts at slight angles to approximate the curve. For tighter curves, you'll likely need to use a wet saw and make multiple passes, carefully following your marked line. Patience is important here.
Handling Complex Shapes
Obstacles like drains or irregular garden bed edges require careful planning. You might need to create templates out of cardboard or thin plywood to get the exact shape needed. Then, transfer that template to the paver and cut accordingly. This method helps ensure a perfect fit for even the most complex shapes.
Ensuring Cut Pavers Match Existing Patterns
If you're working with a specific pattern, pay attention to how your cuts will affect the overall design. Make sure the cut edge of one paver aligns correctly with the pattern of the adjacent pavers. This attention to detail is what separates a good installation from a great one. You can find more tips on cutting travertine pavers in this guide.
Cutting travertine pavers might seem daunting, but it's a manageable part of the installation process. By focusing on accurate measurements, using the right tools like a wet saw, and prioritizing safety, you can confidently tackle any cuts needed for a beautiful, custom-finished patio or walkway.
Securing The Paver Edges
Once your travertine pavers are set in place and the joints are filled, the next important step is to make sure the edges of your new patio or walkway are properly secured. This isn't just about looks; it's about making sure your beautiful new surface stays put for years to come. Think of it like framing a picture – it holds everything together and gives it a finished appearance.
Installing Edge Restraints Properly
Edge restraints are like the sturdy border that keeps your pavers from shifting outwards, especially where the patio meets a lawn, garden bed, or another surface. For travertine pavers installed over concrete, you'll typically use a flexible plastic or metal edging. This edging is usually secured to the concrete base using specialized spikes or screws. The goal is to create a firm barrier that prevents any lateral movement of the pavers.
Ensuring Restraints Are Firmly Anchored
It's not enough to just place the restraints; they need to be really solid. You'll want to drive the spikes or screws deep enough into the concrete so that the restraints don't wiggle or lift. A loose edge restraint is pretty much useless. Check each section to make sure it's snug against the concrete. This is where a good hammer or a power driver comes in handy.
Connecting Restraints To The Concrete Base
This connection is key. Depending on the type of restraint you choose, you might be screwing directly into pre-drilled holes in the concrete, or using spikes that go into expansion joints or small drilled holes. The method will depend on your specific concrete slab and the restraint system. The important thing is that the restraint becomes a solid part of the overall structure, not just something sitting on top.
Creating A Defined Border
Edge restraints give your travertine installation a clean, professional look. They create a sharp line between your paver area and whatever surrounds it. This defined border makes the entire project look more intentional and well-executed. It’s the finishing touch that really makes the design pop.
Preventing Paver Shifting Over Time
This is the main job of the edge restraint. Over time, especially with freeze-thaw cycles or heavy use, pavers can start to spread apart or shift. The restraints act as a barrier, holding everything in place and maintaining the pattern and spacing you carefully laid out. This is especially important for projects across the U.S. where weather can be a factor.
Choosing The Right Restraint Material
There are a few options out there. Heavy-duty plastic edging is common and works well for most residential projects. Metal edging, like aluminum or steel, offers a more robust and sometimes more premium look. For travertine over concrete, you want something that can handle the weight and won't degrade over time. Always check the manufacturer's recommendations for compatibility with your specific paver type and installation method. Some homeowners opt for a concrete curb or a soldier course of pavers as a more permanent edge, but restraints are a common and effective solution.
Integrating Restraints With The Overall Design
Think about how the edge restraint fits into your overall landscape design. While often hidden, some restraints are more visible than others. If you're using a metal edging, it can sometimes add a subtle design element. Make sure the height of the restraint is appropriate – it should generally be at the same level or slightly below the top of the paver to avoid being a tripping hazard. This attention to detail makes a big difference in the final appearance of your project.
Filling Paver Joints With Sand
Alright, so you've got your beautiful travertine pavers set in place. Now comes a step that really locks everything in and gives your patio that finished, professional look: filling the joints with sand. This isn't just about aesthetics, though; it's about stability. The sand acts like a binder, helping to keep your pavers from shifting around over time. It's a pretty straightforward process, but doing it right makes a big difference.
Selecting the Appropriate Joint Sand
Not all sand is created equal when it comes to paver joints. You'll want to look for coarse, washed joint sand. This type of sand is specifically designed for this purpose. It's usually a bit coarser than play sand, which helps it lock together better. Avoid fine sands or anything with a lot of dust, as this can wash away easily or create a muddy mess.
Sweeping Sand into the Gaps
This is where the real work begins. You'll want to start by dumping piles of your chosen joint sand around the area you're working on. Then, using a stiff-bristled broom, start sweeping the sand across the pavers. The goal is to get the sand to fall down into all those gaps between the stones. Keep sweeping back and forth, working the sand into every crevice. It might take a few passes to really fill them up.
Ensuring Joints Are Completely Filled
Don't stop sweeping just because you see some sand in the joints. You really need to make sure those gaps are packed full. If the joints aren't filled properly, water can get in and cause issues, or the pavers might start to move. Keep sweeping until you can't push any more sand into the gaps. You're looking for a solid, consistent fill across the entire patio.
Removing Excess Sand from Paver Surfaces
Once the joints are full, you'll have a layer of sand sitting on top of your travertine pavers. You need to get rid of this excess. Use your broom again, but this time, sweep more gently to clear the surface of the pavers. You want the sand to be only in the joints. If you're using polymeric sand, it's especially important to get all the excess off the surface before you activate it, as it can leave a hazy residue if not cleaned properly. Some people find a leaf blower on a low setting helpful for this, but be careful not to blow the sand back out of the joints.
Compacting the Sand for Stability
After you've swept the sand into the joints and cleared the paver surfaces, it's time to compact it. This is a really important step for long-term stability. You can use a plate compactor for larger areas, which is the most effective method. For smaller patios or areas where a compactor won't fit, you can use a hand tamper. Alternatively, some people just give the pavers a good tap with a rubber mallet. The compaction helps settle the sand down into the joints, creating a tighter, more stable base for your pavers. If you're using polymeric sand, this step is often done after a light misting of water to help it set.
Repeating the Sanding Process
After the initial compaction, you'll likely notice that the sand level in the joints has dropped a bit. This is normal. You'll want to repeat the process of sweeping more sand into the joints, clearing the paver surfaces, and compacting again. You might need to do this two or three times to get the joints completely filled and compacted. The goal is a solid, interlocking surface.
Achieving a Solid and Interlocking Surface
When you're done, the sand should be settled down into the joints, creating a firm connection between your travertine pavers. The surface should feel stable underfoot, with no loose stones. This final step is what truly secures your installation, making it ready for years of enjoyment. If you're planning on sealing your travertine, it's often recommended to do so after the joints are fully set and cured. This helps protect the stone's pores from any potential issues, even with careful application of jointing materials. Sealing travertine first can offer an extra layer of protection.
Curing And Finalizing Your Travertine Installation
Alright, you've laid the last travertine paver, and it looks fantastic. But hold on, we're not quite done yet. The final steps are all about making sure your new patio or walkway lasts for years to come. It’s like letting a good meal settle – you don’t want to rush it.
Allowing Adequate Curing Time For Mortar
This is a big one. The adhesive mortar you used to stick those beautiful travertine pieces to your concrete needs time to harden up properly. Don't walk on it or put any heavy furniture on it for at least 24 to 48 hours. Think of it as giving the glue time to really set. Rushing this can lead to pavers shifting or even breaking loose later on. If you're in a humid climate, you might want to give it a little extra time, just to be safe. For projects where you're looking for long-lasting curb appeal, allowing concrete pavers to cure for 30-60 days before sealing is a good idea [5d35].
Protecting The New Installation
Once the initial curing period is over, you'll want to protect your new travertine surface. This means keeping it safe from foot traffic, pets, and anything else that could scuff or damage it while it's still a bit delicate. If you have a big event planned soon after installation, it might be worth putting up some temporary barriers or signs to keep people off the area.
Initial Cleaning Of The Travertine Surface
After the mortar has fully cured, it's time for a gentle clean. You'll likely have some dust or maybe a bit of mortar residue on the surface. A soft-bristled broom is usually your best friend here. For tougher spots, a light rinse with water might do the trick. Avoid using harsh chemicals or power washers at this stage, as they can damage the travertine or the joint sand.
Checking For Any Loose Pavers
Do a final walk-through of your newly installed travertine. Gently press down on each paver to make sure it feels solid and secure. If you notice any that seem a little wobbly or loose, now is the time to address it. You might need to add a bit more mortar underneath or adjust the joint sand.
Applying Sealant For Protection (Optional)
Sealing your travertine is an optional but highly recommended step. A good quality sealant will protect your pavers from stains, UV fading, and general wear and tear. It also makes cleaning much easier down the line. If you decide to seal, make sure the mortar has had enough time to cure first. Generally, waiting 24 hours after installation before applying sealant is a good rule of thumb [6ba7].
Understanding Long-Term Maintenance Needs
Travertine is pretty low-maintenance, but it's not zero-maintenance. Regular sweeping will keep dirt and debris from settling into the joints. Occasional washing with a mild soap and water will keep it looking its best. Be mindful of what you use to clean it; harsh acids can etch the stone. Knowing how to care for your travertine will keep it looking beautiful for ages.
Enjoying Your Beautiful New Patio
And there you have it! You've successfully installed travertine pavers over concrete. Step back, admire your handiwork, and start planning that backyard barbecue or quiet evening under the stars. You've created a beautiful, durable outdoor space that you can enjoy for years to come. If you're looking for premium natural stone for your project, we offer handpicked A+ top-quality stone, and we're a direct importer, which means better pricing for you.
Once your beautiful travertine is in place, it's time for the final touches. Proper curing and sealing protect your stone, keeping it looking great for years. Don't skip these important steps! For the best results and to learn more about keeping your travertine stunning, visit our website today.
Your Beautiful Travertine Patio Awaits
So there you have it – a pretty straightforward way to get those gorgeous travertine pavers laid down over your existing concrete. It takes some effort, sure, but seeing the finished result? Totally worth it. You’ve just added a touch of natural elegance to your outdoor space that’s built to last. If you ever need more of that handpicked A+ quality stone, remember American Stone Center is your go-to. We’re direct importers, bringing you premium, luxury natural stone you can trust, with fast shipping too. Go ahead, enjoy your stunning new patio!
Frequently Asked Questions
Can I put travertine pavers directly on my old concrete?
Yes, you can! But first, you need to make sure your concrete is in good shape. It should be strong, not broken, and have a slight tilt so water runs off. We'll clean it up really well and fix any cracks before we start.
What kind of glue do I use for the pavers?
We use a special sticky mix called adhesive mortar. It's made to stick the heavy travertine pavers to the concrete surface, making sure they stay put and don't wiggle loose.
How do I make sure the pavers are even?
As we lay each paver, we tap it down gently. We also use a level tool often to check if everything is flat. If a paver is a bit too high or low, we can adjust it before the glue dries.
Do I need to cut the pavers?
Most likely, yes. You'll need to cut pavers to fit around the edges of your patio, any garden beds, or other things in the way. A special saw that uses water is best for clean cuts.
What is joint sand for?
After the pavers are all down and the glue is dry, we sweep a special sand into the little spaces between them. This sand locks the pavers together, making the whole patio strong and stable, and it stops weeds from growing.
How long does it take for the glue to dry?
The adhesive mortar needs time to get hard and strong. It's best to let it dry for at least a day or two before you walk on it or put furniture on it. We'll tell you the exact time needed.
What if my concrete is cracked?
Small cracks can usually be fixed with a special filler before we put the pavers down. If the concrete is badly broken, it might need bigger repairs or even replacement to make sure the pavers have a solid base.
How do I keep the pavers looking nice?
Once everything is installed and dry, you can put a sealer on the travertine. This sealer helps protect the stone from stains and makes it easier to clean. It's optional but recommended.
What tools do I need?
You'll need things like a trowel to spread the mortar, a level to check flatness, a saw for cutting, a broom for sand, and safety gear like gloves and glasses. We'll have a full list in the guide.
How do I plan the look of my patio?
Think about the pattern you want – straight lines, a basket weave, or something else. You'll also need to figure out exactly how many pavers you need, including a few extra for cuts and mistakes.
What's the best way to clean the concrete before starting?
You need to get it super clean! Scrubbing it with a strong cleaner and rinsing it well will remove dirt, grease, and anything else that could stop the glue from sticking properly.
Can I use regular sand between the pavers?
No, it's important to use special joint sand made for pavers. Regular sand can wash away too easily. The joint sand is designed to lock together and stay in place, giving your patio a solid foundation.